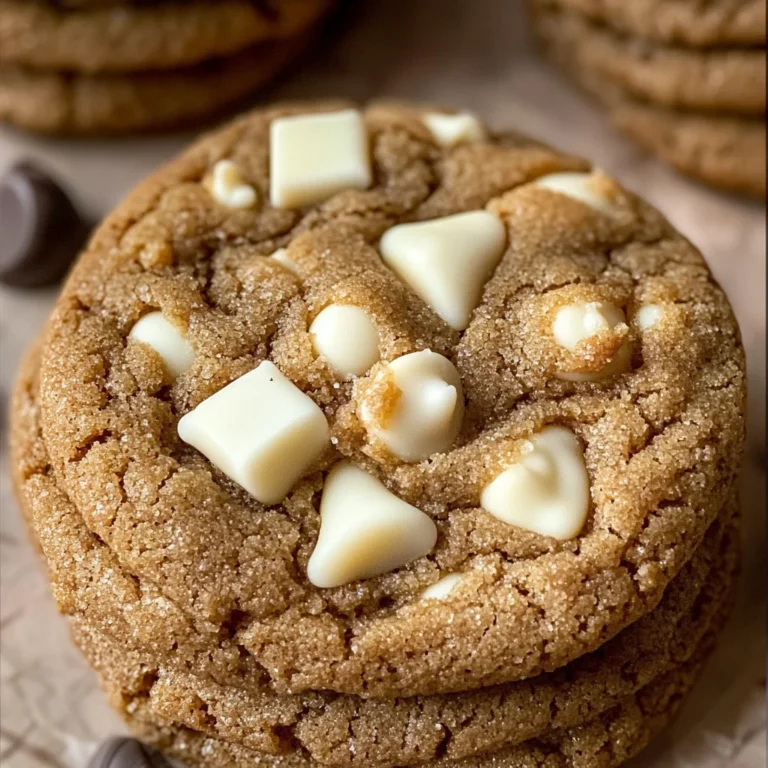
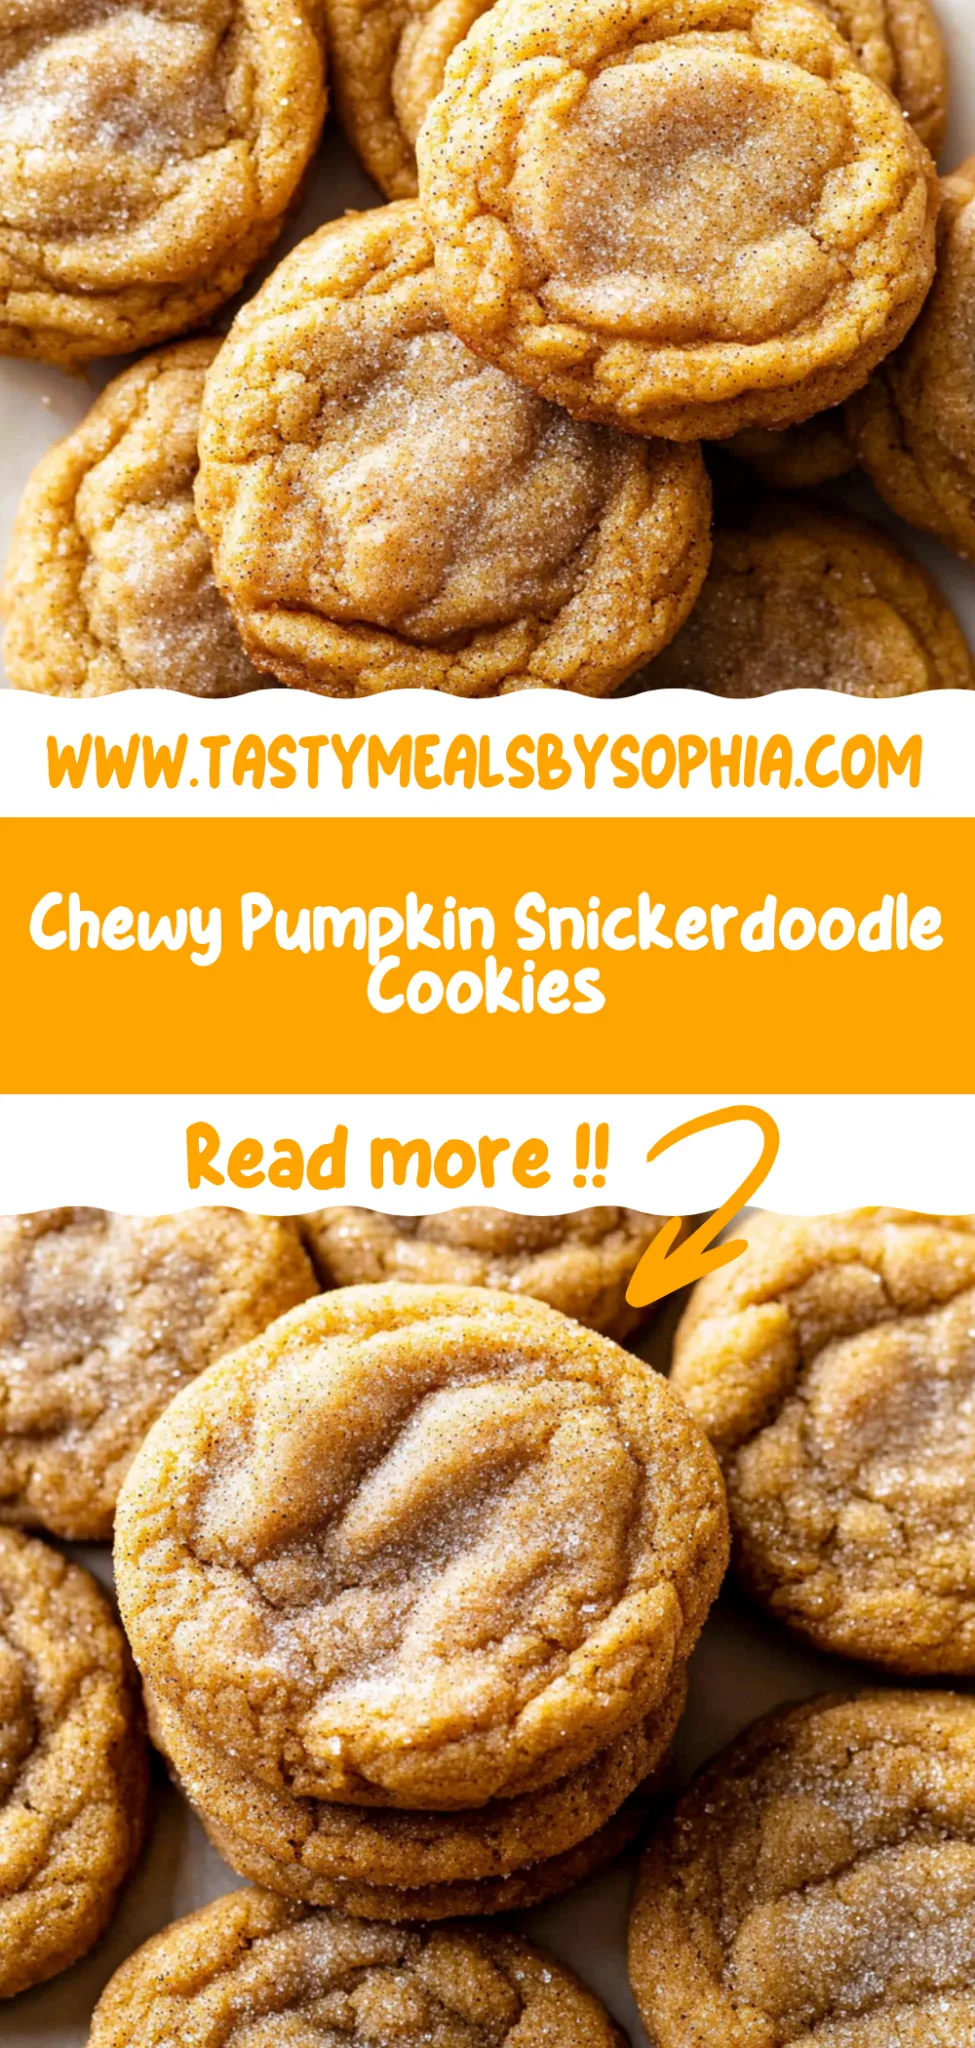
Chewy Pumpkin Snickerdoodle Cookies: Fall’s Sweetest Treat
I first stumbled upon the idea of Chewy Pumpkin Snickerdoodle Cookies during a cozy fall afternoon at my favorite little café, where the aroma of cinnamon and nutmeg wafted through the air. I ordered one on a whim, and let me tell you—my taste buds had an absolute party! The moment I took that first bite, I knew I had to recreate it at home. With pumpkin being such a glorious fall staple, I figured why not put a twist on a classic? Not to mention, making them myself would save me some cash and give me total control over that chewy texture!
After several attempts—okay, more like a small army of cookies scattered across my kitchen—I finally cracked the code. Let’s just say my early trials didn’t exactly scream “chewy” and were more like little hockey pucks. I was determined to get that perfect balance of soft and chewy while infusing just the right amount of pumpkin flavor. Each batch brought me closer, but also taught me valuable lessons about using just the right spices and not overbaking them (who knew snickerdoodles could be so high-maintenance?).
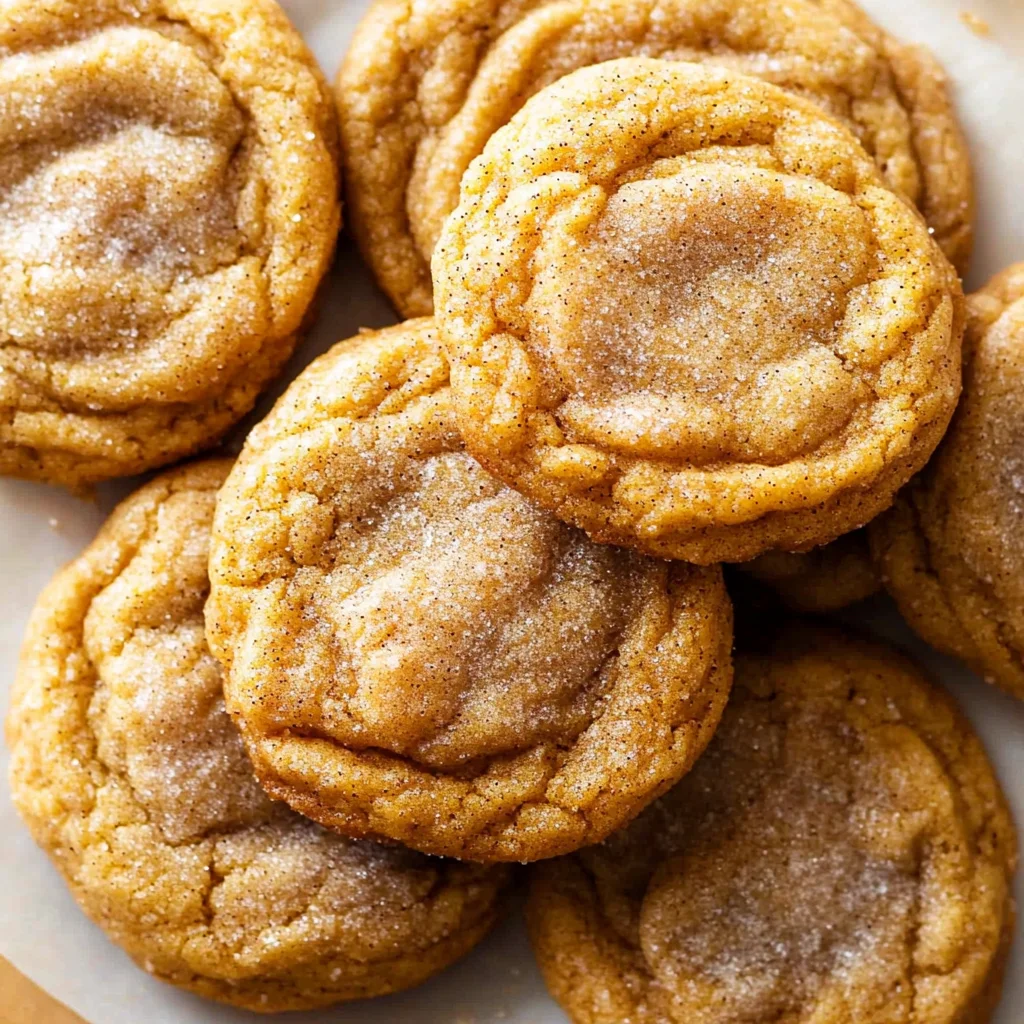
But oh boy, was it worth it! The final result is nothing short of heavenly: these Chewy Pumpkin Snickerdoodle Cookies are your new best friend for fall. They boast an irresistible chewiness paired with that warm hug of cinnamon and nutmeg that’ll have you reaching for seconds (or thirds!). Trust me, once you try these cookies fresh out of the oven, you’ll understand why I can’t stop raving about them. So grab your apron and let’s bake up some autumn magic together!
These Chewy Pumpkin Snickerdoodle Cookies are…
….the ultimate cozy treat for your fall baking adventures!
1. They deliver a warm, spiced flavor that perfectly captures the essence of autumn, thanks to the generous addition of ground cinnamon and nutmeg. This delightful blend enhances the pumpkin puree, creating a comforting aroma that fills your kitchen and invites everyone to indulge in these seasonal delights.
2. Expect a perfectly chewy texture that strikes the balance between soft and slightly crisp edges. The combination of all-purpose flour with baking soda and cream of tartar ensures they rise beautifully while maintaining that irresistible chewiness that makes each bite so satisfying.
3. The secret to their elevated taste lies in using both brown sugar and granulated sugar. The brown sugar adds moisture and depth, while the granulated sugar contributes to a slight crunch on the outside, creating a cookie that’s not just good but unforgettable.
4. These cookies are an affordable delight — you can whip up a batch with pantry staples like flour, butter, and pumpkin puree without breaking the bank. Plus, they store well, so you can enjoy the flavors of fall long after baking them.
PS These cookies are soft-baked and slightly thicker than your average cookie, making them perfect for dunking into a warm cup of cider or coffee!
Ingredients You’ll Need
Each ingredient in this dish plays an essential role in flavor and texture. Here’s what you’ll need:
2 cups all-purpose flour: Provides the structure for a chewy cookie.
1 teaspoon baking soda: Helps the cookies rise and become fluffy.
1 teaspoon cream of tartar: Enhances the cookie’s chewiness and stability.
1/2 teaspoon salt: Balances sweetness and enhances overall flavor.
1 teaspoon ground cinnamon: Infuses warm, comforting spice throughout.
1/2 teaspoon ground nutmeg: Adds a subtle depth of flavor, reminiscent of fall.
1/2 cup unsalted butter (softened): Contributes richness and a tender texture.
1 cup pumpkin puree (canned or fresh): Offers moisture and a delightful pumpkin flavor.
1 cup brown sugar (packed): Adds sweetness and a hint of caramel undertones.
1/2 cup granulated sugar: Sweetens without overpowering the other flavors.
1 large egg: Binds ingredients together for a cohesive dough.
1 teaspoon vanilla extract: Enhances sweetness with its aromatic notes.
1/4 cup granulated sugar: Coats the cookies for a sweet, crunchy exterior.
1 teaspoon ground cinnamon: Provides an extra layer of warmth in the coating.
Prepping the Oven: The Secret to Chewy Perfection!
I know, I know—taking the time to preheat your oven and line your baking sheet might feel like an unnecessary step when you’re itching to dive into making these chewy pumpkin snickerdoodle cookies. I tried to skip it once, thinking I could save a few minutes, but trust me, the results were less than stellar. The cookies came out flat and sad, and I vowed never to make that mistake again!
Preheating the oven is vital because it ensures that your cookies bake evenly from the moment they hit the heat. Think of it like getting a cozy blanket ready before settling down for a movie—if you don’t prepare in advance, you’ll end up shivering through the experience! The combination of baking soda and cream of tartar in our dry ingredients needs that immediate blast of heat to create those magical puffy edges while keeping the insides chewy and soft.
What does preheating do?
- Flavour — Preheating allows for immediate Maillard reactions, which enhance the cookie’s rich flavors as they bake.
- Texture — A properly heated oven creates a better rise, resulting in cookies with crisp edges and chewy centers.
- Color — Even heat ensures a beautifully golden-brown exterior that’s visually tempting.
- Baking Time Consistency — Starting at the right temperature means your cookies will bake evenly without raw spots or burnt edges.
- Shelf Life — Properly baked cookies retain moisture better, preventing them from drying out too quickly.
Different preheating times
- 5 minutes (okay) — Cookies will bake but may have uneven texture; expect flatter outcomes.
- 10 minutes (good) — Better results with improved rise and chewiness; still not optimal.
- ⭐️ 15 minutes⭐️ — Ideal! Ensures even heat throughout for perfectly baked cookies.
- Beyond 20 minutes — Risk of overheating can lead to dry cookies; stick with the sweet spot!
Just a heads up—don’t even think about skipping this step! The most common mistake is underestimating how crucial preheating is. If your oven isn’t hot enough when those cookie dough balls go in, you’ll end up with sad little pancakes instead of glorious chewy treats. Trust me—you don’t want that!
How to make Chewy Pumpkin Snickerdoodle Cookies
Are you ready to see how straightforward it is to make the Chewy Pumpkin Snickerdoodle Cookies of your dreams??
1. PREPARE THE OVEN AND BAKING SHEET
Let’s get that oven ready for some deliciousness!
Preheat – Preheat your oven to 350°F (175°C) and line a baking sheet with parchment paper. This ensures even baking and prevents the cookies from sticking, making cleanup a breeze!
2. MIX DRY INGREDIENTS
Time to blend those dry ingredients for the perfect cookie base!
Whisk – In a mixing bowl, whisk together the flour, baking soda, cream of tartar, salt, cinnamon, and nutmeg. This step is crucial as it evenly distributes the leavening agents and spices, ensuring consistent flavor and texture throughout your cookies.
HANDY TIPS
- Sifting: If you prefer extra light cookies, consider sifting the flour before measuring.
- Spice it up: Feel free to adjust the cinnamon and nutmeg according to your taste preference!
3. CREAM BUTTER AND SUGARS
Let’s create that fluffy texture that makes these cookies irresistible!
Cream – In another bowl, cream together the softened butter, brown sugar, and granulated sugar until light and fluffy. This aeration process incorporates air into the mixture, which helps the cookies rise nicely while baking.
4. ADD PUMPKIN AND EGG
It’s time for our star ingredient—pumpkin!
Mix – Mix in the pumpkin puree, egg, and vanilla extract until well combined. The pumpkin not only adds moisture but also gives these cookies their signature chewy texture.
5. COMBINE MIXTURES
Bringing all those delicious elements together!
Gradually add – Gradually add the dry ingredients to the wet ingredients, mixing until just combined. Be careful not to overmix; this can lead to tough cookies instead of chewy ones!
6. PREPARE COATING
The finishing touch that makes these cookies truly special!
Mix coating – In a small bowl, mix together the granulated sugar and cinnamon for the coating. This sweet spice mix will give your cookies a delightful crunch on the outside.
7. SCOOP AND COAT COOKIES
Time for some fun—scooping out dough!
Scoop – Using a cookie scoop, portion out the dough and roll each ball in the cinnamon-sugar mixture. Ensure each cookie is well coated; this adds flavor and helps achieve that beautiful color when baked.
8. BAKE COOKIES
Watch as your kitchen fills with an irresistible aroma!
Bake – Place the coated dough balls on the prepared baking sheet and bake for 10-12 minutes, until the edges are set. You’ll know they’re ready when they look slightly golden around the edges but still soft in the center.
9. COOL AND SERVE
Patience is key here—just a little longer until you can indulge!
Cool – Allow the cookies to cool on the baking sheet for 5 minutes before transferring them to a wire rack to cool completely. This resting time allows them to firm up while retaining their chewy goodness.
Make these once, and I wager they will invade your dreams every night too! – Nagi x
FAQ – Chewy Pumpkin Snickerdoodle Cookies
How long will these cookies keep?
Chewy Pumpkin Snickerdoodle Cookies are best enjoyed fresh, but they can stay delicious for up to 5 days when stored properly. After the first day, they begin to lose their chewy texture, being about 97% as good on day 3 and around 90% by day 5. Store them in an airtight container at room temperature to keep them soft. If you want to maintain their freshness longer, consider freezing them!
❄️ Can I freeze these cookies for later?
Absolutely! These cookies freeze beautifully. To freeze, allow the baked cookies to cool completely, then place them in a single layer on a baking sheet and freeze until solid. Once frozen, transfer them to an airtight container or freezer bag. They will keep well for up to 3 months! When you’re ready to enjoy them, simply thaw at room temperature or pop them in the microwave for a few seconds to warm them back up.
🌾 Can these be made gluten free?
Yes, you can make gluten-free Chewy Pumpkin Snickerdoodle Cookies! Substitute the all-purpose flour with a 1: 1 gluten-free baking blend that includes xanthan gum. I’ve tested this with brands like Bob’s Red Mill and King Arthur Flour, and both yielded fantastic results. Just be sure to double-check that your baking powder is also gluten-free if you’re particularly sensitive!
Can I reduce the sugar or substitute with sweeteners?
No, you cannot reduce the sugar without compromising the cookie’s texture and flavor — believe me, I tried it about 20 times! The balance of sugars contributes not only to sweetness but also to moisture and chewiness. If you’re looking for alternatives, you could try using coconut sugar as a substitute for brown sugar; however, this may result in a slightly different flavor profile.
Why do I need cream of tartar in this recipe?
Cream of tartar plays a crucial role in achieving the perfect texture for your cookies. It acts as an acid that stabilizes the egg whites and helps create that classic snickerdoodle tang while also contributing to their chewy consistency. Skipping it would mean sacrificing that lovely texture — trust me on this one!
💡 Can I add mix-ins like chocolate chips or nuts?
Of course! Feel free to customize your Chewy Pumpkin Snickerdoodle Cookies by adding up to 1 cup of your favorite mix-ins such as chocolate chips or chopped nuts. Just fold them into the dough after combining the wet and dry ingredients. Keep in mind that if you add too many mix-ins, it may alter the overall texture slightly, so balance is key!
How long should I let the dough chill before baking?
You actually don’t need to chill this dough! 🎉 In fact, chilling can lead to overly dense cookies since pumpkin puree contributes moisture already. Bake them right after mixing for optimal chewiness—no waiting required!
Did you really test this recipe multiple times?
Yes! I tested these cookies over 15 times before settling on this perfect combination of flavors and textures. It took a lot of trial and error (and some not-so-great batches), but I’m thrilled with how they turned out—chewy perfection with that lovely hint of fall spices!
Troubleshooting
I will continue to add more to this Troubleshooting section as I start seeing questions coming through from people who have made the recipe.
Troubleshooting tips
“My cookies were too flat and thin! 😭”
- Your dough might have been too warm when you scooped it. If your butter was overly softened, it can lead to spreading during baking. Make sure your butter is just soft enough to cream without being melted!
- You may not have measured your flour accurately. Too little flour can cause cookies to spread too much. Always spoon and level your flour for best results!
- You didn’t chill the dough before baking. Chilling helps solidify the fat in the dough, which prevents excessive spreading. A 30-minute chill in the fridge can make a big difference!
I bet they were still YUM though!
“My cookies came out dry and crumbly! 😩”
- You might have overbaked them. Even a minute longer in the oven can dry out chewy cookies. Keep an eye on them, and take them out when the edges are just set.
- Using too much flour can also lead to dryness. If you scoop directly from the bag, you might pack it down, resulting in more than needed. Remember, spooning and leveling is key!
- If you forgot to add the pumpkin puree or didn’t use enough, that could also impact moisture levels. The pumpkin adds essential moisture for a chewy texture.
I bet they were still YUM though!
“The tops of my cookies cracked and split! 😱”
- Your oven temperature might be too high, causing them to bake too quickly on the outside while remaining undercooked inside. Use an oven thermometer to ensure accuracy.
- Mixing the wet ingredients too vigorously can introduce excess air into the batter, leading to cracks during baking. Mix gently until combined instead!
- If your dough was overmixed after adding the dry ingredients, it could develop gluten and lead to an uneven surface. Mix until just combined for best results.
I bet they were still YUM though!
“My cookies turned out way too dark on the bottom! 🔥”
- Your baking sheet may be too dark or non-stick. Dark pans absorb more heat, causing quicker browning on the bottom. Consider using a light-colored baking sheet for even baking.
- Placing your cookies too close to the bottom heating element can also result in burnt bottoms. Try moving your rack higher in the oven next time!
- If you baked them for longer than recommended, that could contribute as well. Always check at 10 minutes for doneness if you’re unsure.
I bet they were still YUM though!
Chewy Pumpkin Snickerdoodle Cookies
Ingredients
Method
- Preheat your oven to 350°F (175°C) and line a baking sheet with parchment paper.
- In a mixing bowl, whisk together the flour, baking soda, cream of tartar, salt, cinnamon, and nutmeg.
- In another bowl, cream together the softened butter, brown sugar, and granulated sugar until light and fluffy.
- Mix in the pumpkin puree, egg, and vanilla extract until well combined.
- Gradually add the dry ingredients to the wet ingredients, mixing until just combined.
- In a small bowl, mix together the granulated sugar and cinnamon for the coating.
- Using a cookie scoop, portion out the dough and roll each ball in the cinnamon-sugar mixture.
- Place the coated dough balls on the prepared baking sheet and bake for 10-12 minutes, until the edges are set.
- Allow the cookies to cool on the baking sheet for 5 minutes before transferring them to a wire rack to cool completely.