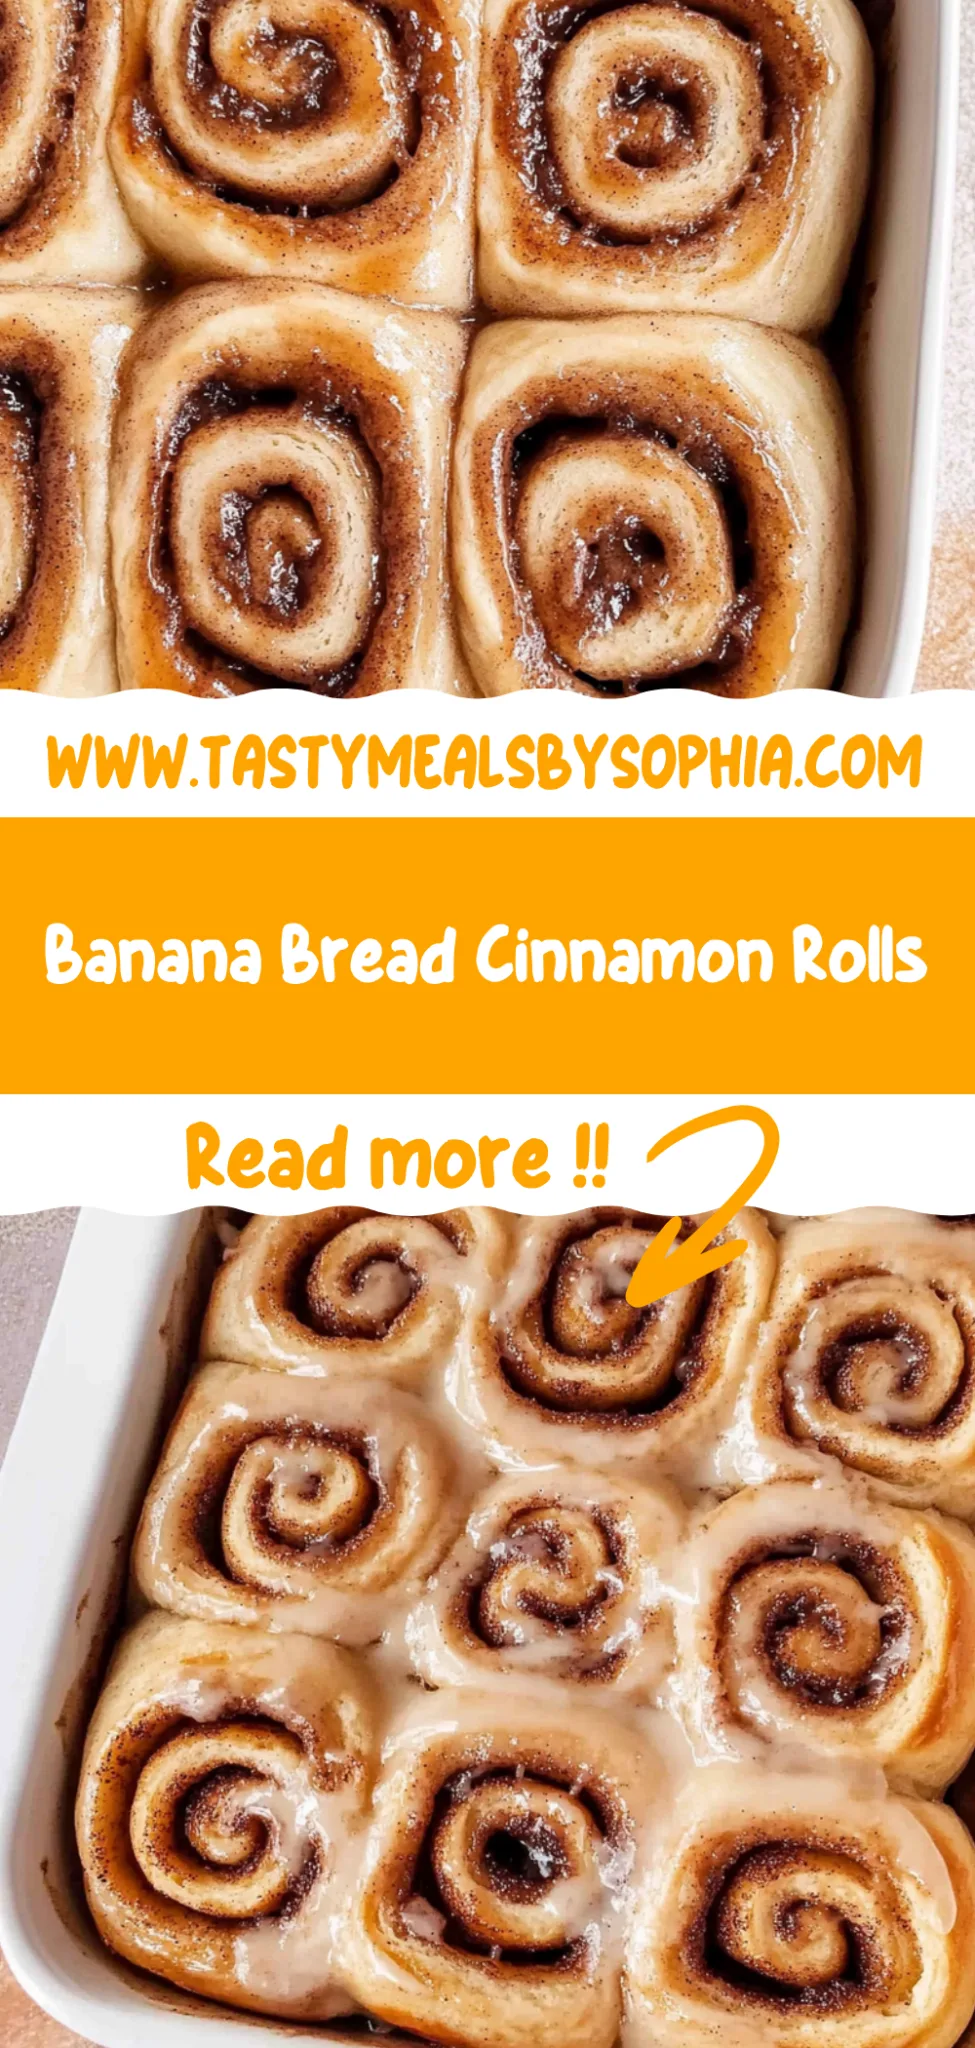
Banana Bread Cinnamon Rolls: A Delicious Twist on Classic
I’ve always had a soft spot for cinnamon rolls, but when I stumbled upon a little café that served Banana Bread Cinnamon Rolls, my world turned upside down. The combination of the warm, comforting flavors of banana bread wrapped up in soft, fluffy rolls was simply irresistible. After taking one bite, I knew I had to recreate this delicious treat at home—not just because I wanted to indulge in them whenever I pleased, but also to save a bit of cash and control the sweetness. Plus, who doesn’t love the smell of fresh cinnamon rolls wafting through their kitchen?
Let me tell you, perfecting this recipe was quite the adventure! It took me a solid week and five attempts (yes, five!) to get it just right. Each time I tried to nail down that ideal balance of banana flavor and gooey cinnamon filling without losing the roll’s fluffiness. There were some epic fails along the way—like the time I accidentally turned my dough into a glutenous brick that could’ve doubled as a doorstop! But with each attempt, I learned something new, inching closer to the dream roll.
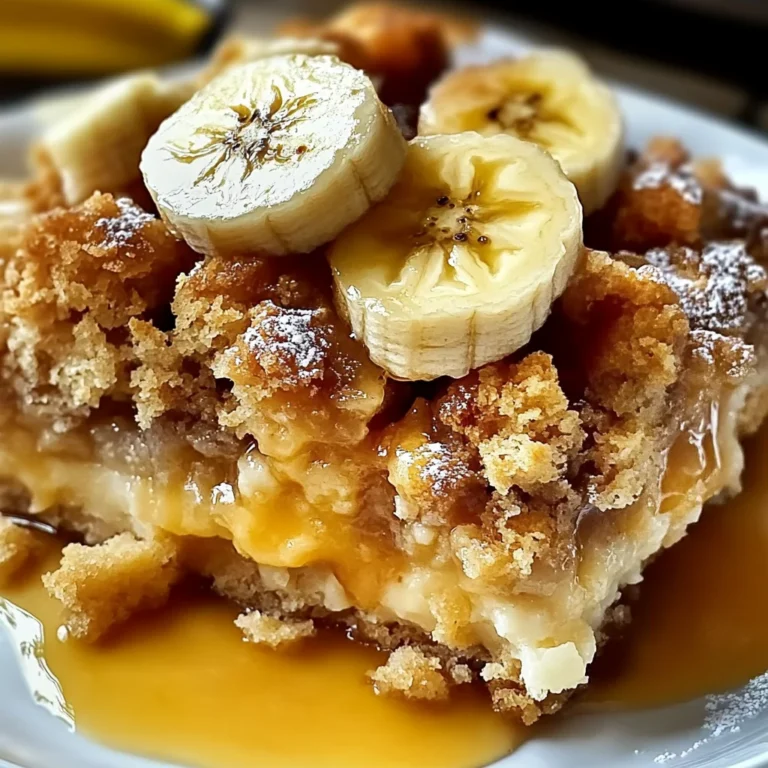
And oh boy, was it worth every minute! The final result is nothing short of heavenly—deliciously soft and fluffy cinnamon rolls infused with the rich flavor of banana bread that practically melt in your mouth. They’ve got that perfect balance of sweetness with a hint of spice, plus they stay fresh longer than any regular cinnamon roll thanks to the bananas. Trust me; these Banana Bread Cinnamon Rolls will elevate your brunch game to a whole new level. Give them a try—you won’t regret it!
These Banana Bread Cinnamon Rolls are…
….the ultimate indulgence that combines the nostalgic flavors of banana bread with the pillowy softness of fresh cinnamon rolls!
1. They deliver an irresistibly sweet aroma that fills your kitchen, thanks to the ripe banana and brown sugar. The natural sugars from the mashed banana caramelize during baking, creating a delightful fragrance that beckons everyone to gather around and enjoy these treats.
2. Incredible fluffiness – each roll is soft and light, making every bite feel like a hug. I achieved this texture by using a combination of melted butter and milk in the dough, which keeps it moist and tender while allowing for a perfect rise.
3. A simple yet effective technique is incorporating the mashed banana directly into the dough rather than as a filling. This method ensures that every roll is infused with that beloved banana flavor throughout, elevating them from ordinary cinnamon rolls to a truly special treat.
4. Cost-effective delight – making these at home saves you money compared to purchasing gourmet cinnamon rolls from a bakery. With basic ingredients like flour, sugar, and a ripe banana, you can whip up a batch of delicious Banana Bread Cinnamon Rolls without breaking the bank.
PS These rolls yield about 12 generous pieces, perfect for sharing with family or enjoying throughout the week!
Ingredients for the Banana Bread Cinnamon Rolls
Each ingredient in this dish plays an essential role in flavor and texture. Here’s what you’ll need:
Dough
2 cups all-purpose flour: Provides the structure and base for soft, fluffy rolls.
1 large ripe banana (mashed): Infuses natural sweetness and a delightful banana flavor.
1/4 cup sugar: Enhances sweetness and helps create a tender crumb.
1 teaspoon baking powder: Acts as a leavening agent for a light and airy texture.
1/2 teaspoon baking soda: Works with the acidic components to help the dough rise.
1/2 teaspoon salt: Balances flavors and enhances the overall taste of the rolls.
1/2 cup milk: Adds moisture and helps activate the yeast for better rise.
1/4 cup unsalted butter (melted): Contributes richness and a buttery flavor to the dough.
1 large egg: Binds ingredients together while adding moisture and richness.
Filling
1/4 cup brown sugar (packed): Introduces caramel notes that complement the banana flavor.
1 tablespoon ground cinnamon: Infuses warmth and spice, enhancing the classic cinnamon roll taste.
2 tablespoons unsalted butter (softened): Ensures a rich, gooey filling that enhances texture.
Glaze
1 cup powdered sugar: Creates a sweet, smooth topping that adds a finishing touch to the rolls.
2 tablespoons milk: Helps achieve the desired consistency for the glaze.
- 1 teaspoon vanilla extract: Adds depth and aromatic sweetness to the glaze.
Kneading the Dough is Non-Negotiable. Trust Me!
I have to confess, I tried to skip this step, thinking I could get away with a quick mix and call it a day. Spoiler alert: it didn’t work! The dough ended up dense and sad, leaving me with cinnamon rolls that were more like doorstops than fluffy delights. Lesson learned—there’s no shortcut here!
Kneading the dough is essential because it develops the gluten structure, which gives our Banana Bread Cinnamon Rolls their signature soft and airy texture. Think of it as giving the dough a workout; just like how you wouldn’t expect a cake to rise without whipping those eggs, our rolls need that kneading action for the perfect rise and chewiness.
What does kneading do?
- Texture — Kneading creates gluten strands that provide structure and elasticity, resulting in rolls that are perfectly soft and fluffy.
- Airiness — The process incorporates air into the dough, crucial for achieving that light texture we all crave in cinnamon rolls.
- Moisture retention — Kneaded dough holds onto moisture better, preventing your rolls from drying out during baking.
- Flavor development — As the ingredients meld together through kneading, the flavors blend harmoniously, enhancing the overall taste of the rolls.
- Better rise — Properly kneaded dough rises more effectively in the oven due to its strengthened structure, leading to taller, fluffier rolls.
Different kneading times
- 30 seconds (okay) — This will get you started but leaves your rolls lacking in texture; they won’t be as fluffy as they should be.
- 1 minute (good) — A good effort; your rolls will rise somewhat but still lack that soft pillowy quality.
- 2 minutes (great) — This is optimal for achieving that perfect balance of softness and structure for your cinnamon rolls!
- Beyond 3 minutes (diminishing returns) — While you might think more is better, over-kneading can lead to toughness instead of tenderness.
If there’s one thing I want you to take away from this, it’s this: don’t rush through kneading! The most common mistake is thinking a quick mix will suffice. You need those two full minutes of kneading to create the magic—trust me on this one!
How to make Banana Bread Cinnamon Rolls
Are you ready to see how straightforward it is to make the Banana Bread Cinnamon Rolls of your dreams??
1. PREPARE THE DOUGH
Let’s get that dough ready for some delicious rolling!
1. Combine – In a mixing bowl, combine the flour, sugar, baking powder, baking soda, and salt. This blend will create the perfect base for your rolls that are soft and fluffy.
2. Whisk – In another bowl, whisk together the mashed banana, milk, melted butter, and egg until smooth. This mixture not only adds moisture but also infuses the delightful banana flavor into your dough!
3. Mix – Pour the wet ingredients into the dry ingredients and mix until just combined. Be careful not to overmix; you want a tender roll!
4. Knead – Knead the dough on a floured surface for about 2 minutes until smooth. This helps develop gluten and gives your rolls their lovely structure.
HANDY TIPS
- Make sure your banana is ripe; it should be speckled brown for maximum sweetness and flavor.
- If the dough feels too sticky, sprinkle in a little more flour as you knead; just don’t go overboard!
2. MAKE THE FILLING
Now let’s whip up that irresistible filling!
5. Mix – In a small bowl, mix together the brown sugar, cinnamon, and softened butter until well combined. This sweet mixture will become the heart of each roll, providing that classic cinnamon roll flavor!
HANDY TIPS
- Use fresh ground cinnamon if possible; it has a stronger flavor compared to pre-ground.
- If you like a gooey filling, add an extra tablespoon of butter to make it even richer!
3. ASSEMBLE THE ROLLS
Time to transform our dough into beautiful rolls!
6. Roll out – Roll out the dough into a rectangle on a floured surface. Aim for about 1/4 inch thick; this will ensure plenty of layers in your rolls!
7. Spread – Spread the filling evenly over the dough, leaving a small border around the edges so it doesn’t ooze out while baking.
8. Roll – Roll the dough tightly into a log starting from one long edge to the other and cut into 8 equal pieces using a sharp knife or dental floss for clean cuts!
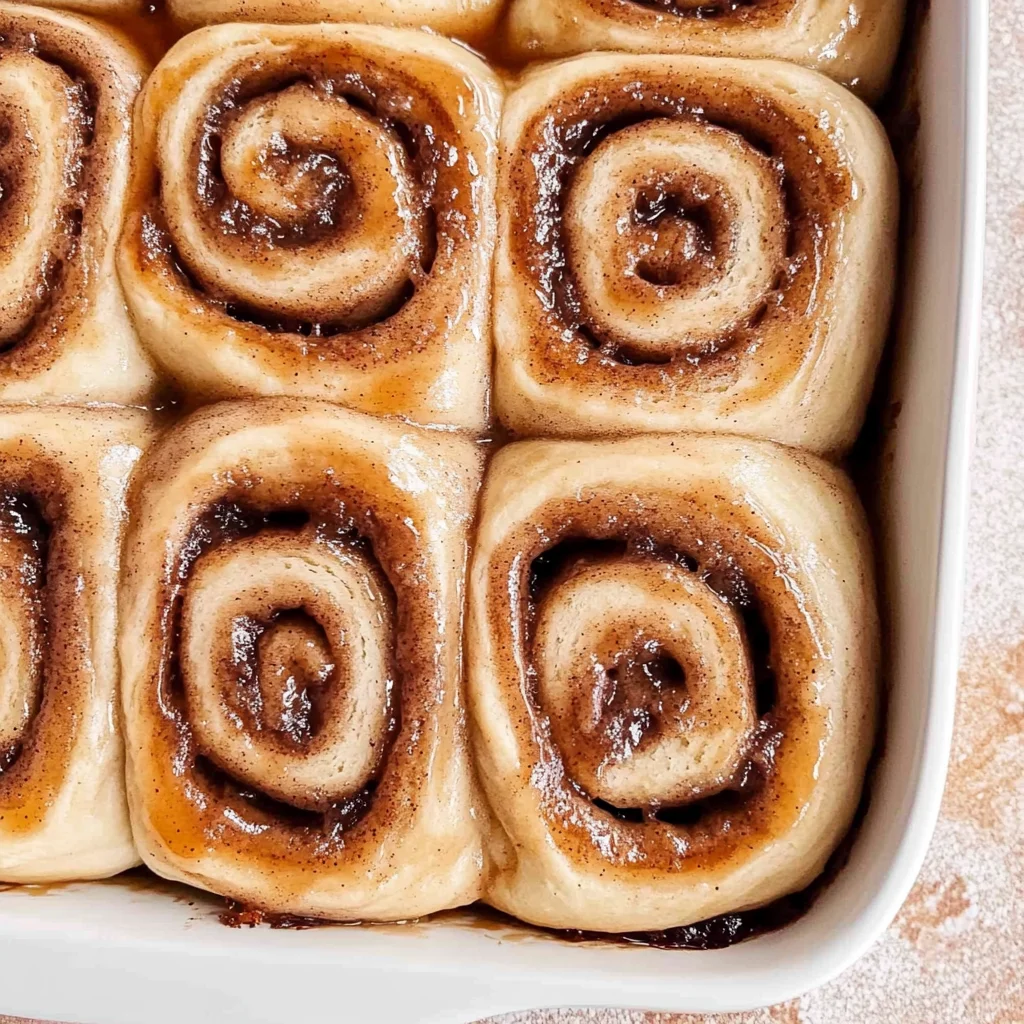
9. Place – Place the rolls in a greased baking sheet with cut sides up so they can puff up beautifully as they bake.
HANDY TIPS
- If you want larger rolls, feel free to cut fewer pieces; just increase your baking time slightly.
- To prevent sticking while rolling out, dust your work surface with flour regularly.
4. BAKE THE ROLLS
Let’s fill your kitchen with an amazing aroma!
10. Preheat – Preheat the oven to 350°F (175°C). It’s essential to have your oven ready so that those rolls can rise properly when they hit that heat!
11. Bake – Bake the rolls for 20-25 minutes or until golden brown on top and fragrant throughout your kitchen – this is when you know they’re ready!
HANDY TIPS
- Keep an eye on them after 20 minutes; ovens can vary in temperature!
- For an extra touch of flavor, sprinkle some nuts or chocolate chips between layers before rolling.
5. PREPARE THE GLAZE
Finish those beautiful rolls with a sweet drizzle!
12. Whisk – In a bowl, whisk together powdered sugar, milk, and vanilla extract until smooth. The glaze should be slightly thickened but pourable—just perfect for drizzling over warm rolls!
13. Drizzle – Drizzle the glaze over the warm rolls before serving so it melts slightly into all those nooks and crannies.
HANDY TIPS
- Adjust the thickness of your glaze by adding more powdered sugar for thicker or more milk for thinner consistency.
- Add a pinch of salt in the glaze for balance—it enhances sweetness beautifully!
You’ve just made Banana Bread Cinnamon Rolls that are bound to impress anyone who tries them! With their soft texture infused with banana goodness and topped with sweet glaze, these delightful treats are sure to be devoured quickly—maybe even before they cool down completely! Make these once, and I wager they will invade your dreams every night too! – Nagi x
FAQ – Banana Bread Cinnamon Rolls
🥖 How long will these cinnamon rolls keep?
These Banana Bread Cinnamon Rolls are best enjoyed fresh, but if you have leftovers, they can be stored at room temperature in an airtight container for up to 3 days. After that, they start to lose their fluffy texture and flavor—I’d say they’re about 90% as good on day 4. If you want to extend their life, refrigerate them for up to a week; just know they’ll dry out a bit. For the best experience, reheat them in the oven or microwave before serving!
⏳ Can I skip the resting time for the dough?
Nope! You can’t skip this step! While this recipe doesn’t require an extensive resting period like some other doughs, allowing it to rest for even a few minutes after kneading helps the gluten relax, making it easier to roll out. If you try to roll it out immediately, you’ll find the dough is more resistant and less pliable—trust me, I’ve been there!
❄️ Can I freeze these cinnamon rolls?
Absolutely! To freeze, assemble the rolls and place them in a greased baking dish without baking. Cover tightly with plastic wrap or aluminum foil and freeze for up to 2 months. When you’re ready to bake them, simply thaw them overnight in the refrigerator and let them sit at room temperature for about 30 minutes before baking. It’s like having fresh cinnamon rolls on demand!
🌾 Can I make these cinnamon rolls gluten-free?
Yes! You can substitute all-purpose flour with a gluten-free flour blend that measures cup-for-cup. I’ve tested this with a few different brands and found that blends containing xanthan gum yield the best results. Just keep in mind that gluten-free doughs can behave differently—make sure not to over-knead as they tend to become dense.
🥄 Can I use a different sweetener instead of sugar?
You could try using coconut sugar or honey as alternatives, but you’ll need to adjust your liquid ingredients accordingly if you switch to liquid sweeteners like honey. Keep in mind that honey will change the flavor profile slightly and may affect browning during baking. In my experiments, I found that reducing sugar by 25% works well without losing too much sweetness.
🔍 Why do I need to knead the dough?
Kneading is crucial because it develops gluten strands in the dough which gives your rolls that soft and fluffy structure we all love. By kneading for about 2 minutes until smooth, you’re ensuring that air gets trapped within the dough during baking—resulting in light and airy rolls rather than dense bricks! Trust me; skipping this step means risking a disappointing outcome.
🍌 Can I add nuts or chocolate chips to the filling?
Definitely! Adding chopped walnuts or pecans brings a delightful crunch that pairs beautifully with banana flavor. If you’re feeling indulgent, mini chocolate chips are also an excellent choice—they’ll melt into gooey pockets of deliciousness inside each roll! Just be careful not to overstuff; you still want your rolls to hold together nicely while baking.
Troubleshooting
I will continue to add more to this Troubleshooting section as I start seeing questions coming through from people who have made the recipe.
Troubleshooting tips
“My rolls turned out too flat! 😩”
- You may not have kneaded your dough enough. Proper kneading develops gluten, which helps the rolls rise. Aim for a smooth consistency after about 2 minutes of kneading.
- If your baking powder or baking soda is expired, it won’t give the dough the lift it needs. Always check the expiration dates before use and replace if necessary!
- It’s possible that you rolled the dough too thin when shaping it. Make sure to roll it out to about 1/4 inch thickness for fluffy rolls.
I bet they were still YUM though!
“My cinnamon rolls are dry and crumbly! 😢”
- If you over-measured your flour, that can lead to a dry dough. Make sure you’re using the spoon-and-level method for measuring flour to avoid packing it down in your cup.
- Not adding enough moisture in the form of banana or milk can also contribute to dryness. Ensure you’re using a large ripe banana and measuring your milk accurately.
- Overbaking can dry out your rolls as well. Keep an eye on them during the last few minutes of baking to pull them out when they’re golden brown.
I bet they were still YUM though!
“My rolls are too dense and tough! 😬”
- Mixing the wet and dry ingredients too much can develop excess gluten, making your rolls dense. Mix until just combined—lumps are okay!
- Using a cold egg or cold ingredients can affect how well your dough rises. Always aim for room temperature ingredients for optimal results.
- If you didn’t let the dough rest long enough after kneading, it might not have had time to relax and rise properly, leading to a tougher texture.
I bet they were still YUM though!
“The tops of my rolls look pale and unappetizing! 😒”
- If your oven isn’t calibrated correctly, it could be running cooler than expected. Consider using an oven thermometer to ensure accurate temperatures.
- Not placing the rolls in an adequately preheated oven can result in uneven baking and pale tops. Make sure your oven reaches 350°F (175°C) before putting them in.
- A glaze applied too early while the rolls are still very hot may make them look less appealing since it can melt away into the dough rather than sit on top nicely.
I bet they were still YUM though!
Banana Bread Cinnamon Rolls
Ingredients
Method
- In a mixing bowl, combine flour, sugar, baking powder, baking soda, and salt.
- In another bowl, whisk together the mashed banana, milk, melted butter, and egg.
- Pour the wet ingredients into the dry ingredients and mix until just combined.
- Knead the dough on a floured surface for about 2 minutes until smooth.
- In a small bowl, mix together brown sugar, cinnamon, and softened butter until well combined.
- Roll out the dough into a rectangle on a floured surface.
- Spread the filling evenly over the dough, leaving a small border.
- Roll the dough tightly into a log and cut into 8 equal pieces.
- Place the rolls in a greased baking sheet, cut side up.
- Preheat the oven to 350°F (175°C).
- Bake the rolls for 20-25 minutes or until golden brown.
- In a bowl, whisk together powdered sugar, milk, and vanilla extract until smooth.
- Drizzle the glaze over the warm rolls before serving.