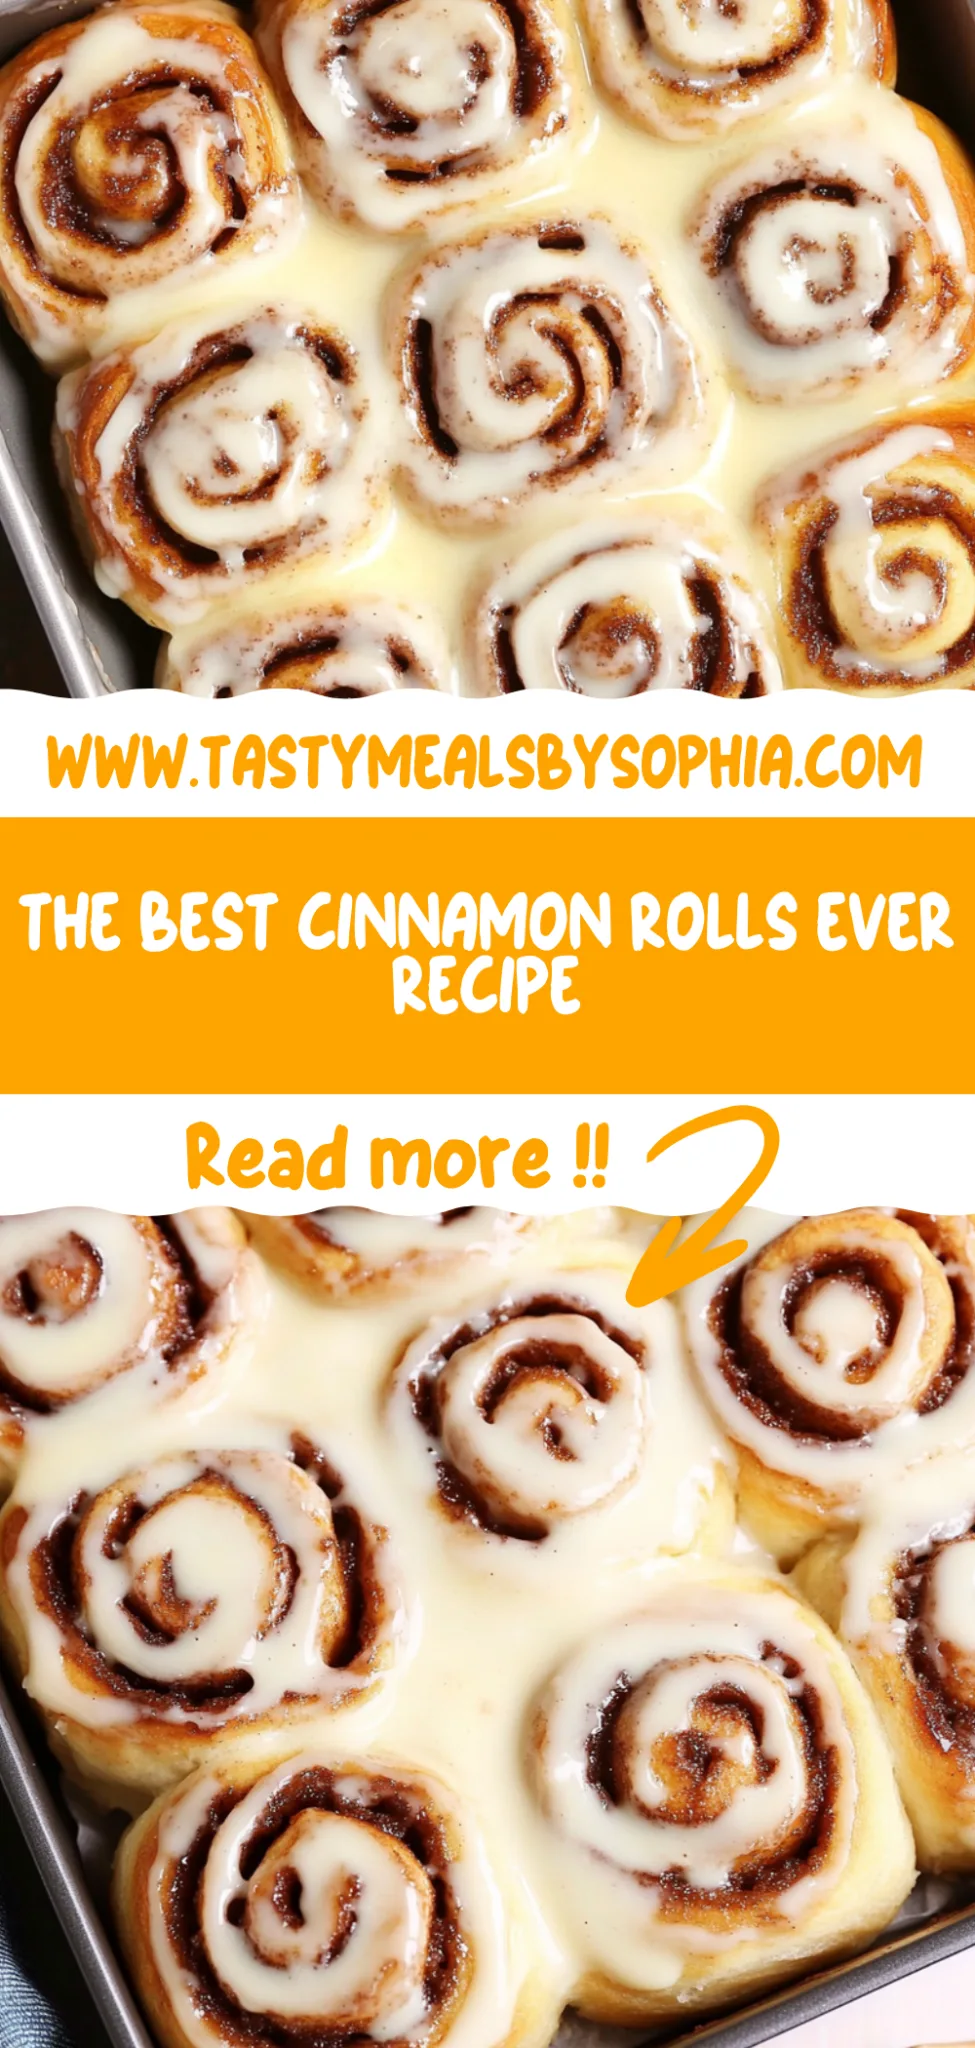
THE BEST CINNAMON ROLLS EVER RECIPE: Soft and Gooey Delight
I’ll never forget the first time I tasted a cinnamon roll that literally took my breath away. It was at a cozy little café tucked away in a quiet corner of my neighborhood, where the smell of freshly baked goods wafted through the air like an inviting hug. The rolls were soft, pillowy, and slathered in cream cheese frosting that was just the right amount of sweet. After that heavenly experience, I found myself daydreaming about those cinnamon rolls and realized I had to recreate them at home—not just for the convenience, but also because I knew I could whip up something even better. Plus, let’s be real: baking at home is way cheaper than indulging in café prices every weekend!
For months, I threw myself into perfecting what I now proudly call THE BEST CINNAMON ROLLS EVER RECIPE. Seriously, you wouldn’t believe how many attempts it took—let’s just say my kitchen looked like a flour bomb exploded more times than I’d care to admit! Each trial was a learning experience; one time they were too dense, another they didn’t rise enough. But with each flop (and there were plenty), I learned something new about achieving that soft, fluffy texture and rich flavor that make cinnamon rolls irresistible. If only my early attempts had come with a warning label: “Caution: may cause excessive frustration!”
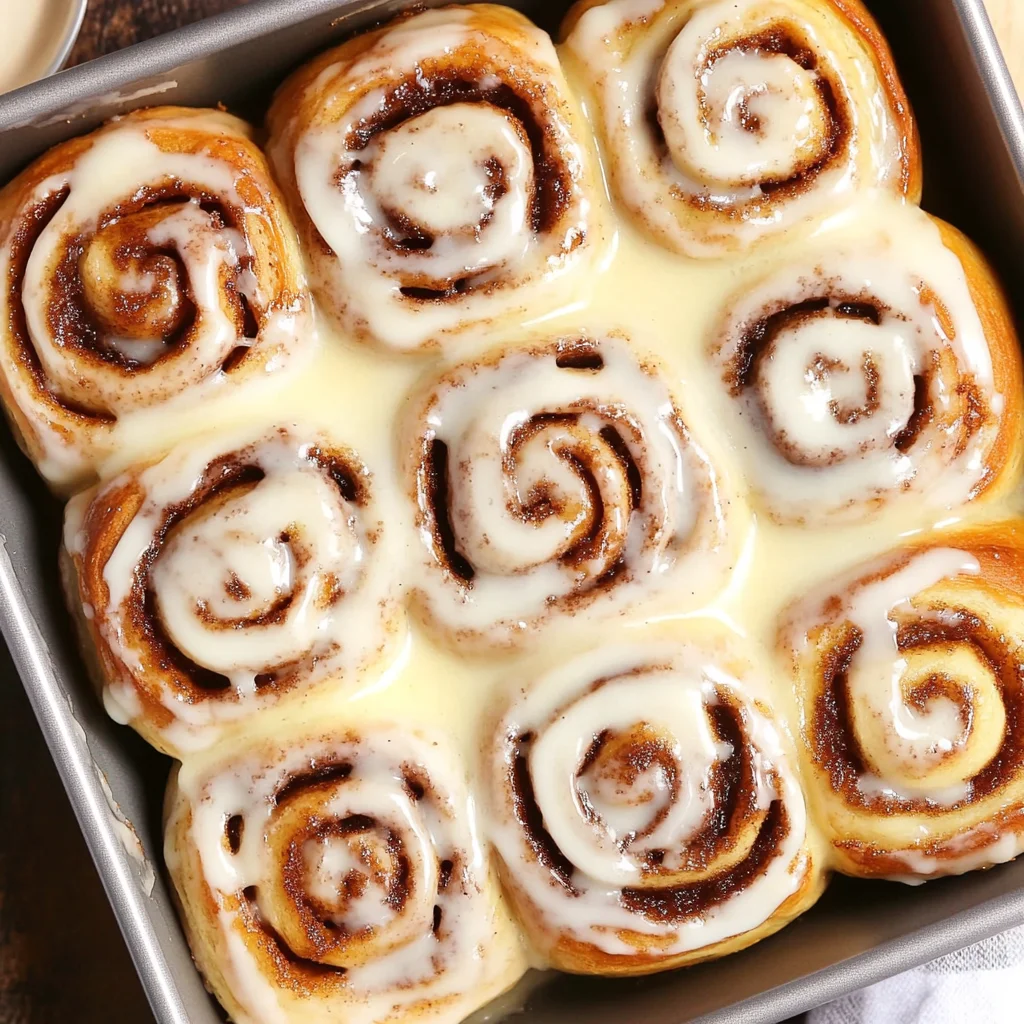
But oh boy, was it worth every messy moment! The final result is nothing short of magical—these cinnamon rolls are so soft and fluffy that they practically melt in your mouth, and the cream cheese frosting? Let’s just say it’s the cherry on top (or should I say icing on top?). With their perfectly balanced sweetness and a hint of spice from the cinnamon, they’re sure to steal the show at any breakfast or brunch gathering. I can’t wait for you to dive into this recipe and experience pure bliss—let’s get rolling!
These The Best Cinnamon Rolls Ever are….
…a true game changer in the world of breakfast treats!
1. They deliver an irresistibly sweet aroma that fills your kitchen with warmth and nostalgia, thanks to the combination of brown sugar and cinnamon in the filling. As the rolls bake, the sugar caramelizes and enhances that delightful cinnamon fragrance, making it impossible to resist sneaking a taste before they’re frosted.
2. Super soft and fluffy texture – each roll is pillowy with a tender crumb that makes every bite a delight. Achieved through the perfect balance of warm milk and eggs in the dough, these rolls rise beautifully, ensuring they’re light as air yet satisfyingly substantial.
3. A simple yet effective technique involves letting the dough rest for just the right amount of time after mixing. This allows the yeast to work its magic, creating a wonderfully airy structure that sets these cinnamon rolls apart from typical store-bought versions.
4. Incredible value – making these at home is not only more satisfying but also budget-friendly compared to bakery options. With just everyday ingredients like flour, butter, and sugar, you can enjoy freshly baked cinnamon rolls that rival any café for a fraction of the price.
PS These rolls are generously sized and yield about 12 fluffy pieces, perfect for sharing with family or friends at brunch!
Ingredients for the The Best Cinnamon Rolls Ever
Each ingredient in this dish plays an essential role in flavor and texture. Here’s what you’ll need:
Dough
- 4 cups all-purpose flour (plus more for dusting): Provides the structure and fluffy texture of the rolls.
- 1 cup whole milk (warm): Activates the yeast and adds moisture for softness.
- 1/2 cup granulated sugar: Sweetens the dough, balancing flavors throughout.
- 1/4 cup unsalted butter (melted): Adds richness and a tender crumb to the rolls.
- 2 large eggs: Contributes to the dough’s structure and enriching flavor.
- 1 packet active dry yeast: Essential for leavening, creating that light, airy texture.
- 1 teaspoon salt: Enhances the flavor while controlling yeast activity.
Filling
- 1/2 cup brown sugar (packed): Adds deep, caramel-like sweetness that complements cinnamon.
- 2 tablespoons ground cinnamon: Infuses warm spice and aromatic flavor throughout the rolls.
- 1/4 cup unsalted butter (softened): Creates a gooey filling that binds the sugar and cinnamon.
Frosting
- 8 oz cream cheese (softened): Provides tanginess that balances sweetness in the frosting.
- 1/2 cup unsalted butter (softened): Adds creaminess and richness to the frosting.
- 2 cups powdered sugar: Sweetens the frosting while giving it a smooth consistency.
- 1 teaspoon vanilla extract: Enhances all flavors with a warm, inviting aroma.
You MUST let the dough rise. No shortcuts!
I confess, I tried to skip this step. I thought, “Why not just bake them sooner and save some time?” After multiple attempts that ended with sad, dense rolls that resembled hockey pucks more than fluffy cinnamon delights, I learned my lesson the hard way. Spoiler alert: patience is a virtue when it comes to yeast dough!
Allowing the dough to rise is essential for developing the light and airy texture we all crave in cinnamon rolls. Think of it like blowing up a balloon; without enough air (or in this case, yeast activity), your balloon remains deflated and sad. The yeast feeds on sugar and produces carbon dioxide gas, which creates those delightful pockets of air in the dough. This is what transforms a simple mixture of flour, milk, and eggs into soft, pillowy goodness.
What does letting the dough rise do?
- Texture — The rolls become soft and fluffy instead of dense and heavy, providing that melt-in-your-mouth experience.
- Flavor — Allowing time for fermentation develops deeper flavors; you’ll taste hints of sweetness from the sugars as they break down.
- Volume — The dough increases in size significantly during rising, ensuring you get those beautifully puffy rolls.
- Structure — Proper gluten development occurs while resting, giving your rolls strength and preventing them from collapsing during baking.
- Freshness — Rolls that have risen adequately will retain their moisture longer, meaning they stay soft for days after baking.
Different rising times
- 30 minutes (fair) — The rolls will have some height but lack that coveted fluffiness; you’ll notice they’re denser than ideal.
- 1 hour (good) — This is the minimum recommended time; you’ll achieve decent volume but still miss out on optimal flavor development.
- ⭐️ 1.5 hours⭐️ — Best for most home bakers! The dough rises beautifully and results in tender rolls bursting with flavor.
- 2 hours or more (great) — Letting it rise longer can enhance flavor even more; however, be cautious not to over-proof or risk deflation.
Beware of the most common mistake: rushing the rising process! Trust me when I say that impatience leads to disappointment. If you don’t give your dough enough time to develop properly, your cinnamon rolls will be a letdown—dense instead of delightfully fluffy. Don’t skip this crucial step!
How to make The Best Cinnamon Rolls Ever
Are you ready to see how straightforward it is to make the The Best Cinnamon Rolls Ever of your dreams??
1. PREPARE THE DOUGH
Let’s start with the soft, fluffy dough that will be the base of your cinnamon rolls.
1. COMBINE – In a mixing bowl, combine warm milk, sugar, and yeast. Let it sit for about 5 minutes until frothy. This is crucial as the yeast needs warmth and sugar to activate and create those lovely bubbles that will help your dough rise!
2. ADD INGREDIENTS – Add melted butter, eggs, and salt to the yeast mixture. Gradually add flour, mixing until a dough forms. The melted butter adds flavor and richness while the salt balances the sweetness.
3. KNEAD – Knead the dough on a floured surface for about 5-7 minutes until smooth. This step is essential to develop gluten in your dough, giving your cinnamon rolls that delightful chewy texture. Place it in a greased bowl, cover, and let rise for 1 hour or until doubled in size.
HANDY TIPS
- Make sure your milk is warm (not hot!) to avoid killing the yeast.
- If you’re unsure if the dough has risen enough, look for it to double in size—this typically takes about an hour.
2. PREPARE THE FILLING
Now that your dough is ready, it’s time for that irresistible filling!
4. MIX FILLING – In a small bowl, mix brown sugar and cinnamon together. This mixture will create that sweet cinnamon swirl we all love!
5. ROLL OUT DOUGH – Roll out the dough into a rectangle on a floured surface. Spread softened butter evenly over it, then sprinkle the cinnamon sugar mixture evenly on top. The softened butter helps everything stick together and adds moisture.
HANDY TIPS
- For an extra kick of flavor, consider adding a pinch of nutmeg to your cinnamon sugar mixture!
- Don’t roll the dough too thin; about 1/4 inch thickness works best for fluffy rolls.
3. ROLL AND CUT
It’s time to shape our beautiful cinnamon rolls!
6. ROLL UP – Starting from one edge, tightly roll the dough into a log. Cut into 12 equal pieces using a sharp knife or dental floss for clean cuts without squishing them.
7. PLACE IN DISH – Place the rolls in a greased baking dish, cover them lightly with plastic wrap or a clean kitchen towel, and let rise for another 30 minutes until puffy.
HANDY TIPS
- If you find it hard to cut through sticky dough, dust both your knife and work surface with flour.
- You can also refrigerate these unbaked rolls overnight; just allow them to come to room temperature before baking.
4. BAKE THE ROLLS
The final countdown before you indulge!
8. PREHEAT OVEN – Preheat your oven to 350°F (175°C). Bake the rolls for 25 minutes or until golden brown on top and they sound hollow when tapped lightly on their bottoms.
HANDY TIPS
- Keep an eye on them during baking; ovens can vary! If they’re browning too quickly, tent them loosely with foil.
5. PREPARE THE FROSTING
While those delightful rolls are baking, let’s whip up some heavenly cream cheese frosting!
9. BEAT TOGETHER – In a mixing bowl, beat together cream cheese, butter, powdered sugar, and vanilla extract until smooth and creamy. This luscious frosting is what takes these cinnamon rolls over the top!
HANDY TIPS
- For an extra touch of flavor in your frosting, try adding a splash of maple syrup!
6. SERVE
You’ve made it! Now it’s time to enjoy these delicious creations.
10. COOL SLIGHTLY – Once the rolls are baked, let them cool slightly before spreading the cream cheese frosting generously on top while they’re still warm—this helps it melt into all those nooks and crannies!
11. ENJOY – Serve warm and enjoy every gooey bite of these amazing cinnamon rolls!
Making these cinnamon rolls is not only fun but incredibly rewarding! You’ve created something so deliciously comforting that I know they’ll become a favorite in your home too! Make these once, and I wager they will invade your dreams every night too! – Nagi x
FAQ – The Best Cinnamon Rolls Ever
How long will these cinnamon rolls keep? 🥐
These cinnamon rolls can be stored at room temperature for about 2 days, but they are best enjoyed fresh. If you keep them in an airtight container, they’ll still be around 90% as good on day 3! After that, I recommend refrigerating them to maintain their quality, though they may lose some of their fluffy texture. If you decide to refrigerate, consume within 5 days for the best experience. Reheat them briefly in the microwave to restore some softness.
Can I make these cinnamon rolls ahead of time? ⏰
Absolutely! You can prepare the dough and fill the rolls up to the point before baking. After cutting and placing them in the greased baking dish, cover tightly with plastic wrap and refrigerate overnight. When you’re ready to bake, let them sit at room temperature for about 30 minutes before preheating your oven. This gives them a chance to rise a bit more and ensures they’re nice and fluffy when baked!
❄️ Can I freeze these cinnamon rolls?
Yes, you can! To freeze, I recommend doing it before baking. Once you have cut the rolls and placed them in the baking dish, wrap it tightly with plastic wrap and then foil to prevent freezer burn. They can be frozen for up to 2 months. When you’re ready to bake them, simply thaw overnight in the fridge and then let them sit at room temperature for about 30 minutes before popping them in the oven.
🌾 Can these cinnamon rolls be made gluten free?
Yes! You can substitute all-purpose flour with a high-quality gluten-free flour blend that is designed for baking. Look for one that contains xanthan gum or add it yourself (about 1 teaspoon per cup of flour) to help mimic the elasticity of traditional flour. Keep in mind that gluten-free dough may require some adjustments; it’s often stickier than regular dough, so make sure to dust your surfaces well while kneading.
Can I substitute the cream cheese in the frosting? 🧀
Certainly! If you’re not a fan of cream cheese or want a dairy-free alternative, you can use mascarpone cheese or even coconut cream whipped until fluffy as a substitute. For a lighter frosting option, consider using whipped coconut cream mixed with vanilla extract and powdered sugar until it reaches your desired sweetness. Just remember that this will alter the flavor of the frosting slightly!
Why do I need to let the dough rise? 🤔
Letting the dough rise is crucial because it allows yeast to ferment and produce carbon dioxide gas, which makes the dough expand and become fluffy. Skipping this step means your rolls will end up dense and heavy instead of light and airy! Trust me; I’ve tested this multiple times—if you want soft cinnamon rolls that melt in your mouth, give that dough its time to rise!
What if my dough doesn’t rise properly? ⚠️
If your dough isn’t rising as expected after an hour, there could be several reasons why:
- Yeast Quality: Ensure your yeast is fresh; expired yeast won’t activate properly.
- Temperature: The environment should be warm (ideally around 75°F / 24°C). If it’s too cold, try placing it in a warm spot like near an oven or heating pad.
- Liquid Temperature: Make sure your milk is warm (not hot!) when activating yeast—around 110°F (43°C) is perfect.
If all else fails, don’t despair; even unrisen dough can still make decent rolls—they just might not be quite as fluffy!
Troubleshooting
I will continue to add more to this Troubleshooting section as I start seeing questions coming through from people who have made the recipe.
Troubleshooting tips
“My cinnamon rolls came out too flat! 😩”
- Your dough may not have risen enough due to a few reasons. If your yeast didn’t activate properly in the warm milk, it won’t create the bubbles needed for a good rise.
- You might have rolled the dough too thin when shaping it. The dough should be about 1/4 inch thick before rolling, so if it’s too thin, it won’t hold its shape during baking.
- I bet they were still YUM though!
“The texture of my cinnamon rolls is way too dense! 😱”
- This could happen if you added too much flour while kneading. Flour should be gradually incorporated, and if you go overboard, it can lead to dense rolls.
- Another culprit could be over-kneading the dough. Knead just until it’s smooth; otherwise, you risk developing gluten too much, making them tough!
- I bet they were still YUM though!
“My cinnamon rolls are unevenly browned! 🔥”
- If your oven temperature is off, it can cause uneven baking. Always check that your oven is calibrated correctly; an oven thermometer can help with this.
- Additionally, if the rolls are placed too close together in the pan or on a dark baking sheet, they might not get even heat distribution and browning.
- I bet they were still YUM though!
“My frosting turned out too runny! 😬”
- If you added too much milk or didn’t let your cream cheese and butter come to room temperature before mixing, this could lead to a thinner consistency.
- Make sure to measure the powdered sugar accurately; adding less sugar than needed can also make your frosting runny.
- I bet they were still YUM though!
The Best Cinnamon Rolls Ever
Ingredients
Method
- In a mixing bowl, combine warm milk, sugar, and yeast. Let it sit for about 5 minutes until frothy.
- Add melted butter, eggs, and salt to the yeast mixture. Gradually add flour, mixing until a dough forms.
- Knead the dough on a floured surface for about 5-7 minutes until smooth. Place in a greased bowl, cover, and let rise for 1 hour.
- In a small bowl, mix brown sugar and cinnamon together.
- Roll out the dough into a rectangle, spread softened butter over it, and sprinkle the cinnamon sugar mixture evenly on top.
- Starting from one edge, tightly roll the dough into a log. Cut into 12 equal pieces.
- Place the rolls in a greased baking dish, cover, and let rise for another 30 minutes.
- Preheat the oven to 350°F (175°C). Bake the rolls for 25 minutes or until golden brown.
- In a mixing bowl, beat together cream cheese, butter, powdered sugar, and vanilla extract until smooth.
- Once the rolls are baked, let them cool slightly before spreading the cream cheese frosting on top.
- Serve warm and enjoy!