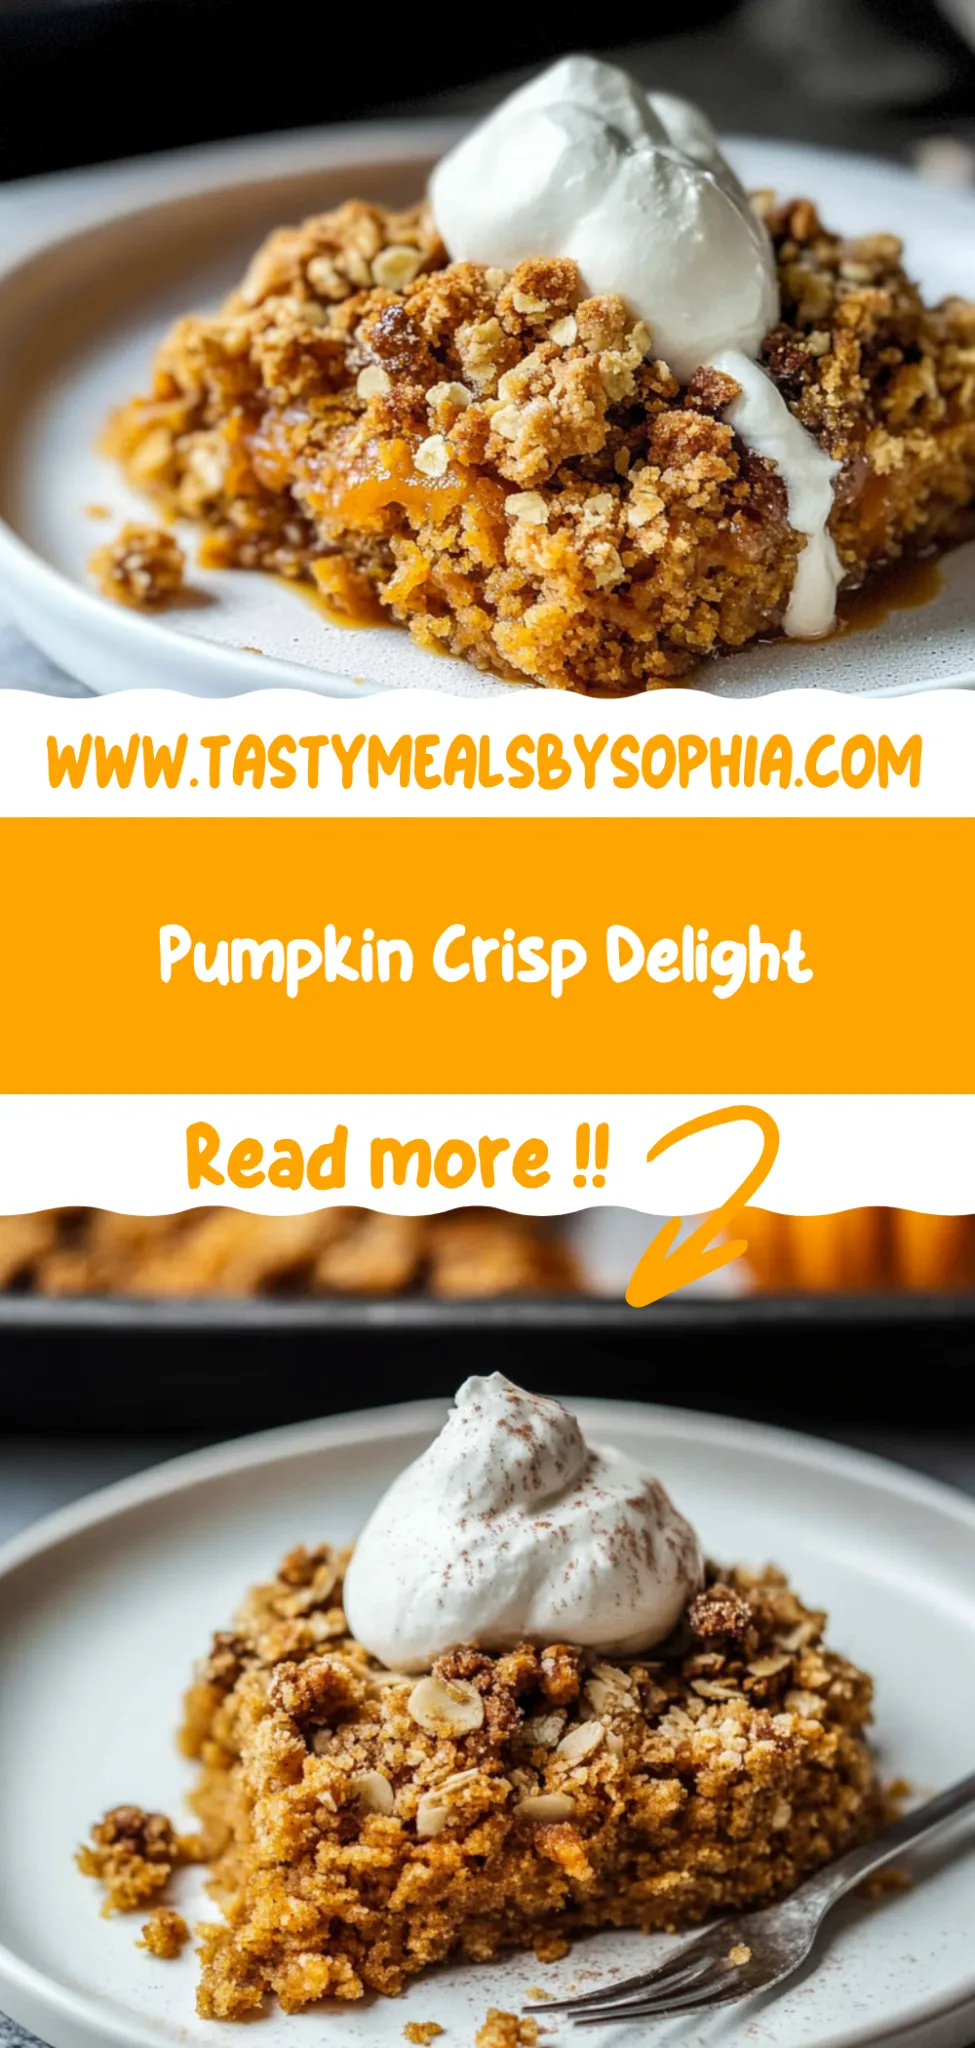
Pumpkin Crisp: Cozy Comfort in Every Bite
It all started one chilly afternoon when I wandered into a cozy little café that had the most tempting Pumpkin Crisp on the menu. The moment I took a bite, I was swept away by the harmonious blend of spiced pumpkin and that crunchy oat crumble – it was pure comfort in a bowl! But as much as I adored this dessert, the price tag stung a bit, and I couldn’t shake the feeling that I could whip up something just as delicious at home without breaking the bank. So, with my taste buds tingling and a mission in mind, I set out to recreate this delightful treat.
Let me tell you, perfecting my version of Pumpkin Crisp was no walk in the park! After five attempts (yes, five!), I finally cracked it. It was one of those classic kitchen adventures where my first few tries were disappointingly soupy or, on the flip side, so dry they could double as cement. Each iteration was a lesson learned—more spice here, less sugar there—until I finally achieved that ideal balance of flavors and textures. Who knew making this comforting dessert would turn into such an epic saga?
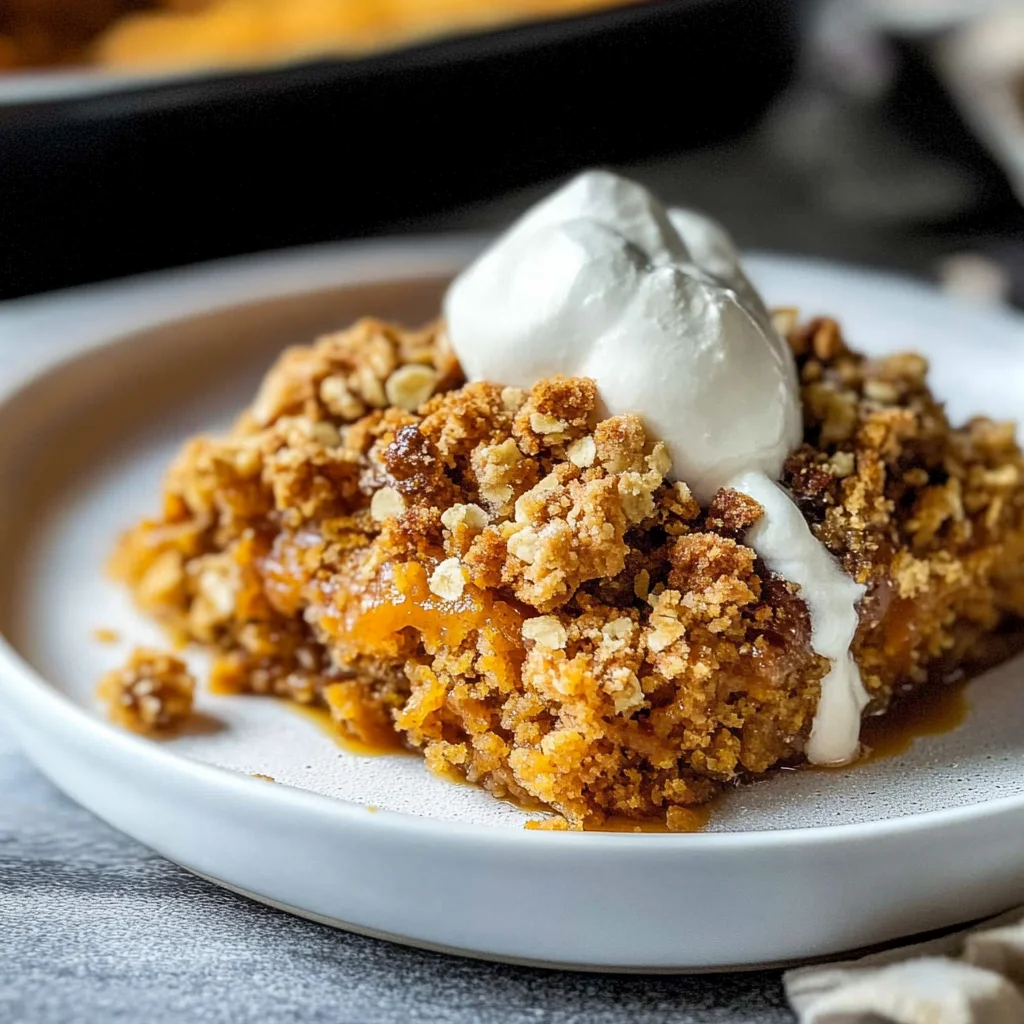
But oh boy, was it worth every trial and tribulation! The final result is everything you dream about—a warm and comforting dessert featuring spiced pumpkin topped with a crunchy oat and brown sugar crumble that sings with flavor. It’s got that perfect contrast between creamy pumpkin filling and a crispy topping that makes each bite utterly satisfying. Trust me, once you dig into this Pumpkin Crisp, you’ll be hooked! So grab your baking dish and let’s get to it—I can’t wait for you to try it!
These Pumpkin Crisp are….
….the ultimate cozy dessert that will wrap you in a warm hug with every bite!
1. They offer a deliciously spiced flavor that elevates the typical pumpkin dessert experience. The blend of cinnamon, nutmeg, and ginger creates an aromatic depth that perfectly complements the pumpkin puree, making each mouthful a celebration of fall flavors.
2. Irresistibly crunchy topping — the oat and brown sugar crumble on top adds a delightful contrast to the creamy pumpkin filling beneath. This crunch is achieved by mixing old-fashioned oats with melted butter, ensuring that every spoonful gives you that satisfying texture that’s simply addictive.
3. Elevated baking technique — using evaporated milk in the filling ensures a rich and creamy consistency that’s hard to beat. This method not only enhances the overall moisture but also intensifies the sweet pumpkin flavor without becoming overly heavy.
4. Budget-friendly indulgence — making Pumpkin Crisp at home is not only easy but also cost-effective compared to store-bought versions or restaurant desserts. With simple pantry staples like canned pumpkin and oats, you can whip up this comforting treat without breaking the bank.
PS These Pumpkin Crisp are baked in an 8×8-inch dish, making them perfect for sharing or enjoying as leftovers throughout the week!
Ingredients for the Pumpkin Crisp
Each ingredient in this dish plays an essential role in flavor and texture. Here’s what you’ll need:
- 1 can pumpkin puree (15 oz): Provides a rich, creamy base with a deep pumpkin flavor.
- 1 cup granulated sugar: Balances the spices and enhances the natural sweetness of the pumpkin.
- 1 teaspoon cinnamon: Infuses warm, aromatic notes that evoke the essence of fall.
- 1/2 teaspoon nutmeg: Adds a warm, slightly sweet depth that complements the pumpkin beautifully.
- 1/2 teaspoon ginger: Offers a zesty kick that brightens the overall flavor profile.
- 1/4 teaspoon salt: Enhances all the flavors and balances the sweetness.
- 2 large eggs: Acts as a binder, giving the filling structure and richness.
- 1/2 cup evaporated milk: Contributes creaminess and helps to create a smooth texture.
- 1 cup old-fashioned oats: Delivers a hearty crunch that contrasts with the soft filling.
- 1/2 cup all-purpose flour: Helps to form the crisp topping while adding substance.
- 1/2 cup brown sugar (packed): Brings moisture and a hint of caramel flavor to the crumble.
- 1/4 cup unsalted butter (melted): Binds the topping ingredients together and adds richness.
- 1/2 teaspoon cinnamon: Reinforces the spiced theme, enhancing the overall warmth of the dessert.
You Must Whisk Until Smooth! No Skipping This Step!
I’ll be honest: when I first made this Pumpkin Crisp, I thought I could get away with a quick stir instead of a proper whisk. Who has the time, right? 😅 Spoiler alert: I was wrong. After multiple attempts and a lot of messy bowls, I learned that taking the extra minute to whisk the filling until it’s smooth is absolutely non-negotiable for achieving that heavenly texture.
Why is it so crucial? Well, think of it like stirring a pot of soup — if you don’t mix it well, you’ll end up with clumps instead of a velvety finish. The pumpkin filling in this recipe contains eggs and evaporated milk that need to blend seamlessly with the spices and sugar. If you skip this crucial step, you risk ending up with an uneven mixture that can lead to a lumpy filling and an unbalanced flavor profile. Trust me; it’s worth the extra effort!
What does whisking until smooth do?
- Texture — A smooth mixture ensures an even consistency throughout the filling, which results in a creamy texture that’s pleasing on the palate.
- Flavor Distribution — Proper whisking integrates all the spices (cinnamon, nutmeg, ginger) evenly, ensuring every bite is bursting with balanced flavor.
- Egg Incorporation — Whisking thoroughly binds the eggs into the mixture properly, allowing them to set beautifully during baking without any curdled bits.
- Air Incorporation — Introducing air into the filling makes it lighter and fluffier as it bakes, preventing a dense or heavy dessert.
- Color Uniformity — A well-whisked mixture achieves an even color throughout the filling, enhancing its visual appeal and making it look irresistible.
Different whisking times
- 15 seconds (okay) — Bare minimum; mixture will be somewhat mixed but still have small lumps that affect texture.
- 30 seconds (good) — Better consistency; most lumps are gone but some ingredients may not be fully integrated.
- 1 minute (great) — Ideal; all ingredients are combined smoothly for perfect flavor balance and texture.
- 2 minutes (best) — Perfection; the mixture is airy and light which translates into an exquisite filling after baking.
Beware: The most common mistake is thinking you can just give it a half-hearted stir. Don’t let those lumps ruin your beautiful Pumpkin Crisp! Be diligent with your whisking—you’ll thank yourself later!
How to make Pumpkin Crisp
Are you ready to see how straightforward it is to make the Pumpkin Crisp of your dreams??
1. PREPARE THE PUMPKIN FILLING
Let’s start with that luscious pumpkin filling that’s bursting with flavor!
Preheat – Preheat your oven to 350°F (175°C). This ensures that your Pumpkin Crisp bakes evenly and beautifully.
Combine – In a mixing bowl, combine the pumpkin puree, granulated sugar, cinnamon, nutmeg, ginger, salt, eggs, and evaporated milk. Whisk until smooth and creamy—this will create a silky filling that sets perfectly in the oven.
HANDY TIPS
- Use freshly grated spices if possible! They can elevate the flavor profile of your filling significantly.
- Ensure your pumpkin puree is well-mixed to avoid any lumps in the filling.
2. MAKE THE CRISP TOPPING
Get ready for that irresistible crunchy topping!
Mix – In another bowl, mix the old-fashioned oats, all-purpose flour, brown sugar, melted butter, and cinnamon until crumbly. You want a texture that resembles coarse breadcrumbs for maximum crunch.
HANDY TIPS
- For an extra nutty flavor, feel free to add chopped nuts like pecans or walnuts into your crisp topping.
- If you prefer a sweeter topping, you can slightly increase the amount of brown sugar!
3. ASSEMBLE AND BAKE
Now it’s time to put everything together and bake!
Pour – Pour the pumpkin filling into a greased 9×9 inch baking dish. Make sure it’s evenly spread out for consistent cooking.
Sprinkle – Sprinkle the crisp topping evenly over the pumpkin filling. This layer is key for that delightful crunch that pairs perfectly with the soft pumpkin.
Bake – Bake in the preheated oven for 45 minutes or until the filling is set and the topping is golden brown. You’ll know it’s ready when your kitchen fills with warm aromas and the top looks deliciously crispy!
HANDY TIPS
- If you notice the topping browning too quickly before the filling sets, you can cover it loosely with aluminum foil during baking.
- Allowing it to cool slightly helps set the filling more firmly so it slices beautifully!
4. SERVE
It’s time to enjoy this delightful dessert!
Cool – Allow your Pumpkin Crisp to cool slightly before serving; this will make slicing easier and enhance flavors as they meld together. Enjoy it warm on its own or topped with whipped cream for extra indulgence!
What a cozy dessert you’ve created! You’ve just made a heartwarming Pumpkin Crisp that’s perfect for any occasion—especially those chilly evenings! I can’t wait for you to dig in! – Nagi x
FAQ – Pumpkin Crisp
🍰 How long will this Pumpkin Crisp keep?
Pumpkin Crisp can be stored in the refrigerator for up to 4 days. After that, the quality starts to diminish—about 90% as good on day 3 and around 75% by day 4. Just make sure to cover it tightly with plastic wrap or foil to prevent it from drying out. If you have leftovers, reheat individual portions in the microwave for about 20-30 seconds, or until warmed through.
⏳ Can I skip resting the Pumpkin Crisp before serving?
No, you can’t skip it! Allowing the Pumpkin Crisp to cool slightly after baking is essential. This helps the filling set a bit more, making it easier to slice and serve without a soupy mess. I usually let it cool for at least 15 minutes. Trust me, your patience will pay off!
❄️ Can I freeze Pumpkin Crisp for later?
Absolutely! You can freeze unbaked or baked Pumpkin Crisp. For unbaked: prepare the dish up to assembly, cover tightly with plastic wrap, and then aluminum foil. It can go in the freezer for up to 3 months. For baked: let it cool completely before wrapping it well and freezing it for up to 2 months. To thaw, place it in the fridge overnight and then bake directly from frozen at 350°F (175°C) until heated through—about 25-30 minutes.
🌾 Can I make this recipe gluten-free?
Yes, you can! To make a gluten-free version of Pumpkin Crisp, substitute all-purpose flour with a gluten-free flour blend that measures cup-for-cup like Bob’s Red Mill or King Arthur Flour’s Gluten-Free Measure for Measure Flour. Ensure your oats are certified gluten-free as cross-contamination can occur during processing.
🥛 Can I substitute evaporated milk with something else?
You can replace evaporated milk with other dairy options like whole milk or half-and-half; however, if you’re looking for a non-dairy alternative, try using coconut milk or almond milk. If you use almond milk, I recommend reducing the amount slightly as it’s thinner than evaporated milk—try using about 1/3 cup instead of 1/2 cup for similar consistency.
🔍 Why do we whisk the pumpkin filling until smooth?
Whisking the pumpkin filling thoroughly ensures that all ingredients are well incorporated and that there are no lumps of pumpkin puree left behind. This results in a creamy texture throughout your dessert and helps distribute the spices evenly. Plus, it’s just more satisfying to eat when it’s silky smooth!
🎃 Can I add extra spices or flavors to customize my Pumpkin Crisp?
Definitely! Feel free to experiment with additional spices like cloves or allspice if you’re feeling adventurous—just keep in mind that a little goes a long way! You could also add chopped nuts like pecans or walnuts into the crisp topping for some added crunch and flavor variation. Go wild; it’s your dessert!
Troubleshooting
I will continue to add more to this Troubleshooting section as I start seeing questions coming through from people who have made the recipe.
Troubleshooting tips
“My Pumpkin Crisp turned out too thin! 😩”
- You may have used a larger baking dish than specified. A 9×9 inch dish helps achieve the right thickness; if it’s too big, the filling spreads out and becomes thin.
- If you didn’t whisk the pumpkin filling enough, it might not have set properly during baking. Make sure to combine all ingredients until smooth for better structure.
- I bet it was still YUM though!
“My topping came out too dry and crumbly! 😕”
- You might not have added enough melted butter to the crisp topping. The butter is essential for binding the oats and flour; without it, the topping can become overly dry.
- If you used quick oats instead of old-fashioned oats, they can absorb moisture differently, leading to a drier texture. Stick with old-fashioned oats for optimal results!
- I bet it was still YUM though!
“The top of my Pumpkin Crisp is too dark! 🔥”
- If your oven runs hot or you baked it for too long, that could lead to burning on top. Always check your crisp around the 40-minute mark and adjust accordingly.
- Using a dark-colored baking dish can also cause uneven browning, as they absorb more heat. Consider using a lighter dish next time for a more even bake.
- I bet it was still YUM though!
“My filling looks curdled and not smooth at all! 😳”
- This could happen if your eggs were too cold when mixed in with the other ingredients. Room temperature eggs blend better and help create a uniform texture.
- Overmixing can also cause air bubbles that lead to an uneven texture. When combining ingredients, whisk just until blended for best results.
- I bet it was still YUM though!
Pumpkin Crisp
Ingredients
Method
- Preheat the oven to 350°F (175°C).
- In a mixing bowl, combine pumpkin puree, sugar, cinnamon, nutmeg, ginger, salt, eggs, and evaporated milk. Whisk until smooth.
- In another bowl, mix oats, flour, brown sugar, melted butter, and cinnamon until crumbly.
- Pour the pumpkin filling into a greased 9x9 inch baking dish.
- Sprinkle the crisp topping evenly over the pumpkin filling.
- Bake in the preheated oven for 45 minutes, or until the filling is set and the topping is golden brown.
- Allow to cool slightly before serving. Enjoy warm, optionally with whipped cream.