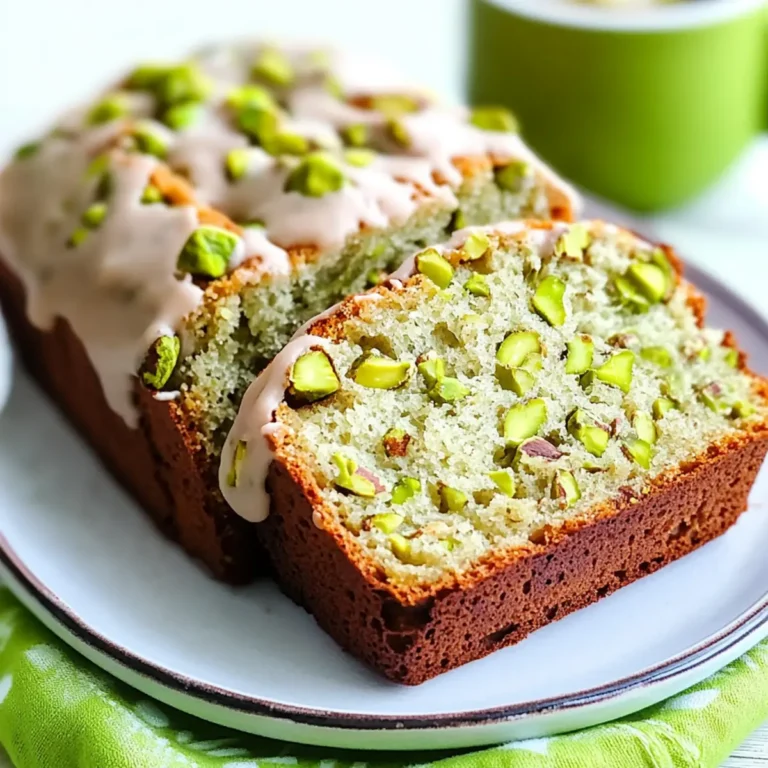
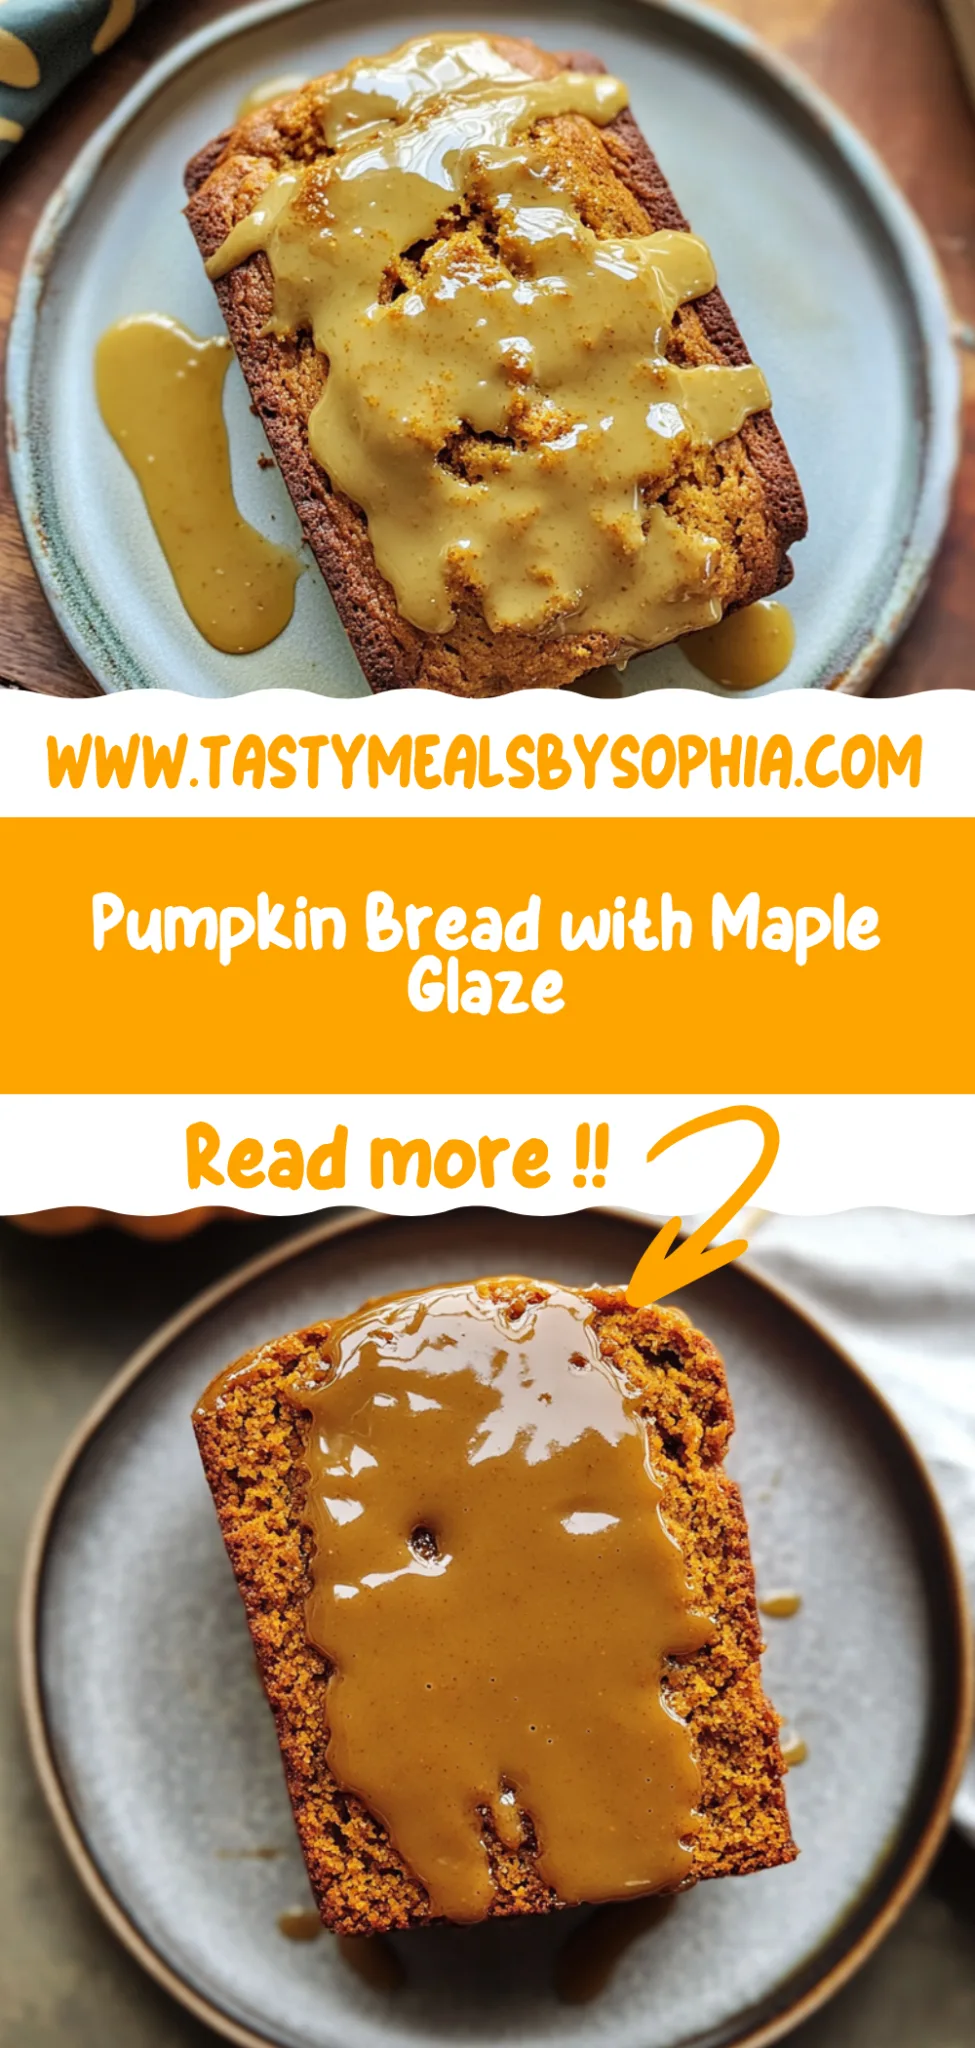
Pumpkin Bread with Maple Glaze: Cozy and Delicious Treat
I first fell in love with pumpkin bread when I stumbled upon a quaint little café during an autumn road trip. The moment I took a bite of their moist pumpkin bread drizzled with a sweet maple glaze, it was like the season itself had wrapped me in a cozy blanket. It was so delicious that I thought, “Why not recreate this at home?” Plus, let’s be honest—there’s something both comforting and economical about whipping up a homemade treat instead of splurging on overpriced café goodies.
After several attempts and a few kitchen mishaps that would make even the most seasoned bakers chuckle, I finally nailed my version of Pumpkin Bread with Maple Glaze. I think it’s safe to say my initial enthusiasm led me down a bit of a rabbit hole—I lost count after the fifth attempt! Each iteration was a quest to achieve that perfect balance of moisture and spice, and let’s just say, my taste testers (a.k.a. friends and family) were more than patient as I tried to figure out what worked best. Spoiler alert: there may have been some overly dense loaves that ended up as very enthusiastic doorstops!
But oh boy, was it worth it! The final result is a pumpkin bread that’s incredibly moist and bursting with flavor, topped off with that irresistible sweet maple glaze that makes each bite feel like a warm hug on a chilly day. It’s got the perfect texture—soft yet sturdy enough to slice without crumbling—and the flavor? Let’s just say it’s like fall in your mouth! So grab your mixing bowl and let’s get baking; I can’t wait for you to experience this delightful treat!
These Pumpkin Bread with Maple Glaze are….
….the ultimate fall treat that will have you dreaming of cozy evenings!
1. They deliver an incredible depth of flavor thanks to the perfect blend of spices like cinnamon, nutmeg, and ginger. This aromatic combination not only enhances the natural sweetness of the pumpkin puree but also creates a warm, inviting taste that’s synonymous with autumn baking.
2. Irresistibly moist texture – this pumpkin bread is soft and tender with a delightful crumb that melts in your mouth. The combination of vegetable oil and eggs ensures that each slice remains incredibly moist, making it a joy to eat any time of day.
3. A simple yet effective technique is used when mixing the wet ingredients to ensure the sugars dissolve fully before adding the flour. This step helps create a uniform batter that bakes evenly, resulting in consistent flavor and texture throughout every slice.
4. Cost-effective indulgence – making this Pumpkin Bread with Maple Glaze at home is not only easier than you might think, but it’s also much more affordable than buying gourmet versions from bakeries. With accessible ingredients like canned pumpkin and pantry staples, you can whip up a delicious loaf without breaking the bank.
PS This recipe yields one standard loaf, perfect for sharing or for enjoying over a few days—if it lasts that long!
Ingredients for the Pumpkin Bread with Maple Glaze
Each ingredient in this dish plays an essential role in flavor and texture. Here’s what you’ll need:
- 1 cup canned pumpkin puree (not pumpkin pie filling): Provides moisture and a rich pumpkin flavor.
- 1 cup granulated sugar: Balances sweetness and contributes to the bread’s structure.
- 1/2 cup brown sugar (packed): Adds depth of flavor and enhances moisture.
- 1/2 cup vegetable oil: Ensures a tender crumb and keeps the bread moist.
- 2 large eggs: Acts as a binding agent, adding richness and stability.
- 1 teaspoon vanilla extract: Infuses a warm, aromatic sweetness to the bread.
- 2 cups all-purpose flour: Forms the base structure for the bread.
- 1 teaspoon baking soda: Helps the bread rise, creating a light texture.
- 1/2 teaspoon baking powder: Works with baking soda to ensure optimal leavening.
- 1 teaspoon ground cinnamon: Provides a warm, spicy flavor that complements pumpkin.
- 1/2 teaspoon ground nutmeg: Adds a hint of warmth and earthiness to the mix.
- 1/4 teaspoon ground ginger: Introduces a subtle spiciness that enhances overall flavor.
- 1/2 teaspoon salt: Balances sweetness and elevates all other flavors.
Don’t Skip the Cooling Time! Trust Me!
I know, I know—waiting for your pumpkin bread to cool before slicing feels like an eternity, especially when that sweet maple glaze is calling your name. I tried cutting corners once and jumped right in after just a few minutes of cooling, and let’s just say, it was a crumbly disaster. Lesson learned: patience truly is a virtue.
Cooling the bread allows it to firm up and develop that perfect texture we all crave. Think of it like letting a pizza rest after baking; if you slice into it too soon, you’re left with a gooey mess instead of beautiful slices. For this pumpkin bread, allowing it to cool completely ensures it holds its shape and makes for easier slicing, so you can enjoy every delicious bite topped with that luscious maple glaze!
What does cooling do?
- Texture — The cooling process helps the pumpkin bread set properly, giving it a moist yet sturdy crumb that’s easy to slice without falling apart.
- Flavor development — Allowing the bread to cool enhances the flavors as they meld together, resulting in a richer taste that’s hard to replicate if you cut into it while it’s still warm.
- Crust formation — A proper cooling time allows for a firmer crust to develop on the outside of the bread, adding contrast to the soft interior.
- Moisture retention — Cooling prevents excess steam from escaping too quickly, ensuring your pumpkin bread stays wonderfully moist rather than dry.
- Easier glazing — When the loaf is completely cool, the glaze adheres better without melting away or becoming runny, allowing for that perfect drizzle.
Different Cooling Times
- 10 minutes (okay) — Just enough time for the pan to be handled safely; however, the inside is still very soft and may crumble when sliced.
- 30 minutes (better) — The edges begin to firm up, making slicing easier but still somewhat delicate if not careful.
- 60 minutes (ideal) — The loaf has set nicely; you’ll achieve clean cuts and maintain moisture while allowing flavors to deepen.
- 2 hours or more (best) — Perfectly cooled pumpkin bread! This will offer optimal texture and flavor while ensuring gorgeous slices every time.
If you’re tempted to dive right in after only a few minutes of cooling, resist! The most common mistake people make is slicing into their pumpkin bread too soon—trust me; you’ll regret it later when your beautiful loaf turns into a messy pile of crumbs. Patience is key!
How to make Pumpkin Bread with Maple Glaze
Are you ready to see how straightforward it is to make the Pumpkin Bread with Maple Glaze of your dreams??
1. PREPARE THE PUMPKIN BREAD
Let’s get that oven preheated and create a beautifully moist pumpkin bread!
1. Preheat – Preheat the oven to 350°F (175°C) and grease a loaf pan generously. This ensures your bread will slide out easily once baked.
2. Mix Wet Ingredients – In a mixing bowl, combine the pumpkin puree, granulated sugar, brown sugar, vegetable oil, eggs, and vanilla extract. Mix until smooth. This combination creates a rich base that adds flavor and moisture!
3. Combine Dry Ingredients – In another bowl, whisk together the flour, baking soda, baking powder, cinnamon, nutmeg, ginger, and salt. This helps distribute the leavening agents evenly and brings out the warm spices in your bread!
4. Combine Mixtures – Gradually add the dry ingredients to the wet ingredients, mixing until just combined. Be careful not to overmix; this keeps your bread tender and fluffy!
5. Pour Batter – Pour the batter into the prepared loaf pan and smooth the top with a spatula for an even bake.
6. Bake – Bake for 60 minutes or until a toothpick inserted in the center comes out clean. The aroma that fills your kitchen will be irresistible!
7. Cool Down – Allow the bread to cool in the pan for 10 minutes before transferring it to a wire rack to cool completely. This step prevents sogginess on the bottom.
HANDY TIPS
- If you want an extra touch of flavor, try adding chopped nuts or chocolate chips into the batter!
- For a more intense spice flavor, consider increasing the cinnamon or nutmeg slightly.
2. MAKE THE MAPLE GLAZE
Now for that sweet finishing touch that takes this pumpkin bread over-the-top!
8. Whisk Glaze Ingredients – In a small bowl, whisk together the powdered sugar, maple syrup, and milk until smooth. Adjust the milk as necessary to achieve your desired glaze consistency—thick enough to coat but still drizzle-worthy!
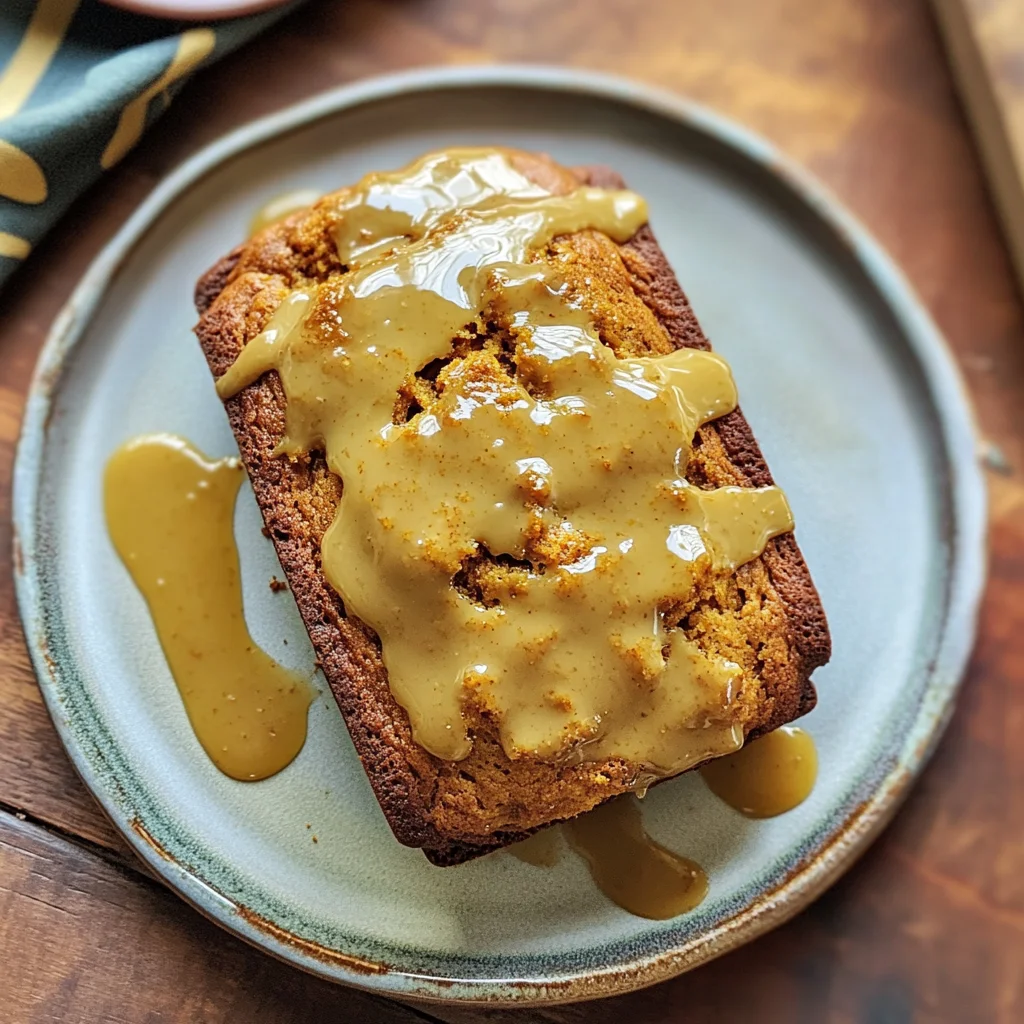
9. Drizzle Over Bread – Once the bread is completely cool, drizzle the maple glaze over the top using a spoon or spatula for an artistic touch!
10. Set Glaze – Let the glaze set for a few minutes before slicing into your delicious creation; this will give it that lovely glossy finish!
HANDY TIPS
- Feel free to adjust maple syrup levels in your glaze if you prefer it sweeter or more subdued.
- For added flair, sprinkle some chopped pecans or walnuts on top of the glaze before it sets!
What an amazing journey we’ve just taken from simple ingredients to a delightful loaf of Pumpkin Bread with Maple Glaze! You’ve crafted something truly special that’s bound to impress family and friends alike—perfect for cozy fall gatherings or simply enjoying with your morning coffee! Make these once, and I wager they will invade your dreams every night too! – Nagi x
FAQ – Pumpkin Bread with Maple Glaze
How long will this pumpkin bread keep?
Pumpkin bread can be stored at room temperature for up to 3 days in an airtight container, where it will remain 97% as good on day 3! After that, you might notice it becoming a bit dry or stale. If you want to extend its life, you can refrigerate it for about a week, but I recommend enjoying it at room temperature for the best texture and flavor. Freezing is also an option—just wrap it tightly in plastic wrap and then foil. It can last up to 3 months in the freezer without losing too much quality.
❄️ Do I need to let the pumpkin bread cool before glazing?
Yes, you absolutely need to wait until the pumpkin bread is completely cool before drizzling on the maple glaze! If you glaze it while it’s still warm, the glaze will melt and run off instead of setting nicely on top. I usually let mine cool in the pan for about 10 minutes, then transfer it to a wire rack for at least another 30 minutes. This ensures that your glaze has that beautiful drippy effect without turning into a puddle!
Can I freeze the pumpkin bread?
Definitely! Freezing is a great way to preserve your pumpkin bread. Once baked and cooled completely, wrap it tightly in plastic wrap followed by aluminum foil to prevent freezer burn. When you’re ready to enjoy it, simply remove it from the freezer and let it thaw overnight in the refrigerator, or at room temperature for about 2-3 hours. I often slice mine before freezing so I can take out just what I need!
🌾 Can this recipe be made gluten free?
Absolutely! To make gluten-free pumpkin bread, substitute the all-purpose flour with a 1: 1 gluten-free flour blend. I’ve personally tested this with brands like Bob’s Red Mill and King Arthur Flour, both of which worked beautifully. Just keep an eye on baking time—it might need an extra few minutes if using a gluten-free mix, as they can sometimes absorb more moisture.
Can I substitute ingredients in this recipe?
Yes, there are options for substitutions! If you’re looking to cut down on sugar, consider using coconut sugar instead of granulated sugar; just keep in mind that this may alter the color slightly and give your bread a more caramel-like flavor. You could also use applesauce or mashed bananas for part of the oil—about 1/4 cup should work well without compromising moisture too much. However, I wouldn’t recommend reducing sugar too much; I’ve tested that extensively and found that it affects both texture and taste.
Why do I need to mix until just combined?
Mixing only until just combined is key because over-mixing develops gluten in the flour, resulting in denser bread rather than light and fluffy pumpkin bread. You want those lovely pockets of moistness from the canned pumpkin puree to shine through! So when you’re mixing your wet and dry ingredients together, stop as soon as you see no dry flour left—trust me, your taste buds will thank you!
Can I add nuts or chocolate chips to my pumpkin bread?
Of course! Adding nuts like walnuts or pecans gives a nice crunch and complements the spices beautifully. For a sweeter twist, chocolate chips work wonders as well—just fold in about 1 cup after combining your wet and dry ingredients. You can get creative here: feel free to experiment with dried fruits like cranberries or even shredded coconut if that’s more your style! Just remember not to overmix once you’ve added them in.
Did you really test this recipe multiple times?
Oh yes! I’m a little mad 😅; I’ve made this pumpkin bread at least 15 times during recipe development! Each time was crucial for perfecting that ideal balance of spices and moisture. And trust me when I say this recipe delivers every single time—it’s become one of my favorites for fall gatherings (and sneaking bites late at night).
Troubleshooting
I will continue to add more to this Troubleshooting section as I start seeing questions coming through from people who have made the recipe.
Troubleshooting tips
“My pumpkin bread came out too dense! 😩”
- Your flour measurement might have been off, possibly packed down too much in the measuring cup. This can lead to using more flour than intended, making the bread dense.
- You may have overmixed your batter after adding the dry ingredients. Overmixing can develop gluten, resulting in a denser texture.
I bet it was still YUM though!
“The top of my pumpkin bread cracked! 😢”
- If your oven temperature is too high, it can cause the bread to rise rapidly and crack on top before it has set properly. Make sure your oven is calibrated correctly.
- You might have opened the oven door too early during baking, which can cause sudden temperature changes and lead to cracking.
I bet it was still YUM though!
“My pumpkin bread looks pale and undercooked! 😱”
- You might not have baked it long enough; every oven can vary slightly in temperature. Always use the toothpick test to ensure it’s fully cooked.
- If you used a darker or nonstick pan, it can sometimes lead to browning slower than expected. Consider adjusting baking time accordingly next time.
I bet it was still YUM though!
“My maple glaze turned out too runny! 🤔”
- If you added too much milk when mixing the glaze, it could cause it to be runny rather than thick and drizzly. Start with less milk and gradually add until you reach your desired consistency.
- Alternatively, if your powdered sugar was not sifted, clumps could prevent achieving that perfect thickness. Sifting can help create a smoother glaze.
I bet it was still YUM though!
Pumpkin Bread with Maple Glaze
Ingredients
Method
- Preheat the oven to 350°F (175°C). Grease a loaf pan.
- In a mixing bowl, combine the pumpkin puree, granulated sugar, brown sugar, vegetable oil, eggs, and vanilla extract. Mix until smooth.
- In another bowl, whisk together the flour, baking soda, baking powder, cinnamon, nutmeg, ginger, and salt.
- Gradually add the dry ingredients to the wet ingredients, mixing until just combined.
- Pour the batter into the prepared loaf pan and smooth the top.
- Bake for 60 minutes or until a toothpick inserted in the center comes out clean.
- Allow the bread to cool in the pan for 10 minutes, then transfer to a wire rack to cool completely.
- In a small bowl, whisk together the powdered sugar, maple syrup, and milk until smooth.
- Once the bread is completely cool, drizzle the maple glaze over the top.
- Let the glaze set for a few minutes before slicing.