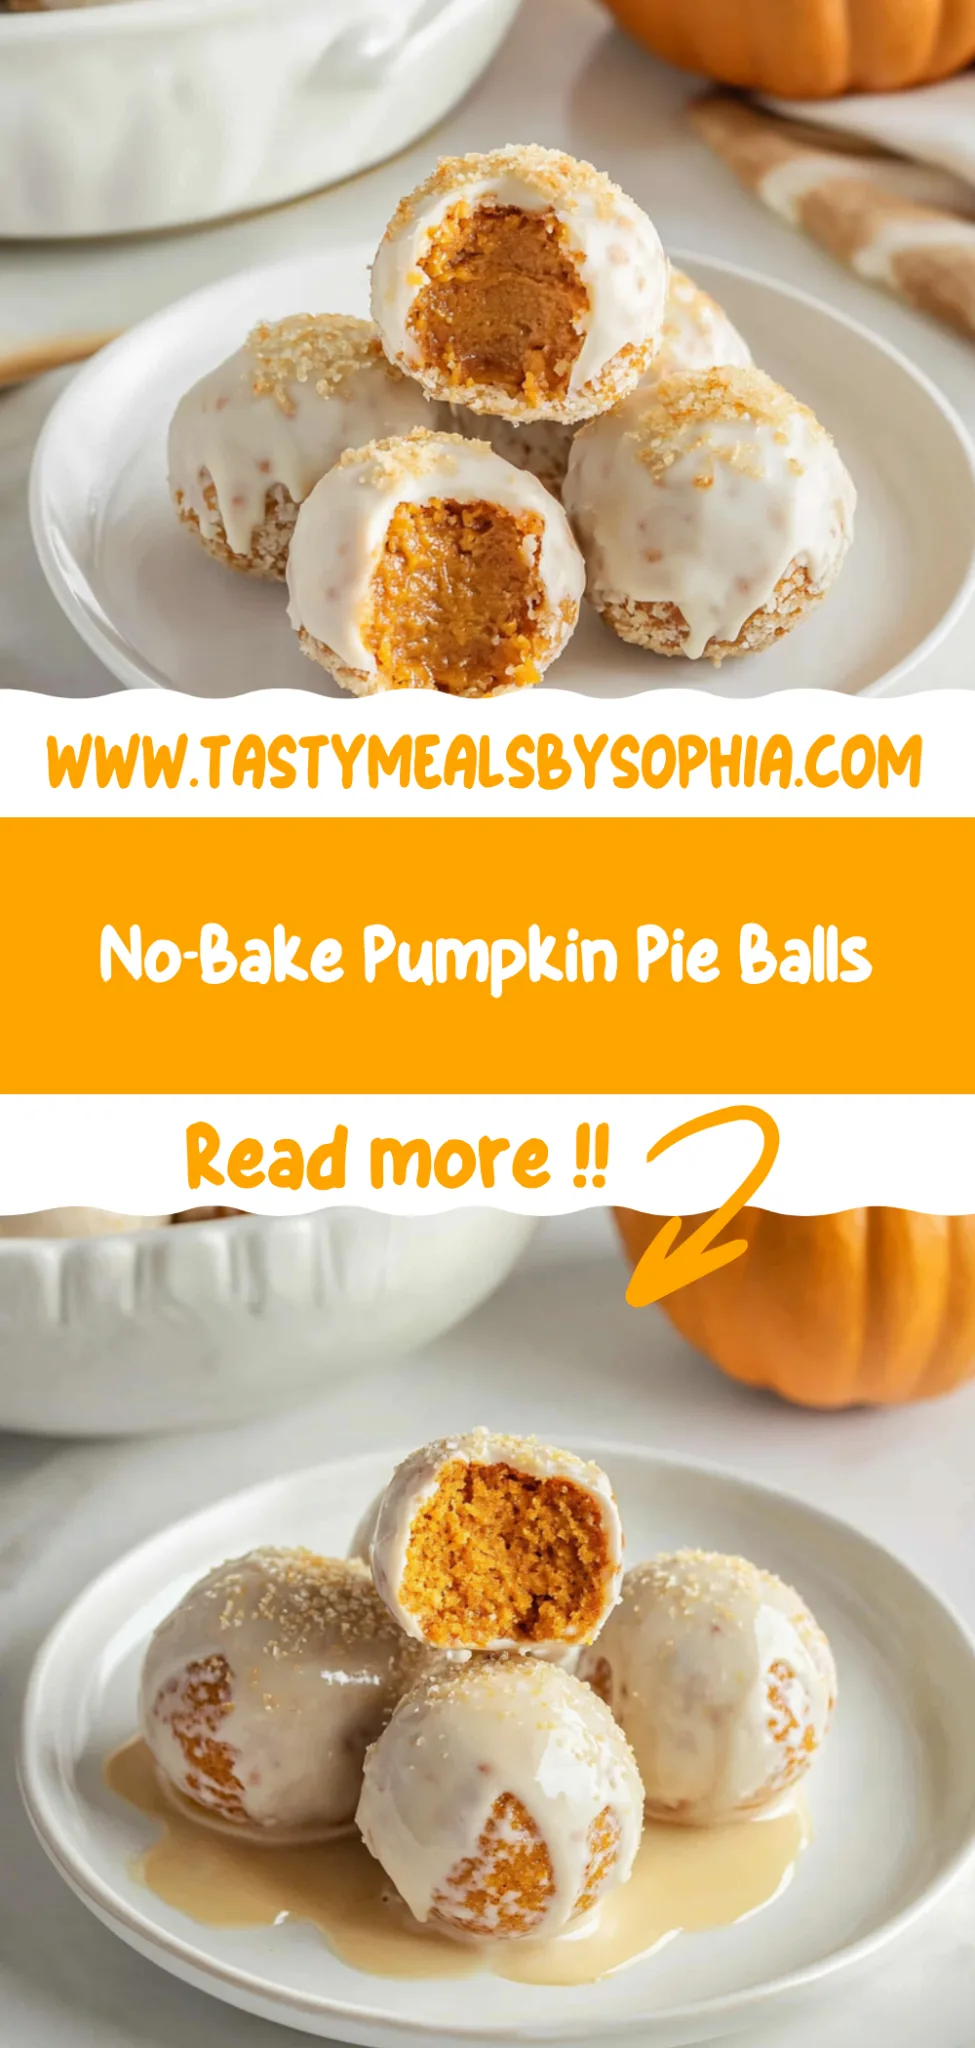
No-Bake Pumpkin Pie Balls: A Festive Treat You’ll Love
I first stumbled upon the idea of No-Bake Pumpkin Pie Balls during a fall gathering at a friend’s house. They were such a hit that I couldn’t help but wonder why I hadn’t thought of them myself! The way they captured the essence of pumpkin pie in a bite-sized treat was just brilliant, and it sparked a burning desire to recreate them at home. Plus, let’s be real—fall gatherings can get pricey, and I always appreciate finding ways to whip up something delicious without breaking the bank.
My journey to perfecting these little balls of goodness was quite the adventure, let me tell you! I think I went through at least five rounds of testing, each one ending with my taste testers (aka my family) either delighted or politely chewing while trying to mask their confusion. With every iteration, I aimed to nail that perfect balance of creamy pumpkin filling and crunchy coating—easy enough to whip up but still full of flavor that would have everyone raving. There may have been a few too many “interesting” flavor combinations along the way, but hey, it’s all part of the fun!
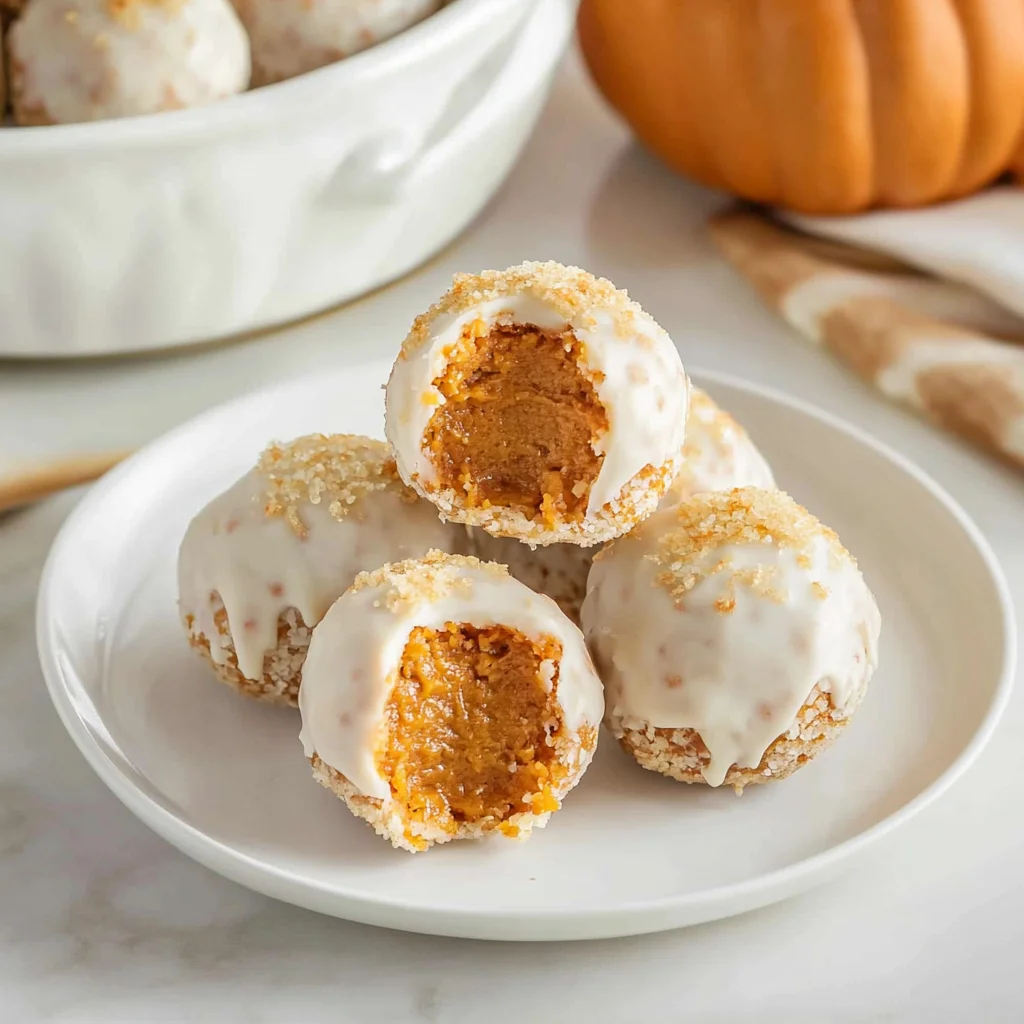
But oh boy, was it worth it! The final result is a dreamy combination of silky pumpkin spice filling rolled into bite-sized balls that are both indulgent and surprisingly light. They boast a delightful crunch from the coating and an explosion of warm fall flavors with every bite—seriously addictive! I can’t wait for you to try these No-Bake Pumpkin Pie Balls; they’re bound to become your new favorite fall treat. Let’s dive in and create some delicious memories together!
These No-Bake Pumpkin Pie Balls are….
…a delightful twist on traditional pumpkin pie that captures the essence of fall in every bite!
1. They offer an irresistibly sweet and spiced flavor that embodies the warmth of autumn, thanks to the rich pumpkin puree and aromatic pumpkin pie spice. This combination creates a comforting taste, reminiscent of cozy gatherings with friends and family during the harvest season.
2. Perfectly creamy texture – these pumpkin pie balls have a smooth, luscious mouthfeel that melts in your mouth. The softened cream cheese combines beautifully with the pumpkin puree, making each bite feel indulgent while still maintaining a lightness that’s perfect for snacking.
3. No-bake convenience – this recipe uses simple steps to achieve delicious results without turning on the oven. By mixing together easily accessible ingredients like graham cracker crumbs and powdered sugar, I’ve managed to create a foolproof treat that saves time and effort, which is especially valuable during busy fall festivities.
4. They deliver exceptional cost efficiency, allowing you to whip up a batch of these No-Bake Pumpkin Pie Balls for a fraction of the price you’d pay for store-bought treats. With just a handful of pantry staples, you can make about 20 delightful bites that are sure to impress guests at any gathering.
PS These bites are small but mighty! Each ball is about the size of a golf ball, making them perfect for popping into your mouth while mingling at parties.
Ingredients for the No-Bake Pumpkin Pie Balls
Each ingredient in this dish plays an essential role in flavor and texture. Here’s what you’ll need:
1 cup pumpkin puree (canned or homemade): Provides a rich, earthy flavor and creamy texture.
1 cup graham cracker crumbs (finely crushed): Adds a sweet crunch that mimics pie crust.
1/2 cup cream cheese (softened): Contributes creaminess and helps bind the mixture together.
1/4 cup powdered sugar: Sweetens the balls while maintaining a smooth consistency.
1 teaspoon pumpkin pie spice: Infuses warm, aromatic flavors reminiscent of fall.
1/2 cup chocolate chips (for coating): Creates a deliciously sweet shell that complements the filling.
You Must Mix Until Smooth. No Skipping This Step!
I have a confession: I thought I could skip the step of mixing the pumpkin and cream cheese until smooth. I mean, how different could it really be, right? After several attempts that left me with a lumpy mess instead of delicious bites, I had to admit defeat. Trust me, this is one technique you can’t afford to overlook!
Mixing the pumpkin puree with cream cheese until perfectly smooth is crucial for achieving that creamy texture we all love in pumpkin pie balls. Think of it like making a luscious cheesecake — if the base isn’t blended properly, you end up with an unappetizing clump rather than a dreamy bite. The smooth mixture allows for even distribution of flavors and ensures each ball has that rich, velvety consistency that makes them irresistible.
What does mixing until smooth do?
- Flavor — Achieving a uniform mixture ensures that every bite is packed with the perfect balance of pumpkin, cream cheese, and spices without any unpleasant lumps.
- Texture — A smooth mixture creates a creamy consistency that’s essential for forming perfectly rounded balls; chunky bits can lead to uneven shapes and odd mouthfeel.
- Coherence — Proper mixing helps bind the ingredients together, preventing the balls from falling apart when coated in chocolate.
- Visual Appeal — A well-mixed filling results in a more appealing color throughout; no one wants a speckled treat that looks like it’s confused about its identity!
- Shelf Life — The smoother texture helps maintain moisture within each ball, allowing them to stay fresh longer without drying out.
Different Mixing Times
- 1 minute (good) — The mixture will be somewhat blended but still have lumps; flavor distribution is uneven.
- 2 minutes (better) — A much smoother texture begins to develop, but there may still be small bits of cream cheese or pumpkin visible.
- 3 minutes (best) — Perfectly smooth and homogenous; this is the sweet spot for making sure everything melds beautifully together.
- Beyond 4 minutes (diminishing returns) — While it remains blended, over-mixing can introduce unnecessary air into the mixture, altering texture slightly.
Beware! The most common mistake here is not mixing long enough. If you rush through this step or leave it lumpy, your pumpkin pie balls won’t have that dreamy texture or balanced flavor we’re aiming for. Don’t skimp on this crucial part!
How to make No-Bake Pumpkin Pie Balls
Are you ready to see how straightforward it is to make the No-Bake Pumpkin Pie Balls of your dreams??
1. PREPARE THE MIXTURE
Let’s start by blending those delicious fall flavors together!
1. COMBINE – In a mixing bowl, combine 1 cup of pumpkin puree, 1/2 cup of softened cream cheese, 1/4 cup of powdered sugar, and 1 teaspoon of pumpkin pie spice. Mix until smooth and creamy; you want all those flavors to meld beautifully.
2. ADD – Gradually add in 1 cup of finely crushed graham cracker crumbs, mixing until the mixture becomes thick enough to form balls. It should hold together without being too sticky; this will ensure your balls keep their shape.
HANDY TIPS
- Use canned pumpkin puree for convenience or make your own for a fresh taste!
- If your mixture feels too wet, just add a little more graham cracker crumbs until it reaches the right consistency.
2. FORM THE BALLS
Time to get your hands a little messy and shape these beauties!
3. SHAPE – Using your hands, form the mixture into small balls, about 1 inch in diameter. Don’t worry if they aren’t perfect; rustic is always charming!
4. PLACE – Carefully place each ball on a cookie sheet lined with parchment paper. This will prevent them from sticking and make for easy cleanup.
HANDY TIPS
- For uniformity, consider using a small ice cream scoop to portion out the mixture.
- If you find the mixture is sticking to your hands, lightly wet them with water or oil for easier shaping.
3. COAT THE BALLS
Now for the decadent chocolate coating that ties it all together!
5. MELT – Melt 1/2 cup of chocolate chips in a microwave-safe bowl, stirring every 30 seconds until smooth and glossy. Be careful not to overheat; burnt chocolate can ruin the flavor! ⚠️
6. DIP – Dip each pumpkin ball into the melted chocolate, ensuring they are fully coated for that delicious crunch. Use a fork to lift them out and let any excess chocolate drip off before placing them back on the cookie sheet.
7. REFRIGERATE – Return the coated balls to the cookie sheet and refrigerate until the chocolate is set, about 30 minutes. You’ll know they’re ready when the chocolate looks firm and matte!
HANDY TIPS
- Feel free to mix in some chopped nuts or sprinkles into the melted chocolate for added texture.
- Try using white chocolate instead if you’re feeling adventurous – it pairs wonderfully with pumpkin!
Now you’ve made these delightful No-Bake Pumpkin Pie Balls that are sure to impress at any fall gathering! Just imagine serving these sweet little bites – they’re like autumn wrapped in chocolate! Make these once, and I wager they will invade your dreams every night too! – Nagi x
FAQ – No-Bake Pumpkin Pie Balls
How long will these pumpkin pie balls keep? 🕒
These no-bake pumpkin pie balls can be stored in the refrigerator for up to 5 days. After that, they start to lose their freshness, and I’d estimate them at about 85% as good on day 6. For best results, keep them in an airtight container to prevent drying out and to maintain the chocolate coating’s integrity. If you notice any off smells or the chocolate looks dull, it’s time to toss them!
❄️ Do I really have to chill? YES YOU DO.
Yes, chilling is essential! After you coat the pumpkin pie balls in chocolate, they need at least 30 minutes in the fridge for the chocolate to set properly. Skipping this step means you’ll end up with a melty mess instead of perfectly formed bites. Trust me; I’ve tried skipping this part, and let’s just say… it didn’t end well!
Can I freeze these no-bake pumpkin pie balls? ❄️
Absolutely! You can freeze these delightful treats for up to 3 months. To do this, place them on a baking sheet lined with parchment paper and freeze until solid, then transfer them to an airtight container or a freezer bag. When you’re ready to enjoy them, simply thaw in the fridge overnight or leave them at room temperature for about 30 minutes. Just note that while freezing preserves their flavor, the chocolate coating may not be as glossy after thawing.
🌾 Can these be made gluten free?
Yes! To make gluten-free no-bake pumpkin pie balls, simply swap out regular graham cracker crumbs for gluten-free graham crackers or even finely crushed nuts like almond flour or pecans. This way, you can still enjoy that delicious pumpkin spice flavor without worrying about gluten. Just remember that not all brands are created equal, so check labels carefully!
Can I reduce the sugar or substitute with sweeteners?
No, unfortunately! I experimented quite a bit with reducing the powdered sugar — down to half and even using alternatives like stevia — but the texture and taste just didn’t hold up. The sugar not only sweetens but also helps bind everything together. Stick with 1/4 cup powdered sugar, and if you’re looking for a healthier twist, consider using a bit of maple syrup instead (just adjust your graham cracker crumbs accordingly).
Why do I need to gradually add in the graham cracker crumbs? 🤔
Gradually adding the graham cracker crumbs is crucial because it allows you to control the consistency of your mixture. If you dump it all in at once, you might end up with a dry mix that’s hard to work with or too wet without enough binding strength. By slowly mixing until it’s thick enough to form into balls (think play-dough consistency!), you’ll ensure they hold together beautifully when shaped.
What kind of add-ins can I use for these pumpkin pie balls? 🍂
You can get creative with add-ins! Some popular options include:
- Chopped nuts: Walnuts or pecans provide great texture.
- Mini marshmallows: For a s’mores-inspired twist.
- Dried cranberries or raisins: To add a hint of tartness.
- Coconut flakes: For tropical vibes!
Just remember that any add-ins will change the final texture slightly, so adjust your graham cracker crumbs accordingly if needed!
Troubleshooting
I will continue to add more to this Troubleshooting section as I start seeing questions coming through from people who have made the recipe.
Troubleshooting tips
“My pumpkin pie balls are too soft and falling apart! 😩”
- You may have added too much pumpkin puree, making the mixture overly wet and difficult to hold together. Stick to 1 cup of pumpkin puree for the right consistency.
- If your cream cheese wasn’t softened enough, it can create lumps in the mixture that prevent it from binding properly. Make sure it’s at room temperature before mixing!
- I bet they were still YUM though!
“The chocolate coating is cracking and not smooth! 😭”
- If the chocolate was overheated or melted too quickly, it can become thick and unmanageable, leading to unsightly cracks. Make sure to melt it gently in short intervals, stirring often.
- You might not have dipped the balls quickly enough after melting the chocolate, allowing it to cool and harden slightly before coating. Work swiftly for a smoother finish!
- I bet they were still YUM though!
“My pumpkin pie balls are unevenly shaped! 🤷♀️”
- If you didn’t measure out the mixture consistently when forming the balls, some may end up larger or smaller than others. Use a cookie scoop for uniformity!
- Alternatively, if your hands were too moist while rolling them, they might lose their shape. Dry your hands before rolling for better results!
- I bet they were still YUM though!
“The graham cracker crumbs seem too crunchy in my balls! 😕”
- You may not have crushed your graham crackers finely enough, which can lead to a grainy texture instead of a smooth filling. Aim for fine crumbs so they blend seamlessly into the mixture.
- If you added them too quickly without ensuring the mixture was well-combined first, they might not have had time to soften adequately with the wet ingredients. Mix thoroughly first next time!
- I bet they were still YUM though!
No-Bake Pumpkin Pie Balls
Ingredients
Method
- In a mixing bowl, combine pumpkin puree, cream cheese, powdered sugar, and pumpkin pie spice. Mix until smooth.
- Gradually add in the graham cracker crumbs until the mixture is thick enough to form balls.
- Using your hands, form the mixture into small balls, about 1 inch in diameter.
- Place the balls on a cookie sheet lined with parchment paper.
- Melt the chocolate chips in a microwave-safe bowl, stirring every 30 seconds until smooth.
- Dip each pumpkin ball into the melted chocolate, ensuring they are fully coated.
- Return the coated balls to the cookie sheet and refrigerate until the chocolate is set, about 30 minutes.