Cheesy Corn Fritters: Your New Favorite Comfort Food
I’ve always had a weakness for crispy corn fritters, especially those cheesy ones you find at local cafes that make you feel like you’re indulging in pure comfort food. It was during one of my weekend brunch outings when I encountered a plate of golden, cheese-laden fritters that I couldn’t resist; they were so good, I practically inhaled them! The joy of that moment sparked the idea to recreate a version at home. Not only did I want to nail that irresistible cheesy goodness, but I also knew it would be cheaper and quicker than trekking out every time I had the craving.
Let me tell you, perfecting my Cheesy Corn Fritters was no walk in the park. After about five attempts (yes, five!), which involved some rather embarrassing kitchen mishaps—like the time I mistook baking powder for flour and ended up with fritter pancakes—I finally found the right balance of ingredients. Each iteration brought me closer to my goal: a perfectly crispy exterior and a gooey cheesy center that would make anyone swoon. Honestly, if my neighbors didn’t think I was nuts from all the frying sounds coming from my kitchen, they certainly got a kick out of my taste-testing sessions!
But oh boy, was it worth every fried disaster! The final result? Deliciously crispy corn fritters that are not just loaded with cheese but also bursting with flavor. With their golden-brown crunch on the outside and melty cheese on the inside, these fritters are perfect as a snack or an appetizer for any gathering. So grab your ingredients and get ready to whip up a batch of these delightful bites—I promise you’ll be hooked!
These Cheesy Corn Fritters are….
….the ultimate snack that will have you coming back for seconds!
1. They deliver an explosion of flavor with each bite, thanks to the sweet corn and rich, melting cheese. The combination of cheddar or mozzarella enhances the overall taste experience, making these fritters not just a snack but a delightful treat that bursts with savory goodness.
2. Irresistibly crunchy exterior – every fritter has a golden-brown crust that provides the perfect crunch, while the inside remains soft and cheesy. I achieve this by frying them in vegetable oil, ensuring they develop that satisfying crunch without losing their tender core.
3. Simple yet effective technique – by mixing fresh or canned corn with beaten eggs and flour, I create a batter that holds together beautifully when fried. This technique guarantees that each fritter is packed with ingredients and doesn’t fall apart during cooking, elevating them above typical fritters.
4. Cost-effective indulgence – making these Cheesy Corn Fritters at home is not only easy but also budget-friendly compared to ordering similar items at a restaurant. With just a handful of pantry staples like flour, cheese, and corn kernels, you can whip up a batch that feeds a crowd without breaking the bank.
PS These fritters are quick to prepare and fry up in no time! Perfect for parties or as a simple family snack.
Ingredients for the Cheesy Corn Fritters
Each ingredient in this dish plays an essential role in flavor and texture. Here’s what you’ll need:
1 cup corn kernels (fresh or canned): These provide a sweet burst of flavor and a delightful texture.
1 cup all-purpose flour: This acts as the binding agent, giving structure to the fritters.
1 cup shredded cheese (cheddar or mozzarella): Adds gooey richness and a savory depth of flavor.
2 large eggs (beaten): Serve as a crucial binder that helps hold everything together.
1 teaspoon baking powder: Ensures the fritters rise and achieve a light, fluffy interior.
1 teaspoon salt: Enhances all the flavors and balances the sweetness of the corn.
1/2 teaspoon black pepper: Introduces a subtle warmth that complements the other ingredients.
1/4 cup green onions (chopped): Contributes a fresh, mild onion flavor that brightens each bite.
Let the Fritter Mixture Rest — Trust Me on This!
I know, I know—waiting for something to thicken feels like watching paint dry. I tried skipping this step once, thinking I could get away with it, and let me tell you, my fritters turned out more like sad pancakes than golden, crispy bites of heaven. So, believe me when I say that this little pause is non-negotiable!
When you let the fritter mixture rest for about 10 minutes, you’re allowing the flour to fully hydrate and the baking powder to activate. This not only thickens the batter but also improves the overall texture of your fritters. Think of it as letting a good pizza dough rise; it creates a lightness and structure that keeps each bite beautifully crispy on the outside while remaining tender and cheesy on the inside.
What does resting do?
- Texture — The fritters become fluffier because the flour absorbs moisture, resulting in a batter that holds together better during frying.
- Crispiness — Resting helps develop a sturdier exterior as the moisture balance stabilizes, leading to crunchier edges when fried.
- Flavor — Allowing time for the baking powder to activate enhances the overall taste profile, giving you that delightful lift in each bite.
- Uniformity — The resting period allows all ingredients to mingle and create a consistent texture throughout each fritter.
- Oil Absorption — A thicker batter means less oil absorption during frying, resulting in lighter fritters rather than greasy ones.
Different resting times
- 5 minutes (okay) — Minimal hydration, resulting in decent fritters but lacking that ideal texture.
- 10 minutes (good) — Optimal time for flour hydration; you get lightly crisped edges with a fluffy interior.
- 15 minutes (better) — Slightly thicker batter provides even more stability—perfectly balanced between crispy and soft!
- 20+ minutes (best) — While still good, beyond this point can risk over-hydrating; monitor closely to avoid overly runny batter.
Don’t skip this step! The most common mistake is rushing through the resting time. If you don’t give your fritter mixture a chance to thicken properly, you’ll end up with flat fritters that lack that perfect crispiness we’re all after. Trust me; take those 10 minutes—your taste buds will thank you!
How to make Cheesy Corn Fritters
Are you ready to see how straightforward it is to make the Cheesy Corn Fritters of your dreams??
1. PREPARE THE FRITTER MIXTURE
Let’s get that fritter mixture ready so you can start frying up some deliciousness!
1. Combine – In a mixing bowl, combine the corn, flour, shredded cheese, beaten eggs, baking powder, salt, black pepper, and chopped green onions. Mix until everything is well combined; you want that cheesy goodness evenly distributed throughout the mixture.
2. Rest – Let the mixture sit for about 10 minutes to thicken. This resting time allows the flour to absorb moisture and creates a better texture in your fritters.
HANDY TIPS
- Use fresh corn kernels when in season for an extra sweet and crunchy bite!
- If using canned corn, ensure it’s well-drained to avoid excess moisture in your mixture.
- For added flavor, consider mixing in a pinch of garlic powder or paprika!
2. COOK THE FRITTERS
Now for the fun part—frying these babies up until they’re golden brown and crispy!
3. Heat Oil – Heat vegetable oil in a frying pan over medium heat. You want enough oil (about 1 cup) to cover the bottom of the pan generously without submerging the fritters completely. To check if it’s hot enough, drop a tiny bit of batter into the oil; if it sizzles immediately, you’re good to go! ⚠️
4. Scoop Mixture – Scoop about 1/4 cup of the fritter mixture and carefully place it in the hot oil. Flatten slightly with a spatula to help them cook evenly and achieve a nice crisp on the outside.
5. Fry – Fry for 3-4 minutes on each side or until golden brown and crispy. Keep an eye on them; they should be beautifully browned but not burnt! 💡 TIP: Don’t overcrowd the pan—give each fritter space to breathe.
6. Drain – Remove from the pan and place on paper towels to drain excess oil. This helps keep them crispy rather than soggy.
7. Repeat – Repeat with the remaining mixture until all fritters are cooked.
HANDY TIPS
- If you want even cooking, try flipping them only once during frying!
- Adjust heat as needed; if they brown too quickly, lower it slightly to ensure they’re cooked through without burning.
3. SERVE YOUR FRITTERS
The moment you’ve been waiting for—time to enjoy those scrumptious fritters!
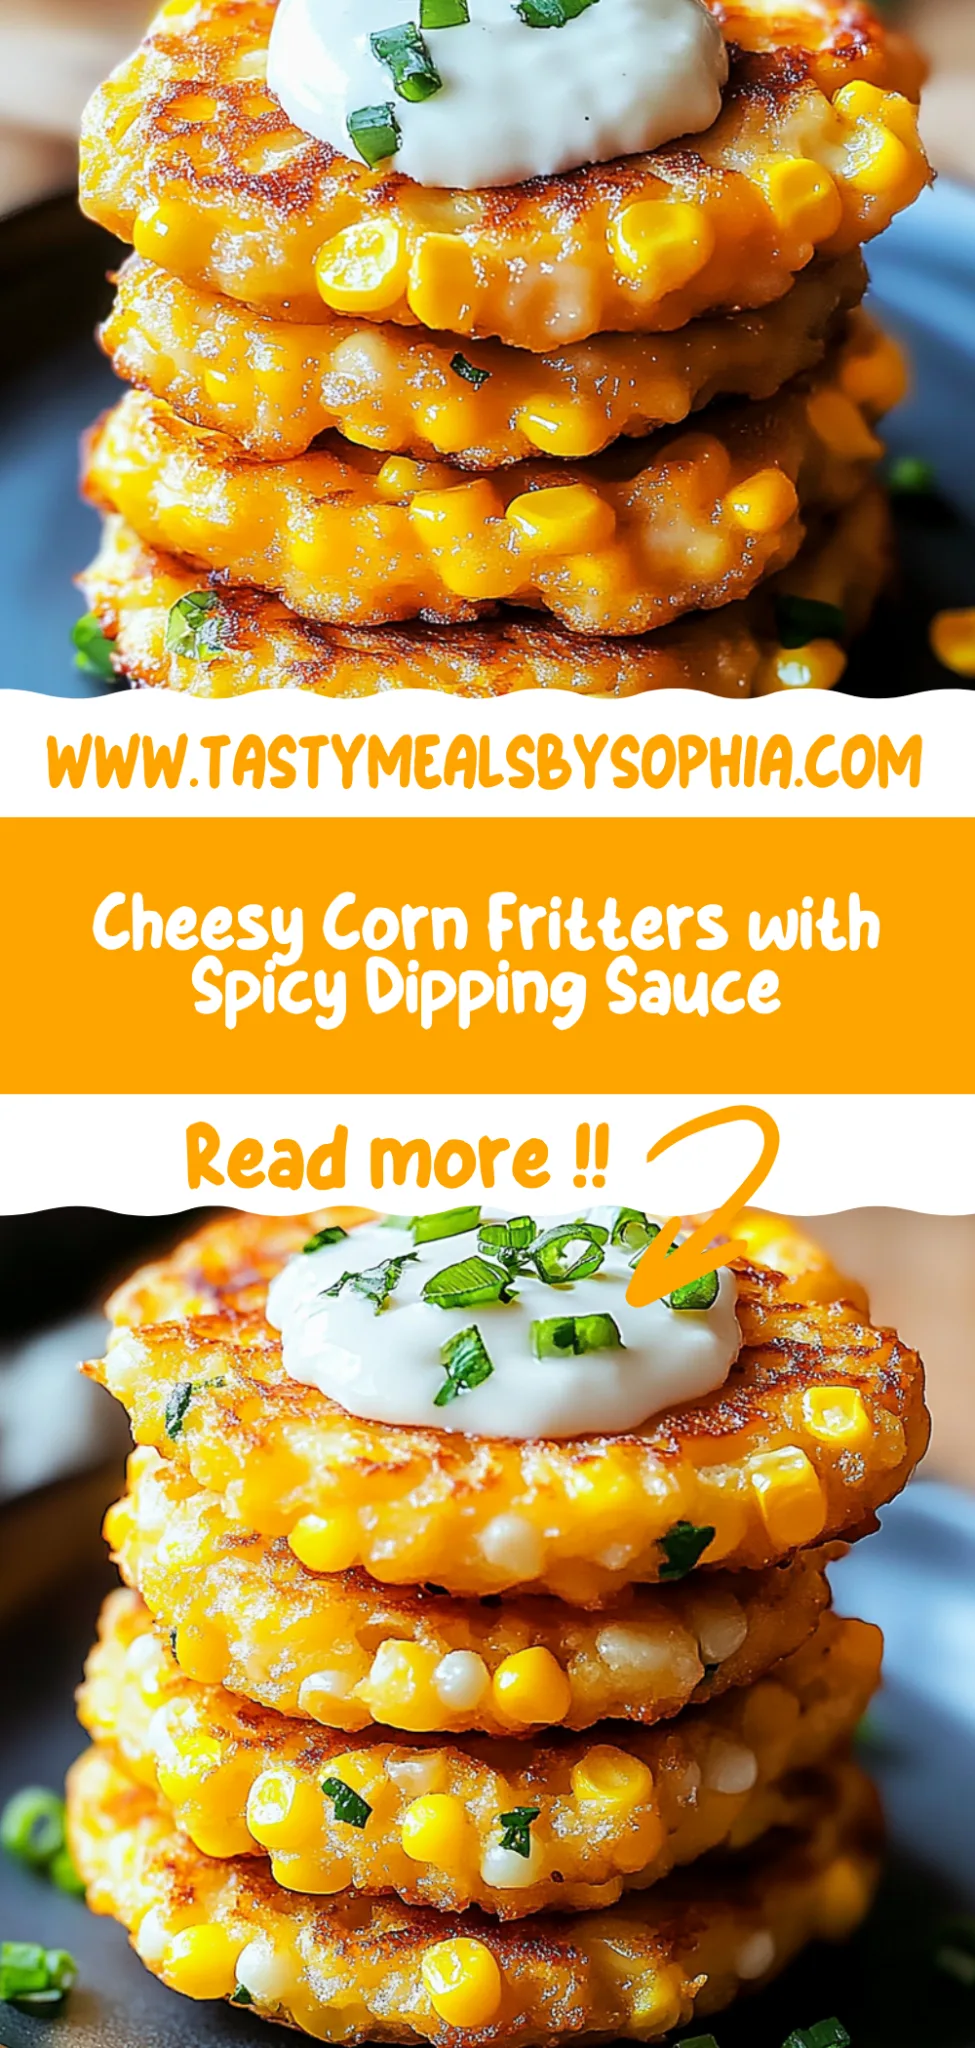
8. Serve Warm – Serve warm with your favorite dipping sauce like sour cream or a zesty aioli for an extra kick! Trust me, you won’t be able to stop at just one!
Make these cheesy corn fritters once, and I wager they will invade your dreams every night too! – Nagi x
FAQ – Cheesy Corn Fritters
🌽 How long will these corn fritters keep?
Cheesy corn fritters are best enjoyed fresh, but if you have leftovers, they can be stored in an airtight container in the fridge for up to 3 days. While they will still be tasty on day 3, I’d say they’re about 85% as good as when freshly made. To reheat, just pop them in a hot oven or air fryer to regain some crispiness.
⏳ Can I skip letting the fritter mixture sit for 10 minutes?
No, you cannot skip this step! Letting the fritter mixture rest for about 10 minutes is crucial because it allows the flour to hydrate and thicken the mixture, resulting in a better texture. I’ve tested variations where I didn’t let it rest, and the fritters turned out soggier and less cohesive. Trust me, waiting is worth it!
❄️ Can I freeze the cheesy corn fritters?
Absolutely! You can freeze uncooked fritters before frying. Just scoop them onto a parchment-lined baking sheet and freeze until solid, then transfer them to a freezer bag. They’ll last up to 2 months. To cook from frozen, there’s no need to thaw—just fry them straight from the freezer for about 5-6 minutes per side until golden brown and crispy.
🌾 Can these fritters be made gluten-free?
Yes, you can easily make these cheesy corn fritters gluten-free! Substitute all-purpose flour with a gluten-free all-purpose flour blend that contains xanthan gum for texture. I’ve tried this substitution multiple times, and they come out just as delicious! Just ensure your corn kernels (if using canned) are also labeled gluten-free.
🧀 Can I use a different type of cheese instead of cheddar or mozzarella?
Definitely! While I love the combination of cheddar and mozzarella for their melty goodness, you can experiment with other cheeses like gouda for a smoky flavor or feta for a tangy twist. Just keep in mind that different cheeses will alter the flavor profile slightly, but that’s part of the fun!
🔄 Why do I need to mix the ingredients until well combined?
Mixing the ingredients until well combined ensures that the baking powder is evenly distributed throughout the batter, allowing all fritters to rise consistently while frying. If you don’t mix thoroughly, you might end up with some fritters that puff up beautifully while others remain flat and dense. Trust me; I’ve had both outcomes before learning this lesson!
🌿 What other add-ins can I include in my fritter mixture?
You can customize your cheesy corn fritters by adding different ingredients like diced bell peppers for extra crunch or jalapeños for some heat. Fresh herbs such as cilantro or parsley can also enhance the flavor profile beautifully. Get creative—just remember not to overload it too much; otherwise, they may not hold together well while frying!
Troubleshooting
I will continue to add more to this Troubleshooting section as I start seeing questions coming through from people who have made the recipe.
Troubleshooting tips
“My fritters turned out too thin and flat! 😩”
- You may have added too much liquid by not measuring the corn kernels accurately. If you used canned corn, make sure to drain it well before adding; excess moisture can lead to a watery mixture.
- Another reason could be that your fritter mixture wasn’t thick enough after resting. Letting it sit for the full 10 minutes is crucial for thickening up the batter.
- I bet they were still YUM though!
“My fritters came out too dry and crumbly! 😭”
- This can happen if you added too much flour or didn’t include enough eggs. The eggs help bind everything together, so ensure you’re using two large ones as specified.
- If you let the mixture sit for too long beyond 10 minutes, it can dry out even more. Stick to the recommended resting time for best results.
- I bet they were still YUM though!
“The outside of my fritters is dark while the inside is still raw! 🔥”
- You might have cooked them at too high a temperature. Medium heat is key—if the oil is smoking, it’s too hot! You want a steady fry that allows even cooking throughout.
- Alternatively, if your fritter discs are thicker than the recommended 1 inch, this can prevent them from cooking evenly, resulting in a burnt exterior and raw interior.
- I bet they were still YUM though!
“My fritters look all wonky and misshapen! 😂”
- This could be due to not flattening them slightly before frying. A gentle press helps them cook evenly and achieve that lovely golden shape.
- Additionally, if you’re scooping inconsistent amounts or sizes (aim for about 1/4 cup), it can lead to uneven cooking and shapes.
- I bet they were still YUM though!

Cheesy Corn Fritters
Ingredients
Method
- In a mixing bowl, combine corn, flour, cheese, eggs, baking powder, salt, black pepper, and green onions. Mix until well combined.
- Let the mixture sit for about 10 minutes to thicken.
- Heat vegetable oil in a frying pan over medium heat.
- Scoop about 1/4 cup of the fritter mixture and carefully place it in the hot oil. Flatten slightly.
- Fry for 3-4 minutes on each side or until golden brown and crispy.
- Remove from the pan and place on paper towels to drain excess oil.
- Repeat with the remaining mixture.
- Serve warm with your favorite dipping sauce.