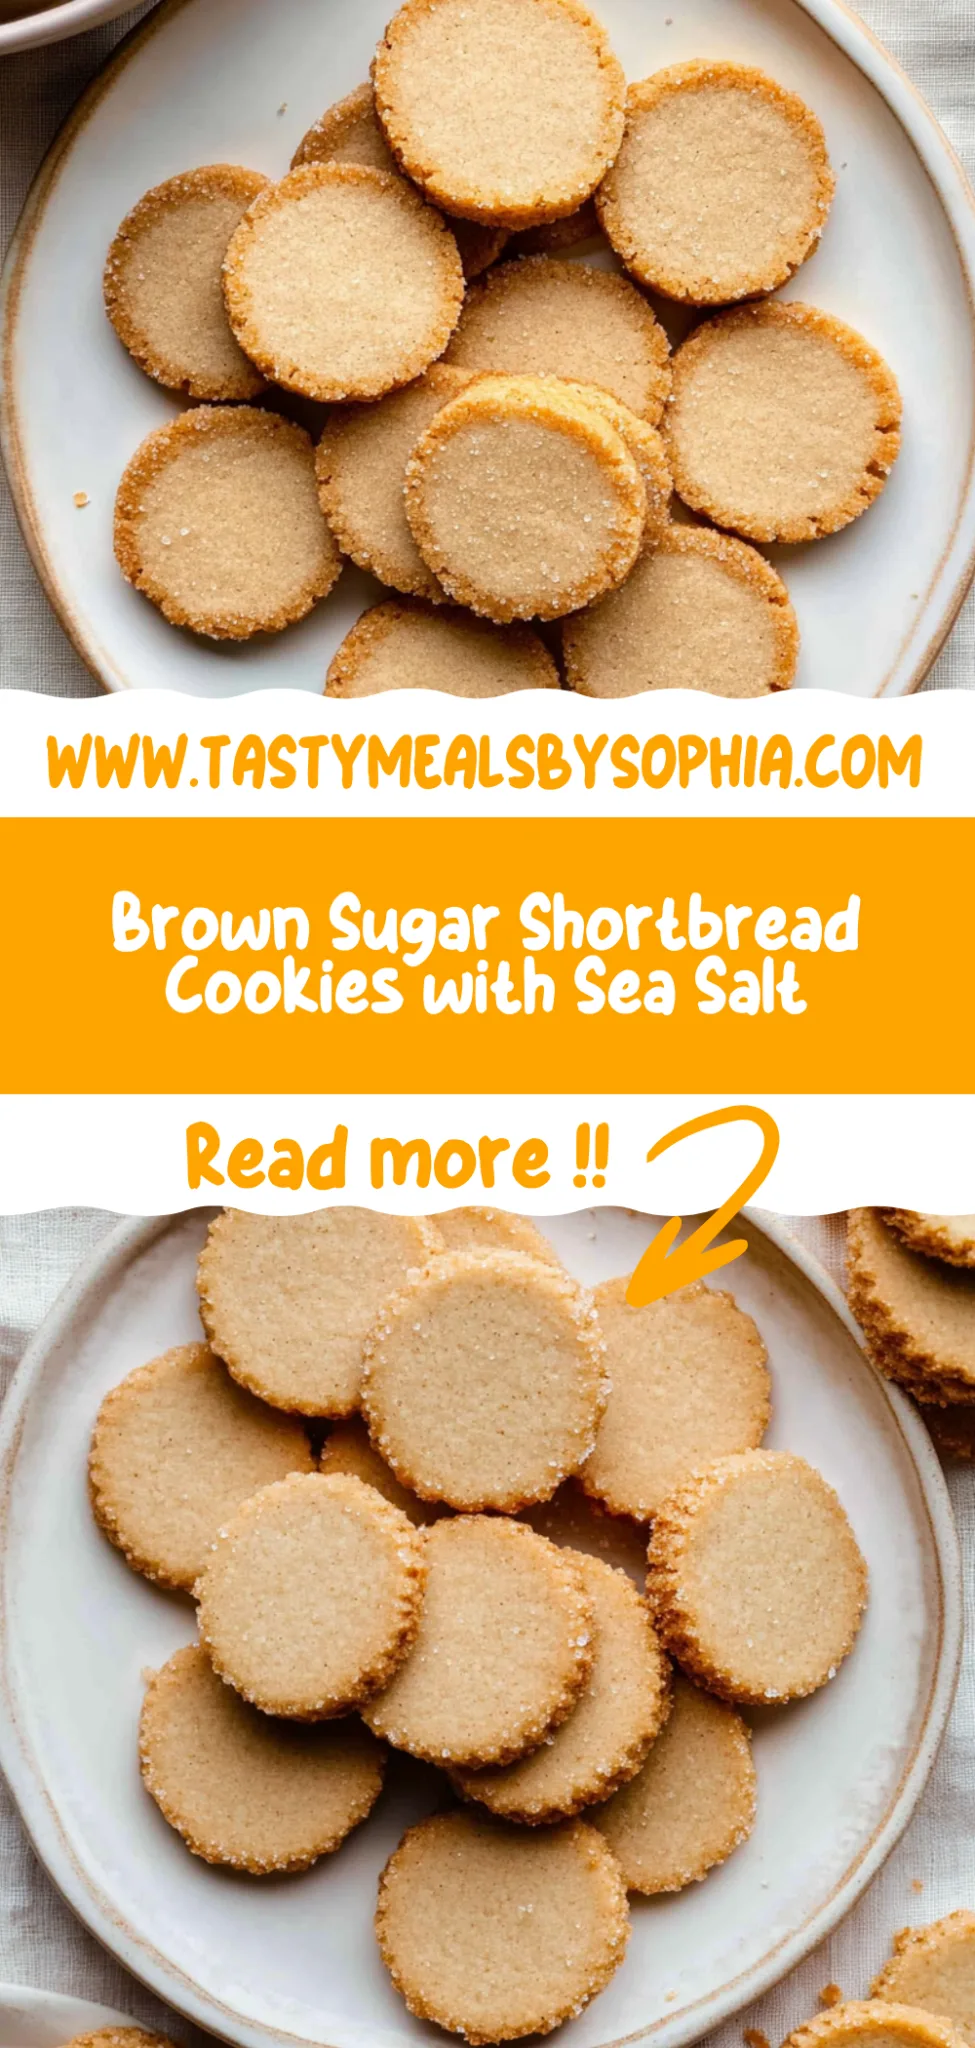
Brown Sugar Shortbread Cookies: Irresistibly Buttery Delight
I first stumbled upon brown sugar shortbread cookies at a tiny café tucked away in a bustling part of town. The moment I took a bite, I was hooked—each cookie was rich and buttery, with a depth of flavor that only brown sugar can bring. I knew I had to recreate that magic at home, not just for the joy of baking but also because let’s be real: those little gems came with a price tag that made my wallet weep! Plus, there’s something incredibly satisfying about whipping up a treat in your kitchen that rivals your favorite café’s offerings.
After numerous attempts—okay, more than I’d like to admit—I finally cracked the code on these brown sugar shortbread cookies. Let’s just say my kitchen looked like a flour bomb went off and there were several “what was I thinking?” moments along the way. Each time I tried to tweak the recipe, I aimed for that perfect balance of crumbly texture and melt-in-your-mouth goodness, which seemed elusive at first. But hey, practice makes perfect (or at least tolerable!), and I learned so much about making shortbread through my trial and error escapades.
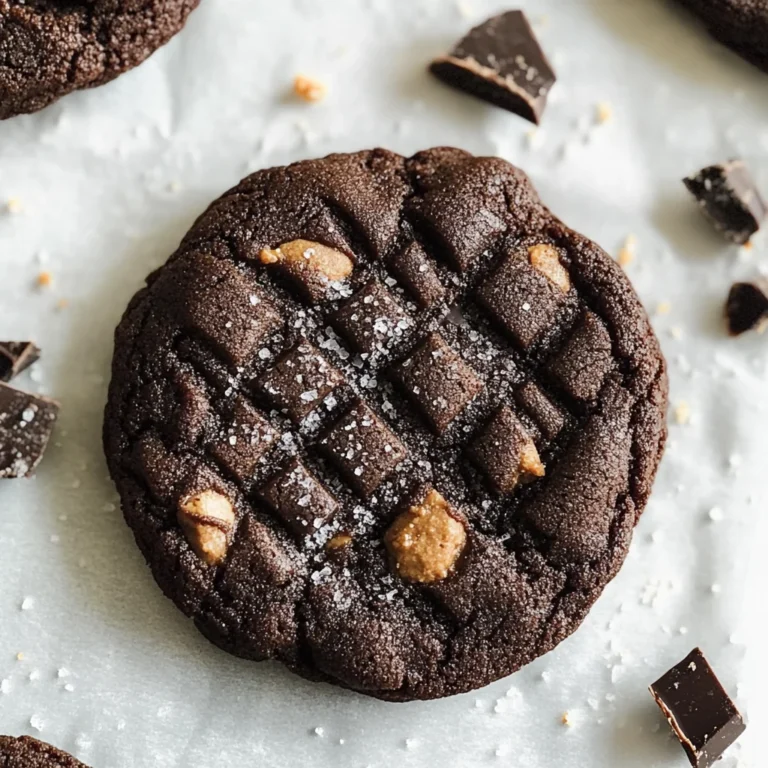
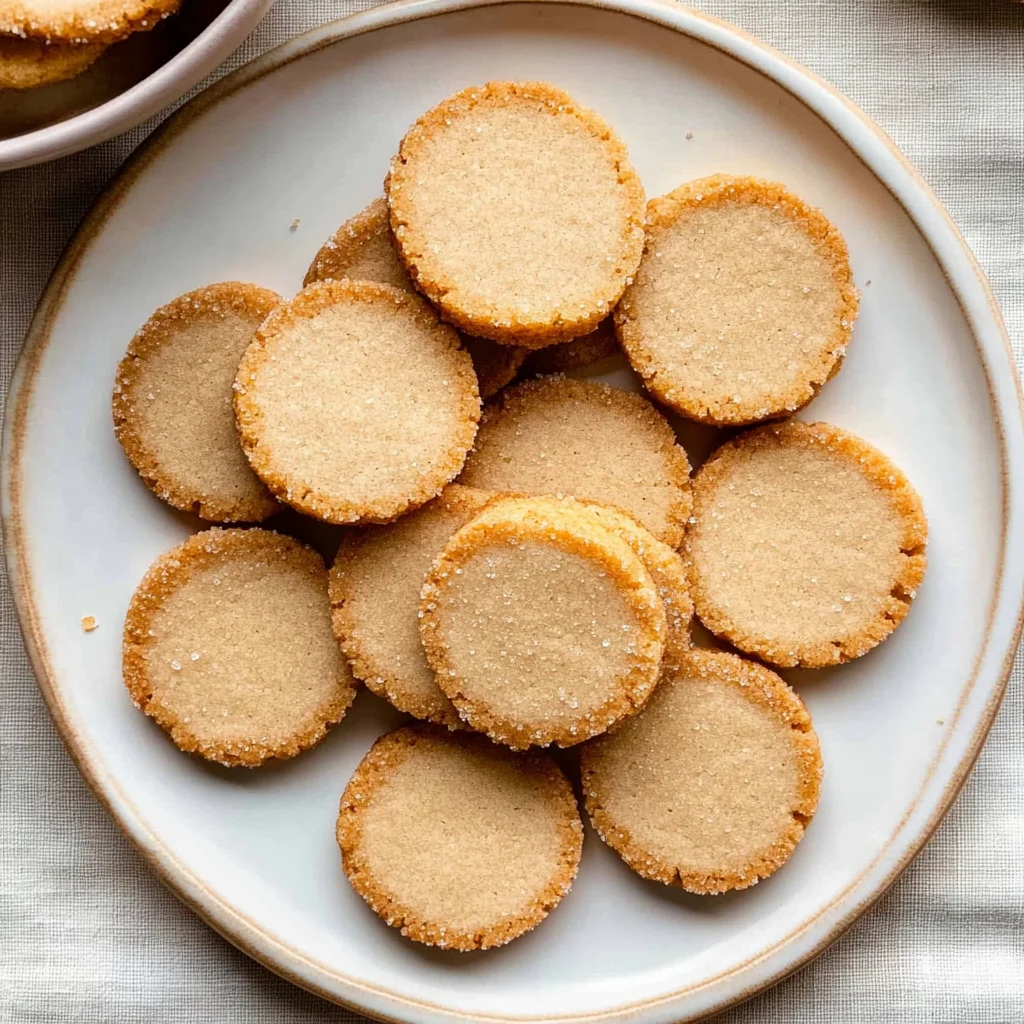
And boy, oh boy, was it worth every flour-dusted failure! The final batch of brown sugar shortbread cookies turned out beautifully golden with an irresistibly crumbly texture that just melts away in your mouth. They’re rich with a deep flavor profile thanks to the brown sugar, and they keep well too—if they last long enough in your house! Trust me when I say you’re going to want to whip up a batch (or two) of these delightful cookies; your taste buds will thank you!
These Brown Sugar Shortbread Cookies are….
….the ultimate indulgence in my cookie repertoire!
1. They deliver a deeper flavor that’s delightfully complex, thanks to the use of packed brown sugar. This choice not only adds a rich molasses note but also enhances the overall taste profile, making each bite more satisfying compared to white sugar versions.
2. Expect a perfectly crumbly texture that melts in your mouth. The combination of unsalted butter and sifted all-purpose flour ensures a delicate balance, creating cookies with just the right amount of crispness on the outside while remaining tender and buttery within.
3. Achieving cookie perfection involves the simple technique of creaming softened butter and brown sugar until light and fluffy. This step is crucial as it incorporates air into the dough, resulting in a lighter texture that elevates these Brown Sugar Shortbread Cookies above ordinary treats.
4. They provide great value for your baking efforts, as the ingredients are pantry staples that won’t break the bank. With just a few items like flour, butter, and brown sugar, you can whip up a batch of these delightful cookies at home, offering a far superior taste experience than store-bought options.
PS These cookies yield about 24 pieces, perfect for sharing or savoring throughout the week!
Ingredients for the Brown Sugar Shortbread Cookies
Each ingredient in this dish plays an essential role in flavor and texture. Here’s what you’ll need:
2 cups all-purpose flour (sifted): Provides the structure and crumbly texture of the cookies.
1/2 cup brown sugar (packed): Contributes a rich, caramel-like sweetness that enhances the buttery flavor.
1/4 teaspoon salt: Balances the sweetness and elevates all the flavors.
1 cup unsalted butter (softened): Ensures a rich, creamy texture and depth of flavor in each bite.
- 1 teaspoon vanilla extract: Adds a warm, aromatic note that complements the brown sugar beautifully.
Chilling the Dough is Non-Negotiable. Trust Me!
I tried to skip it. I thought, “What’s a little chilling when you’re in a cookie-making frenzy?” But after multiple batches and a few too many crumbled disasters, I can honestly say that chilling the dough is crucial. It may add an extra half hour to your baking time, but it makes all the difference between good cookies and extraordinary ones.
When you chill the dough, you’re allowing the butter to firm up, which helps maintain the cookie’s shape during baking. Think of it like letting pizza dough rest; it becomes easier to handle and develops better texture. Just like how resting steak allows juices to redistribute, chilling shortbread dough ensures that your cookies bake up beautifully—crisp on the outside while remaining tender and melt-in-your-mouth delicious inside.
What does chilling the dough do?
- Flavour: Chilling allows the flavors from the brown sugar and vanilla extract to meld together, creating a richer taste profile that can’t be achieved by skipping this step.
- Texture: The chilled butter solidifies, resulting in a cookie that holds its shape better and has a more delicate crumb.
- Colour: Cookies that are chilled before baking develop a deeper golden hue as they bake evenly without spreading too much.
- Shelf Life: Cookies made from chilled dough tend to stay fresh longer because they retain moisture better without becoming overly greasy.
- Crispness: The edges of the cookies become crisper when chilled properly, while keeping the center soft—it’s all about balance!
Different chilling times
- 30 minutes (good) — bare minimum for some improvement; cookies will hold their shape better but still lack optimal texture and flavour.
- 1 hour (better) — noticeable enhancement in both taste and texture; cookies will be more stable when baked.
- ⭐️ 2 hours⭐️ — ideal for maximum benefit; flavours deepen further, leading to a truly delightful experience with each bite.
- Overnight (best) — pure cookie nirvana! This extended chill allows flavours to fully develop and creates an exceptional texture that’s hard to beat.
Be warned: the most common mistake is not chilling long enough. A quick 10-minute chill might seem tempting, but trust me—it’s not worth sacrificing that perfect cookie experience!
How to make Brown Sugar Shortbread Cookies
Are you ready to see how straightforward it is to make the Brown Sugar Shortbread Cookies of your dreams??
1. PREPARE THE DOUGH
Let’s start with the perfect base for your cookies!
1. CREAM – In a mixing bowl, cream together the softened butter and packed brown sugar until the mixture is light and fluffy. This step is crucial as it incorporates air into the butter, giving your cookies a delightful texture.
2. ADD – Add the vanilla extract and mix until it’s fully combined. The vanilla enhances the cookie’s flavor profile, making them even more irresistible!
3. MIX – Gradually add the sifted flour and salt, mixing until the dough comes together. Be careful not to overmix; you want a tender cookie, not a tough one!
HANDY TIPS
- Use room temperature butter for easier creaming.
- Sifting flour ensures there are no lumps and helps achieve that light texture.
2. SHAPE AND CHILL
Time to shape those cookies and let them chill!
4. TURN OUT – Turn the dough out onto a lightly floured surface and roll it to about 1/4 inch thickness. Keeping the dough at this thickness allows for an even bake and perfectly crunchy edges.
5. CUT – Cut into desired shapes using cookie cutters and place on a baking sheet lined with parchment paper. Don’t be afraid to get creative with your shapes!
6. CHILL – Chill the cut cookies in the refrigerator for at least 30 minutes. This step firms up the dough, helping maintain their shape while baking.
HANDY TIPS
- If you’re tight on time, you can freeze the shaped cookies instead of chilling them in the fridge.
- You can also roll your dough into logs, chill, then slice for perfectly shaped rounds.
3. BAKE THE COOKIES
It’s time to bring those cookies to life in the oven!
7. PREHEAT – Preheat your oven to 350°F (175°C). This ensures that your cookies start baking immediately once they go in, leading to an even bake.
8. BAKE – Bake the cookies for 15-20 minutes or until the edges are lightly golden. Keep an eye on them during that last few minutes; you want them golden but not overly brown!
9. COOL – Remove from the oven and let cool on the baking sheet for a few minutes before transferring to a wire rack. This cooling period helps them set properly without breaking apart.
HANDY TIPS
- For softer cookies, bake closer to 15 minutes; for crispier ones, aim for around 20 minutes.
- Remember that they will continue cooking slightly after being removed from the oven!
Now you’ve created a batch of deliciously rich Brown Sugar Shortbread Cookies that are sure to impress! With just three simple phases—prepare, shape & chill, and bake—you’ve unlocked a buttery treat that’s perfect with tea or coffee (or all on their own!). I can’t wait for you to enjoy these delightful cookies as much as I do! – Nagi x
FAQ – Brown Sugar Shortbread Cookies
How long will these cookies keep?
Brown Sugar Shortbread Cookies can be stored in an airtight container at room temperature for up to 1 week. After that, they will start to lose their delightful texture and flavor. On day 3, they are still 97% as good, but by day 5, they drop to about 90%, and by the end of the week, they’re around 85%. If you want to keep them longer, consider freezing them!
❄️ Do I really have to chill? YES YOU DO.
Yes, chilling is a crucial step that you cannot skip! Chilling the cookies for at least 30 minutes helps solidify the butter in the dough, which prevents spreading during baking and ensures a lovely buttery texture. Trust me—I’ve tested it countless times, and skipping this step results in flat cookies that resemble pancakes more than shortbread!
Can I freeze the cookie dough or baked cookies?
Absolutely! You can freeze both the dough and the baked cookies. For freezing the dough: after cutting into shapes, place them on a baking sheet lined with parchment paper and freeze until solid. Then transfer to a zip-top bag or airtight container; they’ll last in the freezer for up to 3 months. To bake from frozen, simply add an extra 2-3 minutes to your baking time. If you prefer freezing baked cookies, let them cool completely first, then store them in an airtight container—these will also last for about 3 months.
🌾 Can these be made gluten free?
Yes, you can make these cookies gluten-free! Substitute all-purpose flour with a gluten-free blend that includes xanthan gum (if it’s not already included). I recommend using a 1: 1 gluten-free flour blend which works great as a direct substitute. However, I did find that they may turn out slightly denser than with regular flour—still delicious though! Just don’t forget about those critical chilling times!
Can I reduce the sugar or substitute with sweeteners?
No, you cannot reduce the sugar—I’ve tried reducing it multiple times and it simply doesn’t work well with this recipe! The sugar not only adds sweetness but also contributes to the texture of these cookies. If you’re looking for a healthier alternative, I suggest using coconut sugar instead of brown sugar; it has a similar depth of flavor that complements the butter beautifully!
Why do I need to cream butter and brown sugar together?
Creaming together softened butter and brown sugar is essential because it incorporates air into your dough, leading to light and tender cookies. This process helps dissolve the sugar while making sure your cookies rise properly during baking. I’ve found that if you don’t cream long enough—aim for around 3-5 minutes—you’ll end up with denser shortbread that’s less enjoyable.
Can I add extras like chocolate chips or nuts?
Definitely! You can customize your Brown Sugar Shortbread Cookies by adding in chocolate chips (about 1 cup) or chopped nuts (like pecans or walnuts) during the mixing stage after combining all wet ingredients. Just be mindful that adding too many extras could alter baking time slightly; keep an eye on them while they’re in the oven! And hey, who doesn’t love a little extra crunch or sweetness?
Troubleshooting
I will continue to add more to this Troubleshooting section as I start seeing questions coming through from people who have made the recipe.
Troubleshooting tips
“My cookies were too flat! 😩”
- If your butter was too warm or melted when creaming with the brown sugar, it can cause the cookies to spread too much while baking. Make sure your butter is softened but still cool to the touch.
- Not chilling the cut cookies before baking can also lead to flat cookies, as they won’t have time to firm up. Remember to chill them for at least 30 minutes!
- I bet they were still YUM though!
“My cookies came out way too dry! 😔”
- Over-measuring your flour can easily lead to dry cookies. Be sure to spoon and level your flour instead of packing it into the measuring cup.
- Mixing the dough for too long after adding the flour can also make it tough and dry. Stop mixing as soon as you see no dry flour!
- I bet they were still YUM though!
“The edges of my cookies are too dark! 🔥”
- Baking at a higher temperature than recommended can result in overly browned edges. Ensure your oven is set to 350°F (175°C) for even baking.
- If your baking sheet is dark or non-stick, it can absorb more heat, leading to darker cookie edges. Try using a light-colored sheet instead.
- I bet they were still YUM though!
“My shortbread has cracks on top! 😟”
- If your dough is too dry due to excess flour or not enough butter, it may crack while baking. Make sure to measure accurately and avoid overworking the dough.
- Rolling out the dough too thinly (less than 1/4 inch) could also cause cracks as they bake. Keep an eye on that thickness!
- I bet they were still YUM though!
Brown Sugar Shortbread Cookies
Ingredients
Method
- In a mixing bowl, cream together the softened butter and brown sugar until light and fluffy.
- Add the vanilla extract and mix until combined.
- Gradually add the sifted flour and salt, mixing until the dough comes together.
- Turn the dough out onto a lightly floured surface and roll it to about 1/4 inch thickness.
- Cut into desired shapes using cookie cutters and place on a baking sheet lined with parchment paper.
- Chill the cut cookies in the refrigerator for at least 30 minutes.
- Preheat the oven to 350°F (175°C).
- Bake the cookies for 15-20 minutes or until the edges are lightly golden.
- Remove from the oven and let cool on the baking sheet for a few minutes before transferring to a wire rack.