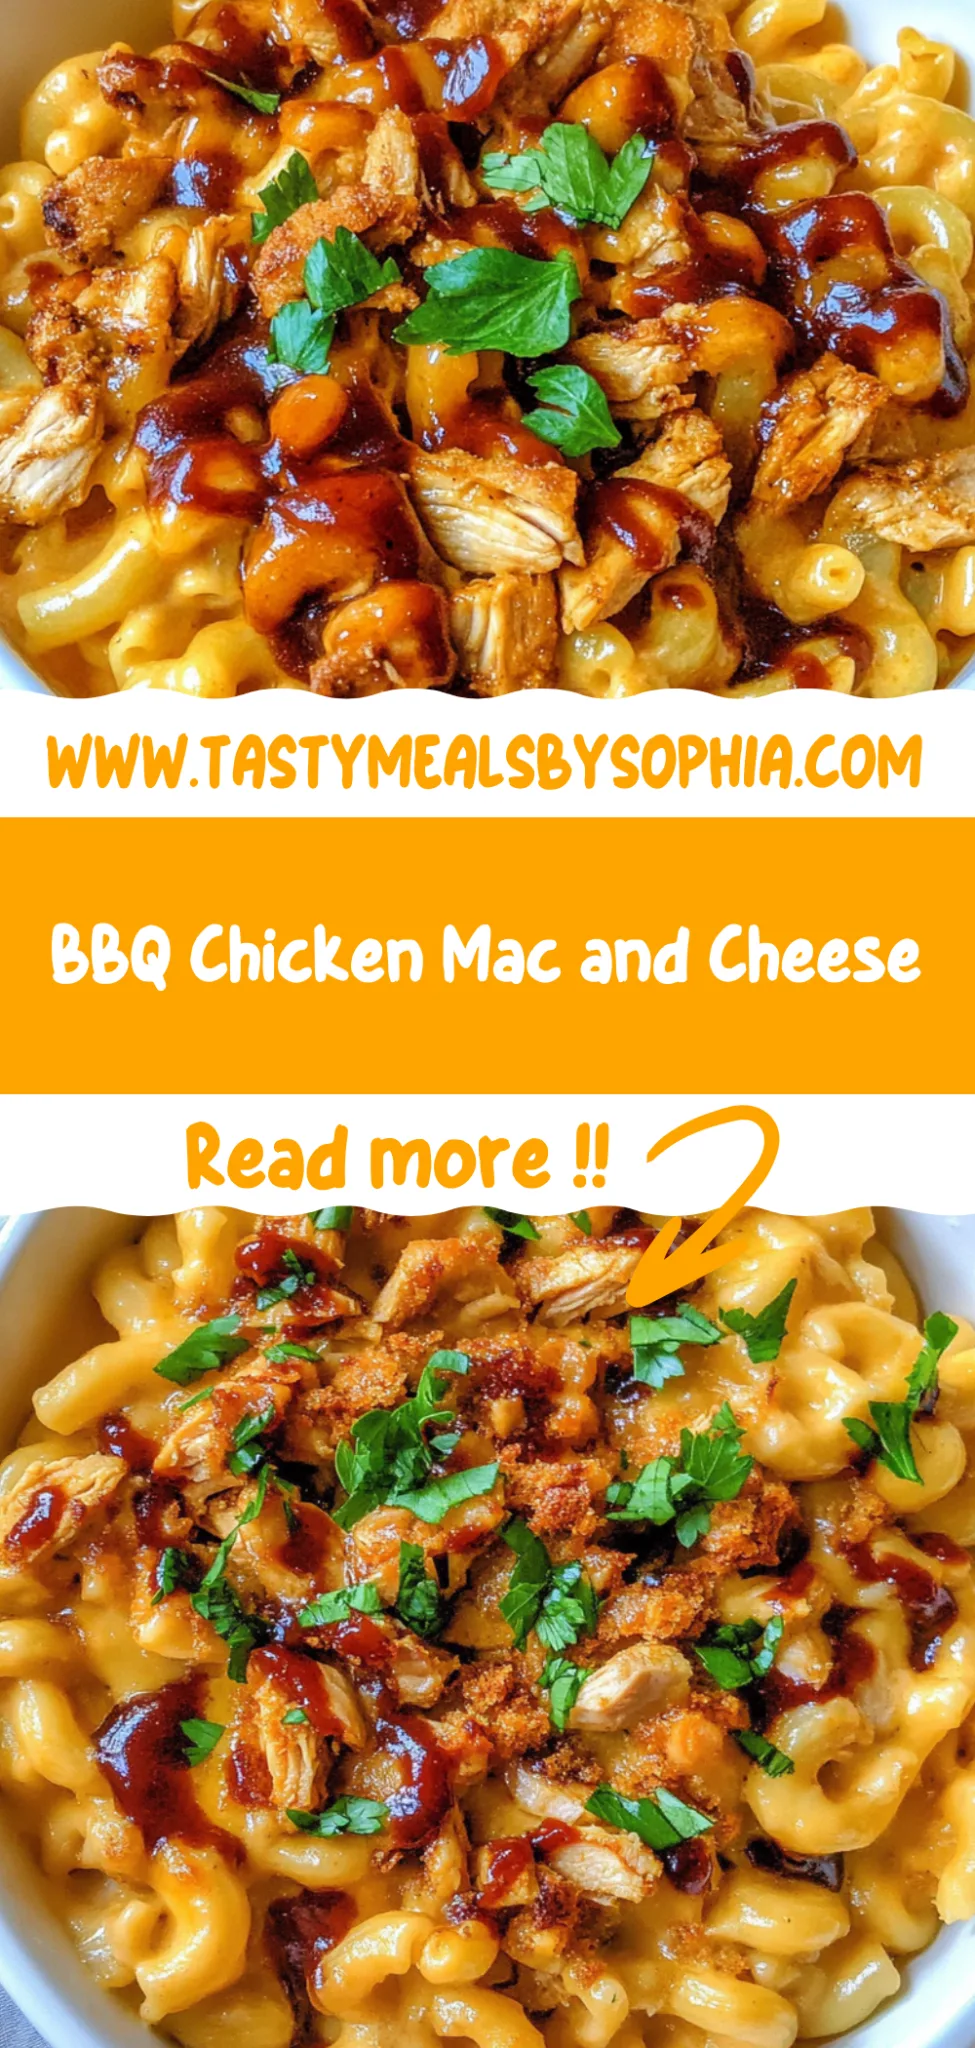
BBQ Chicken Mac and Cheese: A Flavor Explosion Awaits
I first discovered the magic of BBQ Chicken Mac and Cheese at a little diner down the street from my apartment. The moment I took my first bite, I was hooked—the creamy, cheesy goodness paired with tender BBQ chicken was a flavor explosion that danced on my taste buds. I knew I had to recreate it at home not only because it was a bit too pricey for my wallet, but also because I wanted to put my own spin on it. Who wouldn’t want to indulge in something so delicious without having to leave the house?
Let me tell you, perfecting this recipe wasn’t a walk in the park. I think I made it about five times before getting it just right! Each attempt had me tweaking ingredients, trying different cheeses, and testing various cooking methods—my patience was tested more than once (spoiler alert: there were some epic cheese disasters). My goal was to nail that ooey-gooey texture and ensure the BBQ chicken didn’t just sit on top like an afterthought; it needed to meld beautifully with the pasta.
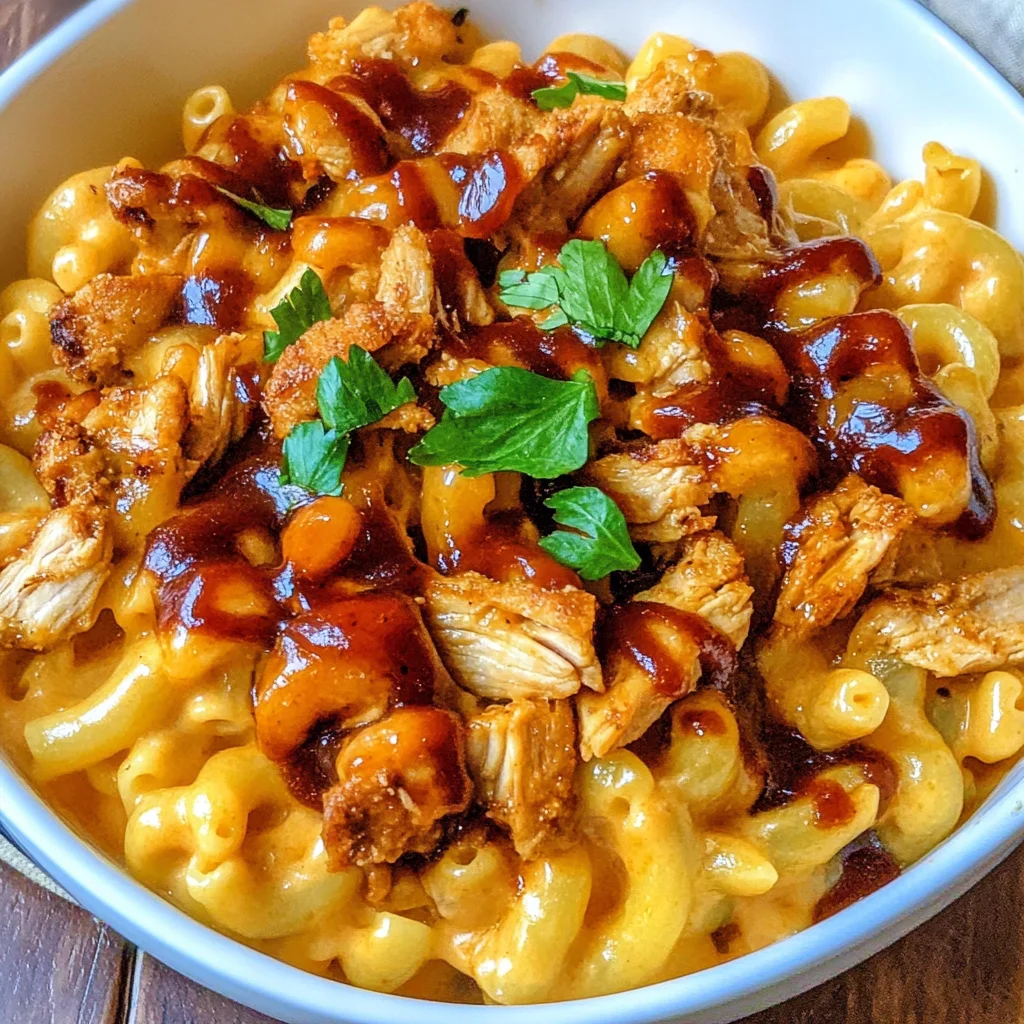
But oh man, when I finally hit that sweet spot, it was all worth it! This BBQ Chicken Mac and Cheese is everything you’d hope for—richly creamy with a hint of tang from the BBQ sauce and a delightful crunch on top from the breadcrumbs. It’s got that comforting texture that hugs you like an old friend while being packed with flavor that’ll keep you coming back for more. Trust me, you’re going to want this in your life—I can’t wait for you to dive in!
These BBQ Chicken Mac and Cheese are…
….the ultimate comfort food that takes your mac and cheese game to a whole new level!
1. They deliver an explosion of flavor with every bite, thanks to the combination of sharp cheddar and tangy BBQ sauce. The richness of the cream cheese adds a velvety depth that perfectly complements the smoky notes from the chicken, creating a mouthwatering harmony that is simply irresistible.
2. Experience textural perfection with this dish; it features a creamy base enveloping tender pasta, topped with a crunchy panko breadcrumb layer. This contrast between the soft macaroni and the crispy topping elevates each forkful, ensuring you get that satisfying crunch alongside the gooey goodness.
3. The cooking technique I use here is all about combining the cheese sauce ingredients before mixing in the macaroni, ensuring every piece is evenly coated. This step guarantees that each bite is bursting with cheesy flavor and prevents any dry patches—making your BBQ Chicken Mac and Cheese incredibly decadent.
4. It’s a cost-effective family meal that rivals any restaurant version, especially when you use rotisserie chicken for convenience and cut down on prep time. Plus, you can whip up this dish using everyday pantry staples, making it not just delicious but also accessible for busy weeknights.
PS This recipe makes enough to feed the whole family, so get ready for some delicious leftovers!
Ingredients for the BBQ Chicken Mac and Cheese
Each ingredient in this dish plays an essential role in flavor and texture. Here’s what you’ll need:
8 oz elbow macaroni: Serves as the hearty base for the creamy sauce.
2 cups cooked chicken, shredded: Adds protein and a savory element, making the dish more filling.
2 cups cheddar cheese, shredded: Delivers rich flavor and a gooey texture that binds everything together.
1 cup milk: Ensures a creamy consistency that enhances the overall richness.
1/2 cup BBQ sauce: Introduces a tangy sweetness that complements the cheesy goodness.
1/4 cup cream cheese: Provides extra creaminess and depth to the sauce.
1 teaspoon garlic powder: Infuses a warm, aromatic flavor throughout the dish.
1 teaspoon onion powder: Adds a subtle sweetness and complexity to balance the flavors.
1/2 teaspoon salt: Enhances all the flavors, bringing everything together beautifully.
1/4 teaspoon black pepper: Gives a hint of spice to elevate the taste profile.
1 cup bread crumbs: Creates a crunchy topping that contrasts with the creamy mac and cheese.
2 tablespoons butter, melted: Helps to crisp up the breadcrumbs for a golden finish.
You MUST cook the pasta al dente. Trust me!
I’ll admit it: I tried to shortcut this step and ended up with a gloopy mess that even my dog wouldn’t touch! I thought, “How different can it be?” Spoiler alert: very. Cooking the pasta properly is crucial for achieving that perfect texture in your BBQ Chicken Mac and Cheese.
When you cook the elbow macaroni to al dente, it retains a firm bite, allowing it to hold up beautifully once mixed with the creamy cheese sauce. Think of it like making pizza dough; if you don’t let it rest, you’ll end up with a dense crust instead of that delightful, airy chew. The same goes for our pasta here—overcooked macaroni just can’t compete with the glorious contrast of a tender yet slightly firm bite amidst all that luscious cheese sauce.
What does cooking the pasta al dente do?
- Texture — Al dente pasta provides a satisfying bite that complements the creamy sauce instead of getting mushy.
- Absorption — The firm texture allows the pasta to absorb just the right amount of cheese sauce without disintegrating, leading to a harmonious blend of flavors.
- Staying Power — Properly cooked pasta doesn’t turn mushy when baked, ensuring that each forkful is as delightful as the first.
- Integration — Al dente macaroni acts like little flavor sponges, soaking up BBQ and cheese goodness while keeping its shape.
- Visual Appeal — A well-cooked pasta maintains its structure and looks more appetizing in your dish compared to soggy noodles.
Different cooking times
- 3 minutes less than package directions (⭐️ great) — This will yield firm pasta that’s ready to soak in the sauce without becoming mushy.
- Package instructions (good) — You’ll have decent macaroni but may find it softer than ideal after baking; not terrible but not optimal.
- 1 minute over (okay) — The texture starts to deteriorate; it’s still edible but lacks that satisfying bite we crave in mac and cheese.
- 2 minutes over (bad) — Pasta is noticeably soft; while edible, it’ll lead to an unsatisfying mushiness once combined with the cheese sauce.
Beware of overcooking your macaroni! It’s all too easy to get distracted and leave those noodles boiling away. Trust me—you want them al dente for that perfect mac and cheese experience!
How to make BBQ Chicken Mac and Cheese
Are you ready to see how straightforward it is to make the BBQ Chicken Mac and Cheese of your dreams??
1. COOK PASTA
Start your delicious journey by preparing the pasta!
1. BOIL WATER – Bring a large pot of salted water to a boil. This step is crucial as it enhances the flavor of the pasta while cooking.
2. COOK MACARONI – Add elbow macaroni to the boiling water and cook according to package instructions until al dente, usually about 8-10 minutes. Make sure not to overcook it; you want it slightly firm as it will continue to cook in the oven later.
3. DRAIN AND SET ASIDE – Once cooked, drain the macaroni and set aside while you prepare the cheese sauce.
HANDY TIPS
- 💡 TIP: For perfect pasta, remember to taste it just before draining – you want that ideal al dente texture!
- ❓ Why does salting the water matter? Because it enhances the flavor of your pasta from within!
2. MAKE CHEESE SAUCE
Get ready for that creamy goodness!
1. HEAT SKILLET – In a skillet over medium heat, combine milk, cream cheese, garlic powder, onion powder, salt, and pepper. Whisk until smooth and well combined; this should only take a couple of minutes.
2. ADD CHEESE AND BBQ SAUCE – Now add shredded cheddar cheese and BBQ sauce, stirring continuously until the cheese is completely melted and the sauce becomes creamy. This fusion creates that irresistible cheesy BBQ flavor!
HANDY TIPS
- 💡 TIP: Use sharp cheddar for a more robust flavor that beautifully complements the sweetness of BBQ sauce!
- ⚠️ Be careful not to let the mixture boil—keep it at a gentle simmer for best results.
3. COMBINE INGREDIENTS
Let’s bring all those delicious elements together!
1. MIX MACARONI AND CHICKEN – In a large bowl, mix together the cooked macaroni, shredded chicken (using rotisserie chicken saves time!), and your luscious cheese sauce until everything is well coated and combined.
HANDY TIPS
- 💡 TIP: Rotisserie chicken not only saves time but adds incredible flavor without any extra effort!
4. PREPARE FOR BAKING
Time to get everything oven-ready!
1. PREHEAT OVEN – Preheat your oven to 350°F (175°C). This ensures an evenly baked dish.
2. TRANSFER TO BAKING DISH – Transfer the mac and cheese mixture into a greased baking dish, spreading it out evenly.
3. COMBINE BREAD CRUMBS AND BUTTER – In a small bowl, combine bread crumbs with melted butter—this will give you that delightful crunch on top!
4. SPRINKLE OVER MAC AND CHEESE – Sprinkle this buttery breadcrumb mixture generously over your mac and cheese.
HANDY TIPS
- 💡 TIP: Panko breadcrumbs provide an extra crunch compared to regular breadcrumbs—definitely worth using here!
5. BAKE
The final step before indulging in this mouthwatering dish!
1. BAKE IN OVEN – Bake in the preheated oven for 20 minutes or until the top is golden brown and crispy—this is when all those delicious flavors meld together beautifully.
HANDY TIPS
- ⚠️ Keep an eye on your mac and cheese during baking; if it’s browning too quickly, cover with aluminum foil.
What an achievement! You’ve just created a creamy, cheesy BBQ Chicken Mac and Cheese that’s sure to impress everyone at your table—and it’s all come together in just about 45 minutes! I can’t wait for you to dig in! – Nagi x
FAQ – BBQ Chicken Mac and Cheese
🥡 How long will this BBQ Chicken Mac and Cheese keep in the fridge?
This dish will keep well in the refrigerator for about 3 to 4 days. I recommend consuming it within this time frame for the best taste and texture. On day 1, it’s at its peak flavor; by day 3, it’s still around 97% as good but may start losing that creamy texture. On day 4, you might notice a decline in quality, so I wouldn’t push it beyond that unless you want a bit of a gamble! Just make sure to store it in an airtight container to prevent moisture loss.
⏳ Can I skip cooking the pasta al dente?
No, you really shouldn’t skip cooking the pasta al dente! Cooking it until just firm (around 7-8 minutes for elbow macaroni) is crucial because it continues to cook in the oven while baking. If you overcook it initially, you’ll end up with mushy mac and cheese after baking, which is not what we want! Trust me—I’ve tested this way too many times, and the al dente step makes a world of difference.
❄️ Can I freeze BBQ Chicken Mac and Cheese?
Absolutely! To freeze this dish, prepare it up until the baking step. Instead of transferring it to a baking dish, let it cool completely first, then cover tightly with plastic wrap and foil before placing it in the freezer. It will last for up to 3 months. When you’re ready to enjoy it again, thaw it overnight in the fridge and bake at 350°F (175°C) for about 30-40 minutes until heated through—it might need a little longer if frozen solid!
🌾 Can I make this recipe gluten-free?
Yes, you can absolutely make this BBQ Chicken Mac and Cheese gluten-free! Just swap out the elbow macaroni with your favorite gluten-free pasta; there are many great options available now. For the breadcrumbs on top, look for gluten-free panko or crushed cornflakes for that satisfying crunch. Your taste buds won’t even notice the difference—I’ve tried both versions!
🧀 Can I substitute a different type of cheese?
Definitely! While sharp cheddar is my go-to for flavor, you can experiment with other cheeses like Monterey Jack or Gouda for a different twist. Just keep in mind that using softer cheeses may result in a creamier sauce but could also change the overall flavor profile. If you love blue cheese or pepper jack for some heat, they can also work beautifully—just adjust according to your preferences!
🍗 What if I don’t have rotisserie chicken on hand?
If rotisserie chicken isn’t available, no worries! You can easily cook your own chicken breast or thighs—about 1 lb should be enough when cooked and shredded. Simply season them well with salt and pepper before cooking them in a skillet or boiling them until fully cooked (internal temp of at least 165°F/74°C). Shred once cooled down; trust me, freshly cooked chicken adds its own special touch!
🔥 Why do I need to combine the bread crumbs with melted butter?
Combining bread crumbs with melted butter before sprinkling them on top creates that irresistible crispy topping we all crave! The butter helps toast the bread crumbs during baking, giving them that golden brown color and crunchy texture while adding an extra layer of flavor. Without it, you’d end up with dry breadcrumbs that don’t provide that delightful contrast to the creamy mac underneath—it’s all about balance!
Troubleshooting
I will continue to add more to this Troubleshooting section as I start seeing questions coming through from people who have made the recipe.
Troubleshooting tips
“My mac and cheese turned out too dry! 😩”
- You may have overcooked the pasta, which can absorb too much liquid and become mushy. Always cook it al dente, as it’ll continue cooking in the oven.
- If your cheese sauce was too thick, you might not have added enough milk or cream cheese. A creamy sauce is essential for keeping everything moist!
- Lastly, if you baked it for longer than 20 minutes, it could have dried out. Keep an eye on that timer!
I bet it still tasted good though!
“My mac and cheese sauce was grainy! 😟”
- This could be due to adding the cheese too quickly or at too high a temperature. Cheese should be melted gently over medium heat for a smooth sauce.
- If your cream cheese wasn’t softened properly, it wouldn’t incorporate well into the sauce, leading to a lumpy texture. Always make sure it’s soft before mixing!
- Using pre-shredded cheese can also lead to a grainy texture because of the anti-caking agents. Freshly shredded cheese melts better!
I’m sure it was still cheesy goodness regardless!
“The top of my mac and cheese didn’t brown evenly! 🔥”
- Your oven might have hot spots, causing uneven baking. Make sure to rotate your dish halfway through baking for even browning.
- If you didn’t use enough butter with the bread crumbs, they may not brown as nicely. The butter helps achieve that lovely golden color!
- Finally, ensure you are using panko breadcrumbs instead of regular ones; panko gives a better crunch and browning effect.
Even if it didn’t look perfect, I bet it was delicious!
“My BBQ Chicken Mac and Cheese is too salty! 😳”
- It’s possible that the rotisserie chicken you used was pre-seasoned or salty on its own. Consider rinsing it before shredding to reduce saltiness.
- Double-check the amount of salt added to the cheese sauce; even small amounts can amplify flavors quickly in a dish like this.
- If your BBQ sauce is particularly salty, try opting for a low-sodium version next time to keep things balanced.
But I’m sure it still packed a flavorful punch!
“My mac and cheese is missing flavor! 😩”
- You might not have used sharp cheddar cheese, which adds depth and richness to the dish. Always opt for sharp cheddar for maximum flavor!
- If you skipped or skimped on the garlic powder or onion powder, those seasonings really enhance the overall taste—don’t hold back!
- Lastly, make sure your BBQ sauce is one that you enjoy; its flavor will significantly impact how tasty your dish turns out.
I’m certain it still had some tasty elements!
BBQ Chicken Mac and Cheese
Ingredients
Method
- Bring a large pot of salted water to a boil. Add elbow macaroni and cook according to package instructions until al dente. Drain and set aside.
- In a skillet over medium heat, combine milk, cream cheese, garlic powder, onion powder, salt, and pepper. Whisk until smooth.
- Add shredded cheddar cheese and BBQ sauce, stirring until the cheese is melted and the sauce is creamy.
- In a large bowl, mix the cooked macaroni, shredded chicken, and cheese sauce until well combined.
- Preheat the oven to 350°F (175°C). Transfer the mac and cheese mixture to a greased baking dish.
- In a small bowl, combine bread crumbs with melted butter. Sprinkle over the mac and cheese.
- Bake in the preheated oven for 20 minutes, or until the top is golden brown and crispy.