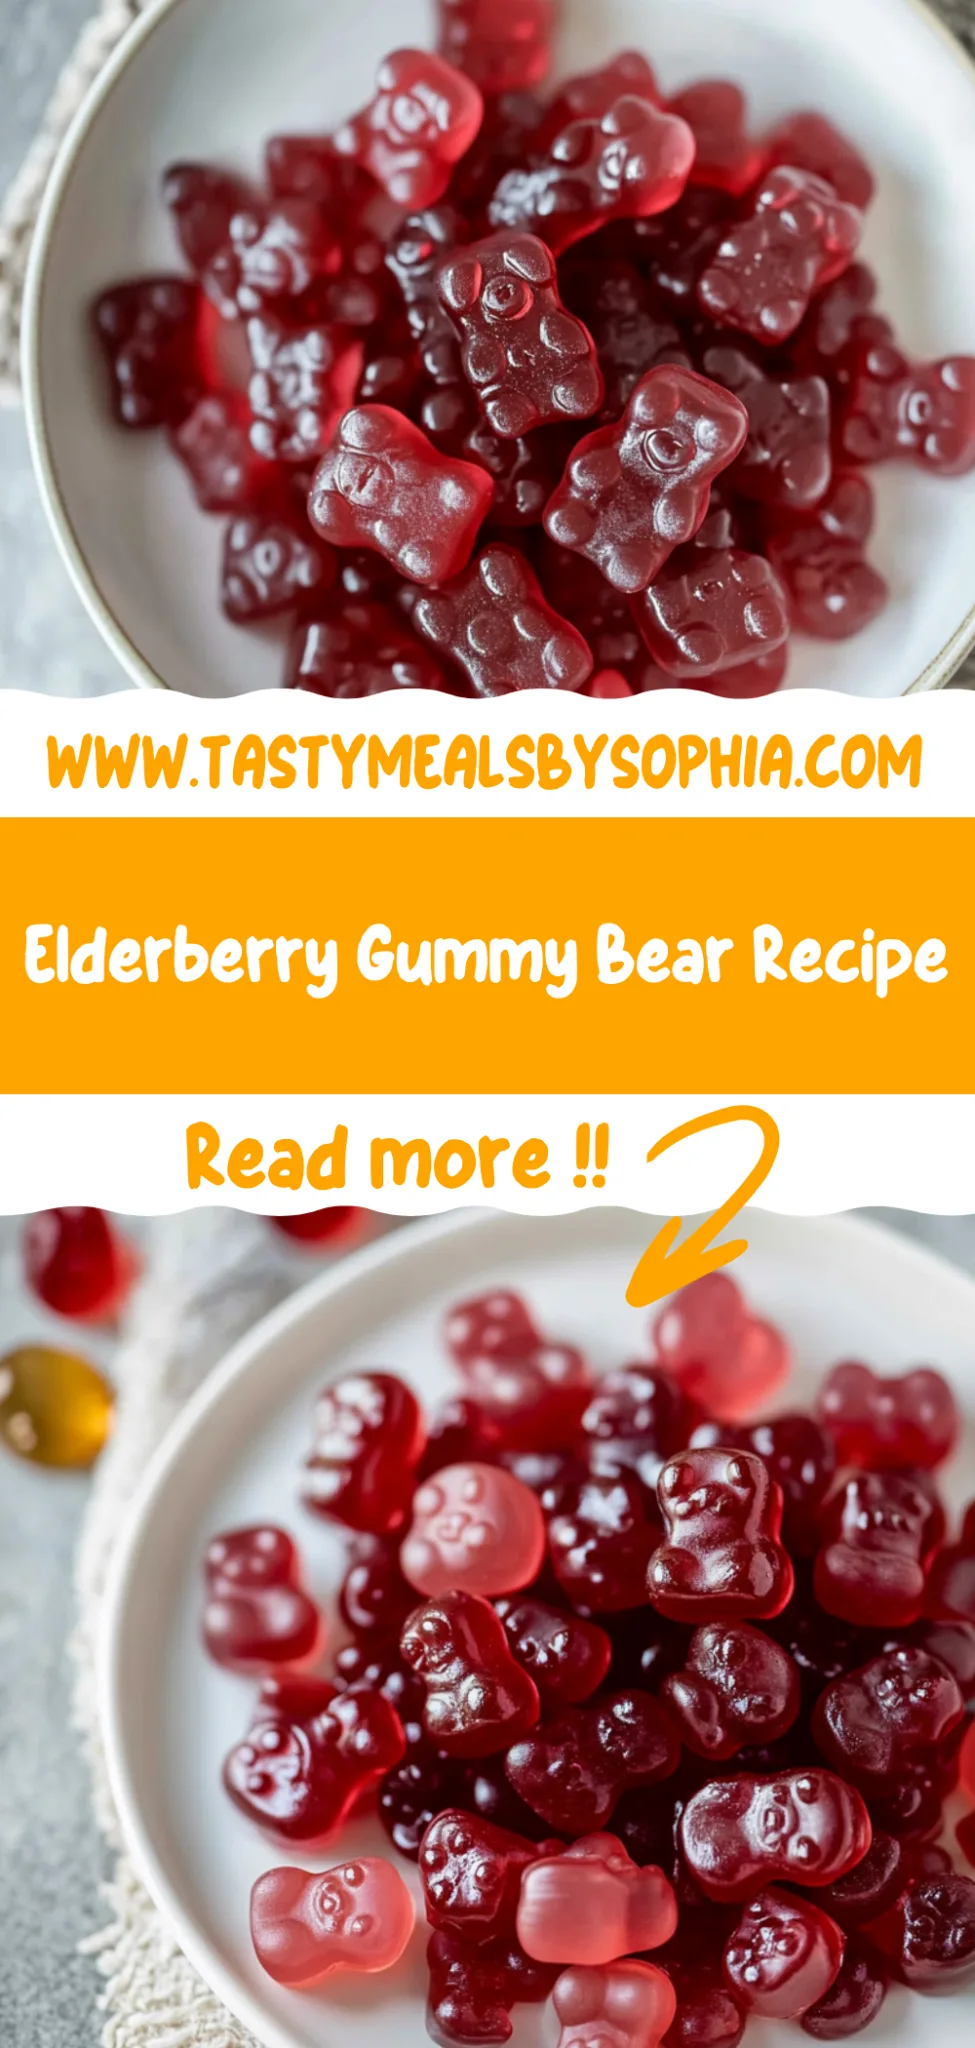
Elderberry Gummy Bear Recipe: Deliciously Healthy Treats
I first stumbled upon the idea of making elderberry gummy bears while browsing through a quaint little health shop that boasted an impressive selection of artisanal sweets. As soon as I saw those vibrant little gummies, I was hit with a craving that I just couldn’t shake off. They were not only adorable but packed with all the immune-boosting goodness of elderberries! However, when I saw the price tag, I couldn’t help but think about how easy it would be to whip up my own batch at home—both for my wallet and for the sheer joy of creating something deliciously nutritious in my kitchen.
Let me tell you, perfecting this Elderberry Gummy Bear Recipe was no walk in the park! After what felt like an eternity (okay, maybe it was only five attempts), I finally nailed it. Each round was a lesson learned: too chewy here, not enough flavor there—I might have even tested my patience with a few gummy disasters that looked more like science experiments than sweet treats! But each failure taught me something new and brought me one step closer to crafting the perfect balance of sweetness and tartness, all while ensuring those little bears held their shape without turning into sticky blobs.
And oh boy, was it worth every gummy mess along the way! The final product is nothing short of delightful—these elderberry gummy bears are soft yet firm, bursting with fruity flavor, and have an impressive shelf life that means they won’t vanish into thin air overnight. Plus, knowing they’re loaded with immune-boosting benefits makes indulging even sweeter. I can’t wait for you to try this recipe; trust me—once you do, you’ll be hooked on making your own gummy goodness!
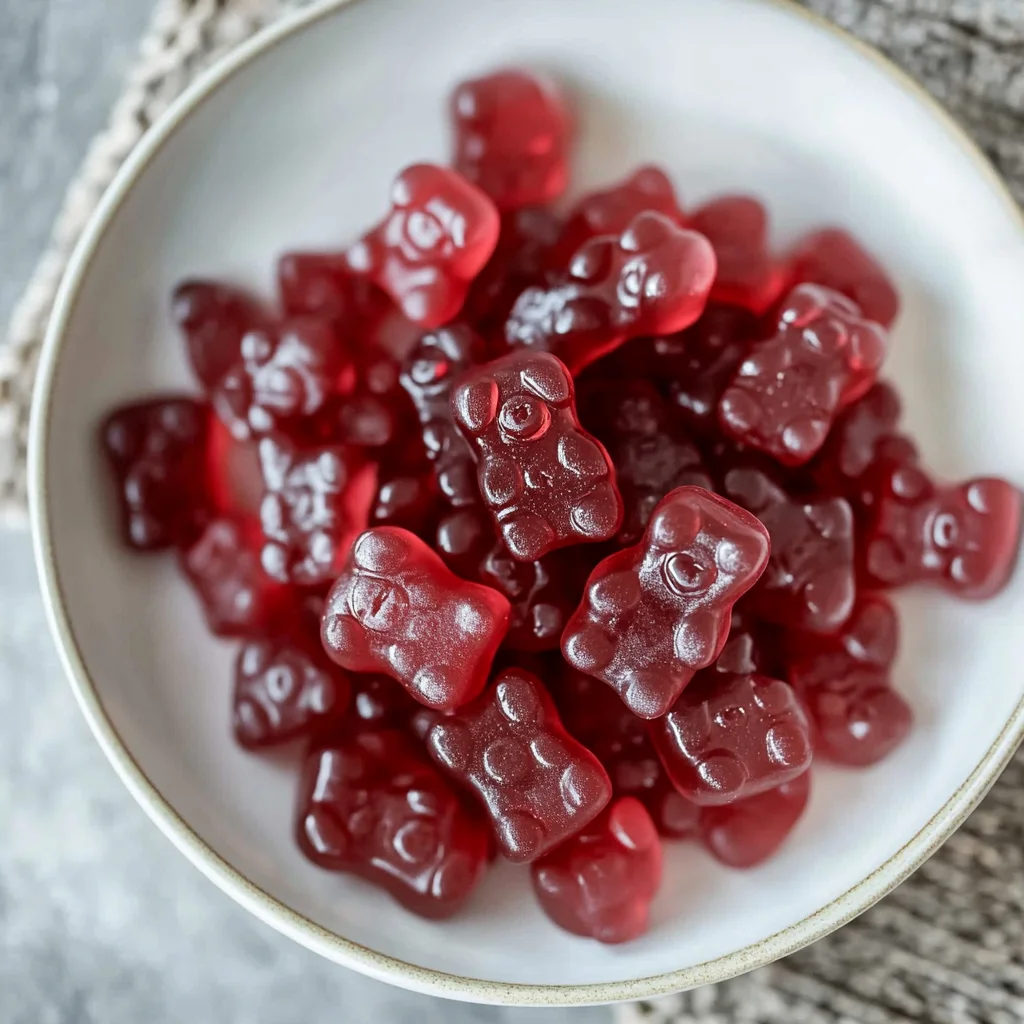
These Elderberry Gummy Bear Recipe are… the ultimate immune-boosting treat that doubles as a delicious snack!
1. They deliver a vibrant, fruity flavor that makes every bite a delight, thanks to the use of fresh elderberry juice. This juice not only imparts a rich berry taste but also enhances the gummy bears’ natural sweetness, creating a well-rounded flavor profile that feels indulgent yet healthy.
2. Perfectly chewy texture – these gummy bears have just the right amount of give, making them incredibly satisfying to eat. The combination of gelatin powder ensures they hold their shape while providing that classic gummy bounce, elevating your snacking experience to something truly enjoyable.
3. Simple technique – by blending elderberry juice with honey and lemon juice before adding gelatin, I achieved a beautifully balanced mixture that sets perfectly. This method helps lock in the flavors while ensuring the gummies are easy to make at home, without any complicated processes.
4. Cost-effective goodness – making your own elderberry gummy bears is not only fun but also saves you money compared to store-bought versions. With just a handful of ingredients, you can whip up multiple batches, giving you a nutritious snack option that’s always on hand for boosting your immune system.
PS These gummy bears are bite-sized and yield about 24 pieces, making them perfect for sharing or for enjoying throughout the week!
Ingredients for the Elderberry Gummy Bear Recipe
Each ingredient in this dish plays an essential role in flavor and texture. Here’s what you’ll need:
1 cup elderberry juice (fresh or store-bought): Provides a rich, fruity base packed with immune-boosting antioxidants.
2 tablespoons honey (or maple syrup for vegan option): Adds natural sweetness and enhances the overall flavor profile.
1 tablespoon lemon juice (freshly squeezed): Brightens the mixture with a zesty tang that balances the sweetness.
2 tablespoons gelatin powder (or agar-agar for vegan option): Acts as a gelling agent, giving the gummies their delightful chewy texture.
You Must Whisk That Gelatin! No Shortcuts Allowed!
I’ll admit it: I tried to skip the whisking step when making these elderberry gummy bears. I thought, “How much difference can it really make?” Spoiler alert: A LOT. After several attempts, I realized that if you don’t whisk that gelatin into a smooth, lump-free mixture, you’re left with a gummy disaster instead of the delightful treats you envisioned. Trust me, it’s not worth cutting corners here!
So why is this technique so crucial? When you sprinkle gelatin powder over the warm elderberry mixture and whisk continuously, you’re essentially activating the gelatin’s gelling properties. Think of it like mixing flour into water for a dough; if you don’t mix it well, you end up with clumps instead of a silky batter. Properly dissolved gelatin ensures that your gummy bears have that perfect chewy texture and will set properly in the fridge.
What does whisking do?
- Texture — Whisking ensures the gelatin is fully dissolved, which gives your gummies that desirable chewy bite rather than a grainy mouthfeel.
- Clarity — A well-mixed mixture leads to clear gummies without unsightly lumps or bubbles, allowing the beautiful color of elderberry juice to shine through.
- Flavor Distribution — Whisking helps evenly distribute ingredients like honey and lemon juice throughout the mixture, ensuring every gummy bear is bursting with flavor.
- Shelf Life — Properly combined ingredients help maintain the integrity of the gummies, preventing them from becoming rubbery or spoiling sooner than expected.
- Set Consistency — The right amount of dissolved gelatin creates a firm yet flexible gummy that holds its shape without crumbling.
Different whisking times
- Immediate (fair) — If you just sprinkle and stir for a few seconds, you’ll end up with lumps and an uneven texture. Not ideal for gummy perfection!
- 30 seconds (good) — This will dissolve most of the gelatin but may still leave behind some small clumps that could affect texture.
- 1 minute (better) — A solid whisking time where clumps are mostly eliminated and texture improves noticeably.
- 2 minutes (best) — Achieves a perfectly smooth mixture with no lumps; this is what you want for those delectable gummy bears.
Beware: The most common mistake is skipping or rushing the whisking process! Trust me on this one—don’t be tempted to just stir briefly and move on. Your gummies deserve better!
How to make Elderberry Gummy Bear Recipe
Are you ready to see how straightforward it is to make the Elderberry Gummy Bear Recipe of your dreams??
1. PREPARE THE MIXTURE
Let’s get started on creating the tasty base for your gummy bears!
1. Combine – In a small saucepan, combine 1 cup of elderberry juice, 2 tablespoons of honey (or maple syrup for a vegan option), and 1 tablespoon of freshly squeezed lemon juice. Heat the mixture over low heat until it is warm, stirring continuously to fully dissolve the honey. This step is crucial because it allows the flavors to meld beautifully together!
2. Sprinkle – Once warmed through, sprinkle 2 tablespoons of gelatin powder over the mixture. Whisk continuously until the gelatin is fully dissolved and the mixture is smooth. 💡 TIP: The smoother your mixture, the better your gummy bears will set and taste!
HANDY TIPS
- If using agar-agar instead of gelatin, follow package instructions for activating it—this usually involves boiling.
- For a more intense flavor, consider using fresh elderberries if available!
2. MOLD THE GUMMIES
Now that your mixture is ready, it’s time to mold those adorable gummy bears!
3. Remove – Take the saucepan off heat and add any optional flavor enhancers like 1 teaspoon of vanilla extract or 1 teaspoon of ginger powder for an extra kick. Mix well to incorporate these flavors fully; they can take your gummies from good to great!
4. Pour – Carefully pour the mixture into gummy bear molds, filling each cavity without overfilling. A steady hand helps keep those gummies looking cute! ⚠️ Be cautious not to spill; this mixture can be sticky and hard to clean up!
5. Refrigerate – Place the filled molds in the refrigerator for at least 2 hours or until completely set. You’ll know they are ready when they feel firm to touch and hold their shape.
HANDY TIPS
- Experiment with different mold shapes if you have them—your kids will love it!
- If you prefer larger gummies, use larger molds but adjust refrigeration time as needed.
3. SERVE AND STORE
Your delicious gummy bears are almost ready to enjoy!
6. Remove – Once set, carefully remove the gummy bears from their molds by gently pressing on the bottom or sides; they should pop out easily if set correctly. If they stick a bit, run a little warm water on the outside of the mold for easier release!
7. Store – Store your homemade elderberry gummy bears in an airtight container in the refrigerator for up to 2 weeks—if they last that long! I usually find myself munching on them daily!
HANDY TIPS
- For longer storage, consider freezing them—just thaw before enjoying!
- These gummy bears also make great gifts; just package them nicely!
You’ve just crafted a batch of tasty elderberry gummy bears that not only satisfy your sweet tooth but also provide a nutritious boost for your immune system! That’s homemade goodness at its finest! Make these once, and I wager they will invade your dreams every night too! – Nagi x
FAQ – Elderberry Gummy Bear Recipe
How long do these gummy bears last in the fridge?
These elderberry gummy bears can be stored in an airtight container in the refrigerator for up to 2 weeks. On day 1, they are at their peak freshness and flavor, but by day 7, I would say they are about 90% as good. By the end of week 2, their quality drops to about 80%, mainly due to the texture becoming a bit chewier. Always keep an eye (and nose) out for any signs of spoilage!
❄️ Do I really have to refrigerate them for 2 hours?
Yes, you really do! The refrigeration time is crucial for allowing the gelatin (or agar-agar) to set properly. If you skip this step, your gummies will be a gooey mess instead of those delightful bear-shaped morsels you’re aiming for. Trust me; I’ve tried rushing it, and the results were less than appetizing. So, patience is key here!
Can I freeze these gummy bears for later?
Absolutely! You can freeze these elderberry gummy bears if you want to make a larger batch. To do so, place them in a single layer on a parchment-lined baking sheet and freeze until solid. Then transfer them to an airtight container or freezer bag. They will keep well for up to 3 months in the freezer. When you’re ready to enjoy them, simply thaw them in the refrigerator overnight—don’t leave them at room temperature as they may lose their shape!
🌱 Are these gummy bears suitable for vegans?
Yes! You can easily make these gummy bears vegan by substituting the gelatin with agar-agar. Agar-agar works similarly to gelatin but is derived from seaweed and is completely plant-based. Just use the same amount (2 tablespoons), but remember that agar-agar requires boiling to activate its gelling properties, so follow package instructions carefully.
Can I substitute honey with something else?
Definitely! If you’re looking for a vegan option or prefer not to use honey, maple syrup works wonderfully as a substitute in this recipe. It adds a nice sweetness without overpowering the elderberry flavor. Just stick with 2 tablespoons of maple syrup in place of honey; however, keep in mind that it will alter the taste slightly—just think of it as adding another layer of deliciousness!
Why do I need to whisk continuously when adding gelatin?
Whisking continuously ensures that the gelatin powder fully dissolves into the warm liquid without forming clumps—a common issue if it’s added too quickly or without stirring. If clumps form, your gummies won’t achieve that smooth texture we all love! So take your time with this step; it’s worth it for beautifully bouncy gummy bears.
Did you really test this recipe multiple times?
Oh yes, indeed! I’ve tested this elderberry gummy bear recipe more times than I’d like to admit (let’s just say my family was quite happy with all that extra snacking). Each batch was tweaked until I found just the right balance of sweetness and flavor from both elderberries and optional enhancers like vanilla and ginger—trust me when I say this is how we get those irresistibly tasty gummies!
Troubleshooting
I will continue to add more to this Troubleshooting section as I start seeing questions coming through from people who have made the recipe.
Troubleshooting tips
“My gummy bears are too soft and mushy! 😭”
- This may be due to not using enough gelatin powder. The recipe calls for 2 tablespoons, and if you use less, the gummies won’t set properly.
- Another reason could be that the mixture wasn’t heated long enough for the gelatin to fully dissolve. If it’s still grainy when you whisk, give it a bit more time on low heat.
- I bet they were still YUM though!
“Why are my gummy bears too thick? 🤔”
- You might have added too much gelatin powder! Stick with the recommended 2 tablespoons for a perfect balance between chewy and soft.
- Alternatively, if you let the mixture boil instead of keeping it at a low heat, it can cause the gelatin to over-thicken. Remember, low and slow is the way to go!
- I bet they were still YUM though!
“The color of my gummy bears is uneven! 😩”
- If your elderberry juice is not well mixed with honey or lemon juice before adding gelatin, it can lead to streaks in color. Make sure everything is thoroughly combined!
- Additionally, if you used a different brand of elderberry juice that has artificial coloring or additives, it might behave differently than expected.
- I bet they were still YUM though!
“My gummy bears stuck to the molds! 😱”
- This typically happens if the molds aren’t coated lightly with oil before pouring in the mixture. A small spray of non-stick cooking spray can work wonders!
- Also, if you didn’t let them cool completely before trying to remove them, they might become soft and sticky.
- I bet they were still YUM though!
Elderberry Gummy Bear Recipe
Ingredients
Method
- In a small saucepan, combine elderberry juice, honey, and lemon juice. Heat over low heat until warm, stirring to dissolve the honey.
- Sprinkle the gelatin powder over the mixture and whisk continuously until fully dissolved and smooth.
- Remove the saucepan from heat and add any optional flavor enhancers. Mix well.
- Carefully pour the mixture into gummy bear molds, filling each cavity.
- Refrigerate for at least 2 hours or until set.
- Once set, carefully remove the gummy bears from the molds.
- Store in an airtight container in the refrigerator for up to 2 weeks.