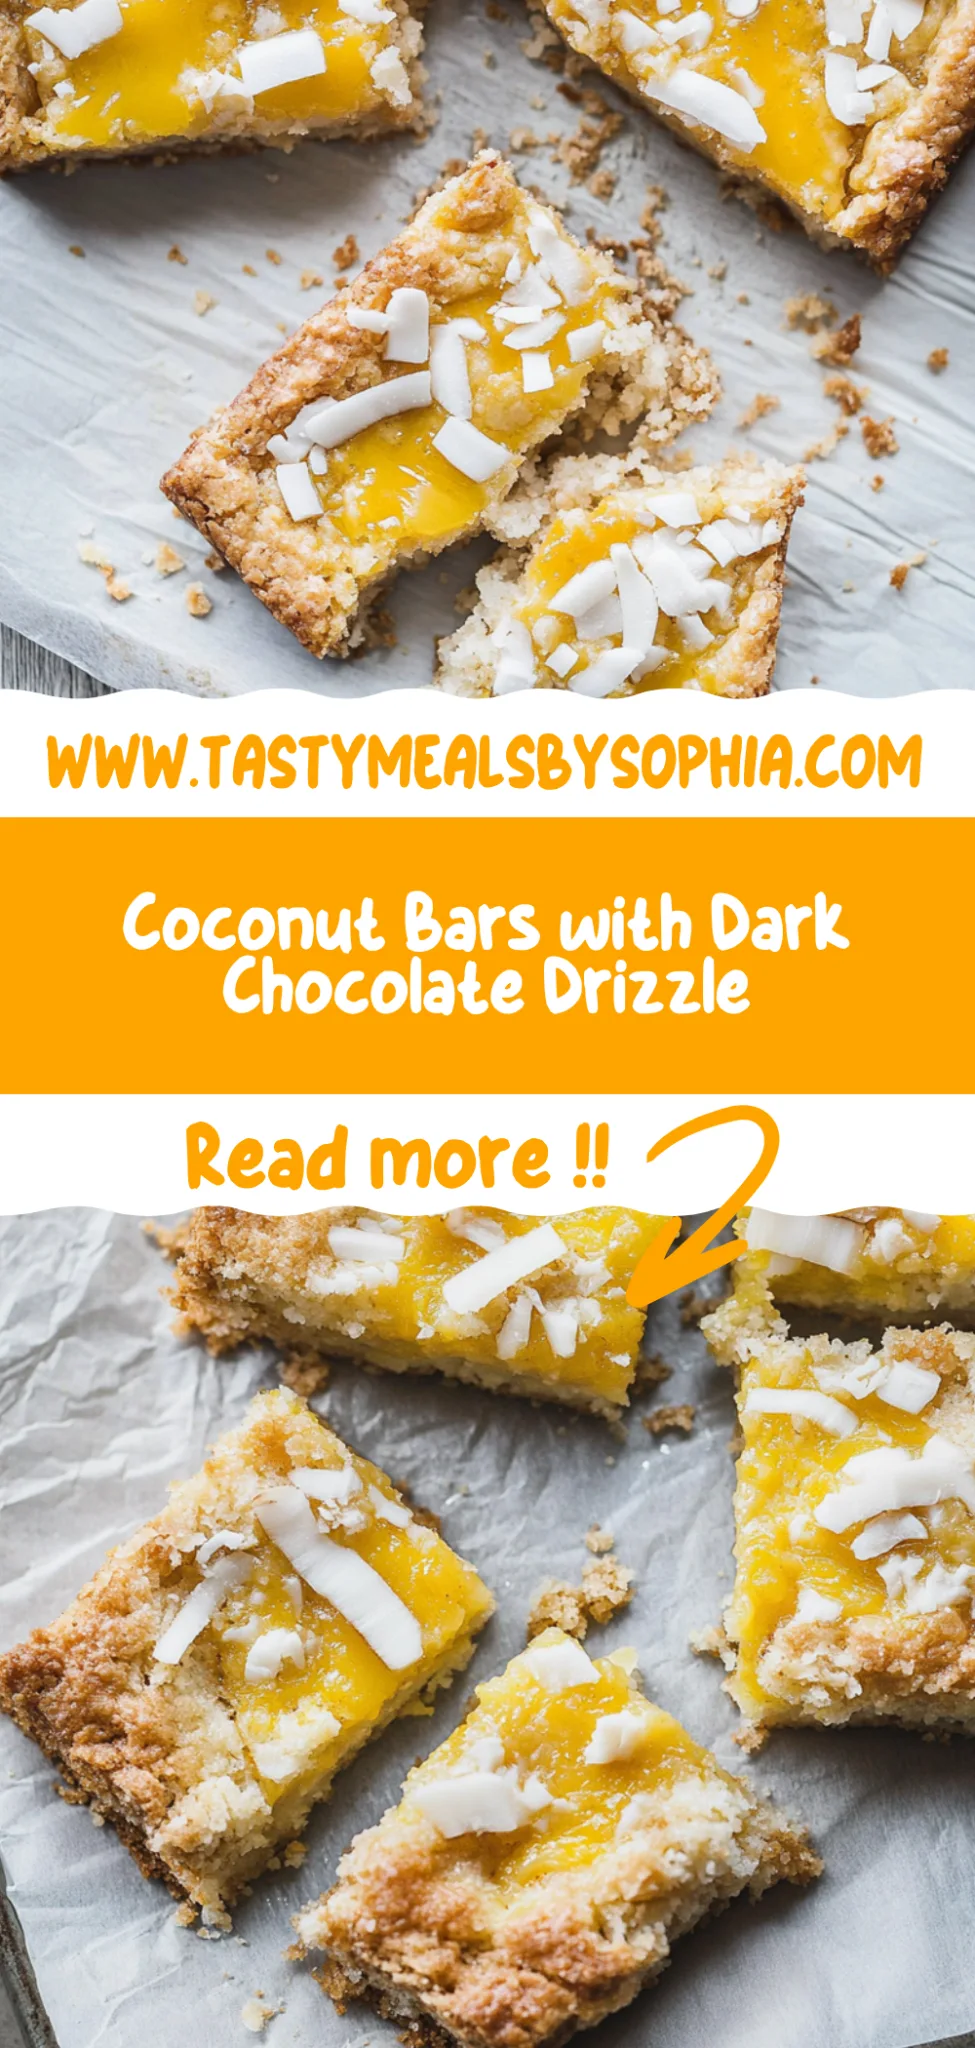
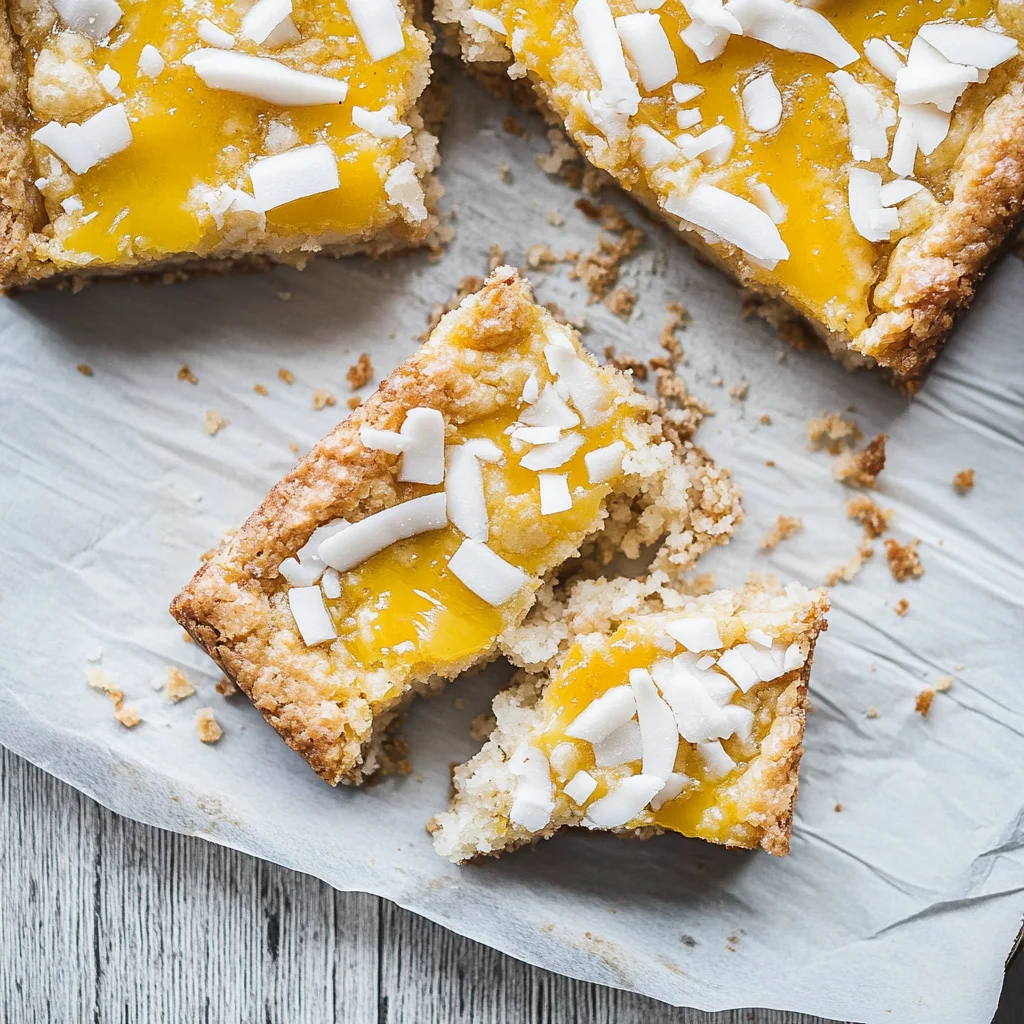
Coconut Bars: Sweet and Chewy Homemade Delight
I first stumbled upon coconut bars at a little café tucked away in my neighborhood, and let me tell you, they were like a sweet hug for my taste buds! I couldn’t get over how they managed to be both chewy and sweet, with just the right hint of coconut that made them utterly irresistible. After devouring one too many, I decided it was high time to recreate these little treasures at home. Plus, let’s be honest—why pay a small fortune for a treat when I could whip up a batch myself?
Fast forward to my kitchen adventure where I became an unwitting experimenter in the art of coconut bars. With three attempts under my belt (and a few minor kitchen disasters that may or may not have involved melted chocolate on my floor), I finally started to hone in on that perfect balance of sweetness and chewiness. Each batch taught me something new—too much coconut made them dry, while not enough left them lacking that signature flavor punch. Who knew coconut bars could be so finicky?
But oh boy, all those trials were absolutely worth it! The final result is nothing short of divine: these coconut bars are deliciously sweet and perfectly chewy, making them the ultimate snack or dessert. They boast a delightful texture that keeps you coming back for more, and the way they pack in that tropical coconut flavor is simply unbeatable. Trust me, once you take a bite, you’ll be hooked! So grab your ingredients and let’s get baking—you’re going to love these Coconut Bars!
These Coconut Bars are…
…an irresistible treat that will have you reaching for seconds every time!
1. They deliver an incredibly sweet flavor that balances perfectly with the hint of coconut. Thanks to the combination of sweetened condensed milk and granulated sugar, these bars are like a tropical paradise in every bite, making them a delightful dessert or snack option.
2. Their chewy texture is simply divine, providing a satisfying bite that keeps you coming back for more. The use of shredded coconut gives these bars their signature chewiness, while the melted butter ensures they remain moist and tender throughout.
3. A key technique I swear by is mixing the dry ingredients thoroughly before adding the wet ones. This ensures that the flour is evenly distributed throughout the mix, resulting in perfectly uniform bars that bake evenly without any clumps.
4. These bars offer great value, as they require simple ingredients that are often already in your pantry. With just a handful of basic components, you can whip up a batch of Coconut Bars that rivals any bakery—without breaking the bank!
PS These Coconut Bars are cut into generous squares, making them perfect for sharing or indulging on your own!
Ingredients for the Coconut Bars
Each ingredient in this dish plays an essential role in flavor and texture. Here’s what you’ll need:
2 cups shredded coconut (unsweetened): Provides a chewy texture and rich coconut flavor.
1 cup sweetened condensed milk: Adds sweetness and moisture, binding the bars together.
1 cup all-purpose flour: Contributes structure and helps achieve the perfect bar consistency.
1/2 cup butter (melted): Enhances richness and adds a lovely buttery flavor.
- 1/2 cup granulated sugar: Sweetens the bars while helping to create a golden crust.
Mixing It Right: Don’t Skimp on This Step!
I have to confess, I thought I could take a shortcut with this step. I tried mixing the ingredients quickly, hoping it would save me time without sacrificing too much quality. Spoiler alert: it didn’t work! After several attempts (and a few failed batches), I realized that taking the time to mix thoroughly is crucial for these coconut bars.
Why is this step so important? Well, think of your mixture as a team—each ingredient plays a vital role in creating the final product. The sweetened condensed milk binds everything together, while the all-purpose flour provides structure. If you don’t mix until well combined, you risk uneven textures and pockets of sweetness or dryness, which will leave you with coconut bars that are just not up to par.
What does thorough mixing do?
- Texture — Ensures even distribution of shredded coconut and flour, leading to a uniform chewy texture throughout.
- Moisture — Properly mixed ingredients allow the sweetened condensed milk to coat every bit of coconut, preventing dry spots in the bars.
- Flavor — A thorough mix helps meld the flavors together, ensuring that each bite is consistently sweet and delicious.
- Consistency — Even blending creates a homogenous batter that bakes evenly, avoiding parts that are overcooked or undercooked.
- Structure — Flour needs to be fully integrated to create a stable base, allowing the bars to hold together beautifully when cut.
Different Mixing Times
- 1 minute (okay) — Barely enough time; can lead to lumps and uneven texture in your bars.
- 2 minutes (good) — Ingredients are mixed but might still have some dry flour pockets; flavor is okay but not optimal.
- 3 minutes (better) — The mixture is combined well; texture improves significantly, but there may still be slight inconsistencies.
- ⭐️ 4 minutes⭐️ — Ideal! Everything blends beautifully for that perfect chewy texture and rich flavor balance.
Be warned: skipping or rushing through this mixing step is a common mistake! If you don’t give it the attention it deserves, you’ll end up with coconut bars that lack flavor and texture. Trust me; it’s not worth the risk!
How to make Coconut Bars
Are you ready to see how straightforward it is to make the Coconut Bars of your dreams??
1. PREPARE THE MIXTURE
Let’s kick things off by mixing our delicious base ingredients together!
1. Preheat – Start by preheating your oven to 350°F (175°C). This ensures that when your mixture is ready, the oven will be perfectly heated for baking.
2. Combine – In a mixing bowl, combine 2 cups of shredded coconut, 1 cup of sweetened condensed milk, 1 cup of all-purpose flour, 1/2 cup of melted butter, and 1/2 cup of granulated sugar. Mix thoroughly until everything is well combined; you should have a thick, sticky mixture that’s fragrant and inviting!
HANDY TIPS
- If you prefer a stronger coconut flavor, use lightly toasted shredded coconut in the mixture for an extra layer of taste.
- For added texture, consider folding in some chopped nuts or dried fruits along with the coconut.
2. BAKE THE BARS
Now we’re ready to transform that delightful mixture into chewy bars!
3. Pour – Pour the mixture into a greased baking pan and spread it evenly using a spatula or the back of a spoon. Make sure it’s level so that they bake uniformly!
4. Bake – Place the pan in the preheated oven and bake for about 25 minutes or until the edges turn golden brown. You’ll know they’re done when your kitchen smells amazing and the top has a slight crust!
HANDY TIPS
- Keep an eye on them towards the end of baking; if they start browning too quickly, cover loosely with foil to prevent burning.
- If you want a softer bar, you can reduce baking time slightly; just be sure not to underbake them too much!
3. ADD TOPPINGS
The final touches will take these bars from delicious to irresistible!
5. Sprinkle – As soon as you pull the pan from the oven, sprinkle 1/2 cup of chocolate chips on top (if using). The heat from the bars will melt them slightly—allowing for easy spreading if desired—then let cool for a few minutes.
6. Garnish – Finally, sprinkle with 1/4 cup of toasted coconut before cutting into bars once completely cooled. This adds both flavor and visual appeal!
HANDY TIPS
- If you’re feeling adventurous, try adding a pinch of sea salt on top before serving; it enhances the sweetness beautifully!
- For smaller portions, cut them into bite-sized squares rather than bars.
These Coconut Bars are now perfect for snacking or dessert—sweet, chewy, and absolutely delightful! Making these took just about 40 minutes from start to finish, and I guarantee they will be devoured quickly at any gathering! Enjoy every sweet bite! – Nagi x
FAQ – Coconut Bars
🥥 Can I freeze Coconut Bars?
Yes, you can absolutely freeze these coconut bars! After baking, allow them to cool completely, then cut them into individual bars. Wrap each bar tightly in plastic wrap and place them in an airtight container or a resealable freezer bag. They will keep well for up to 3 months in the freezer. To thaw, simply remove the desired number of bars from the freezer and let them sit at room temperature for about 30 minutes. Enjoy them as a sweet treat whenever you need a quick snack!
⏳ Do I need to chill the mixture before baking?
Nope, there’s no chilling required for this coconut bar mixture! Once you’ve combined the shredded coconut, sweetened condensed milk, all-purpose flour, melted butter, and granulated sugar until well mixed, you can pour it directly into your greased baking pan and pop it in the oven. Skipping the chill means you get to enjoy these delicious bars that much sooner—win-win!
🌾 Can I make these bars gluten-free?
Absolutely! To make these coconut bars gluten-free, simply swap out the all-purpose flour for a 1: 1 gluten-free flour blend. I recommend using one that contains xanthan gum for better texture. The rest of the ingredients—shredded coconut and sweetened condensed milk—are naturally gluten-free as well. Just remember to check labels on your products to ensure they are certified gluten-free if you have sensitivities.
🍬 Can I reduce the sugar or substitute with sweeteners?
No, unfortunately, reducing the sugar or substituting with other sweeteners won’t work here. I’ve tested this recipe numerous times (like 15 times…yes, I’m a little mad 😅) with various sugar levels and alternatives like honey or agave syrup. The balance is crucial; too little sugar affects not only sweetness but also texture. The granulated sugar helps bind everything together beautifully with the sweetened condensed milk.
⚡ Why do I need to toast the coconut before garnishing?
Toasting the coconut is essential for enhancing flavor! It brings out a lovely nuttiness that complements the sweetness of the bars perfectly. Simply spread shredded coconut on a baking sheet and toast it at 350°F (175°C) for about 5-7 minutes, stirring occasionally until golden brown. Just keep an eye on it because it can go from golden to burnt pretty quickly! Trust me; your taste buds will thank you for this extra step!
🍫 What if I don’t want to add chocolate chips?
No worries at all! If chocolate isn’t your thing or you’re looking for a different flavor profile, feel free to skip the chocolate chips entirely. These coconut bars are delightful on their own thanks to the sweetened condensed milk and shredded coconut’s natural sweetness. You could also consider adding nuts like chopped pecans or walnuts for extra crunch if you’re feeling adventurous!
📦 How long do these coconut bars last at room temperature?
When stored properly in an airtight container at room temperature, these coconut bars will last for about 5 days—though they’ll be best enjoyed within the first 3 days when they’re still fresh and chewy! After that time frame, they’ll start losing some of their chewy texture but will still be tasty (around 90% as good on day 5). So make sure to share or stash away extras quickly before they disappear!
Troubleshooting
I will continue to add more to this Troubleshooting section as I start seeing questions coming through from people who have made the recipe.
Troubleshooting tips
“My coconut bars turned out too dry! 😩”
- You might have used too much flour. When measuring, ensure you’re spooning the flour into the cup and leveling it off rather than scooping directly from the bag, which can compact it.
- If you baked them for too long, they can dry out quickly. Keep an eye on them in the last few minutes of baking – the edges should be golden brown but not overly dark.
I bet they were still YUM though!
“My bars spread out too much and are super thin! 😱”
- This can happen if your melted butter was too hot when mixed in; it may cause the mixture to become too fluid. Allow your melted butter to cool slightly before adding it.
- Also, ensure you’re using the correct ratio of ingredients; if you accidentally reduced the flour, that could lead to a thinner texture.
I bet they were still YUM though!
“The top of my coconut bars is uneven and cracked! 🤦♀️”
- If your mixing was too vigorous, it can incorporate excess air into the batter, leading to cracking as they bake. Gently fold the ingredients together until just combined.
- Pouring the mixture into an unevenly greased pan can also cause uneven baking. Make sure your pan is evenly coated for a smooth bake.
I bet they were still YUM though!
“My coconut bars are way too sweet! 🥴”
- If you used sweetened shredded coconut instead of unsweetened, that could significantly increase sweetness. Always check your labels to make sure you’re using unsweetened for this recipe!
- Double-check that you didn’t accidentally add extra sweetened condensed milk or sugar when mixing. It happens to the best of us!
I bet they were still YUM though!
Coconut Bars
Ingredients
Method
- Preheat the oven to 350°F (175°C).
- In a mixing bowl, combine shredded coconut, sweetened condensed milk, all-purpose flour, melted butter, and granulated sugar. Mix until well combined.
- Pour the mixture into a greased baking pan and spread evenly.
- Bake in the preheated oven for 25 minutes or until the edges are golden brown.
- If using, sprinkle chocolate chips on top immediately after removing from the oven. Allow to cool slightly.
- Garnish with toasted coconut before cutting into bars.