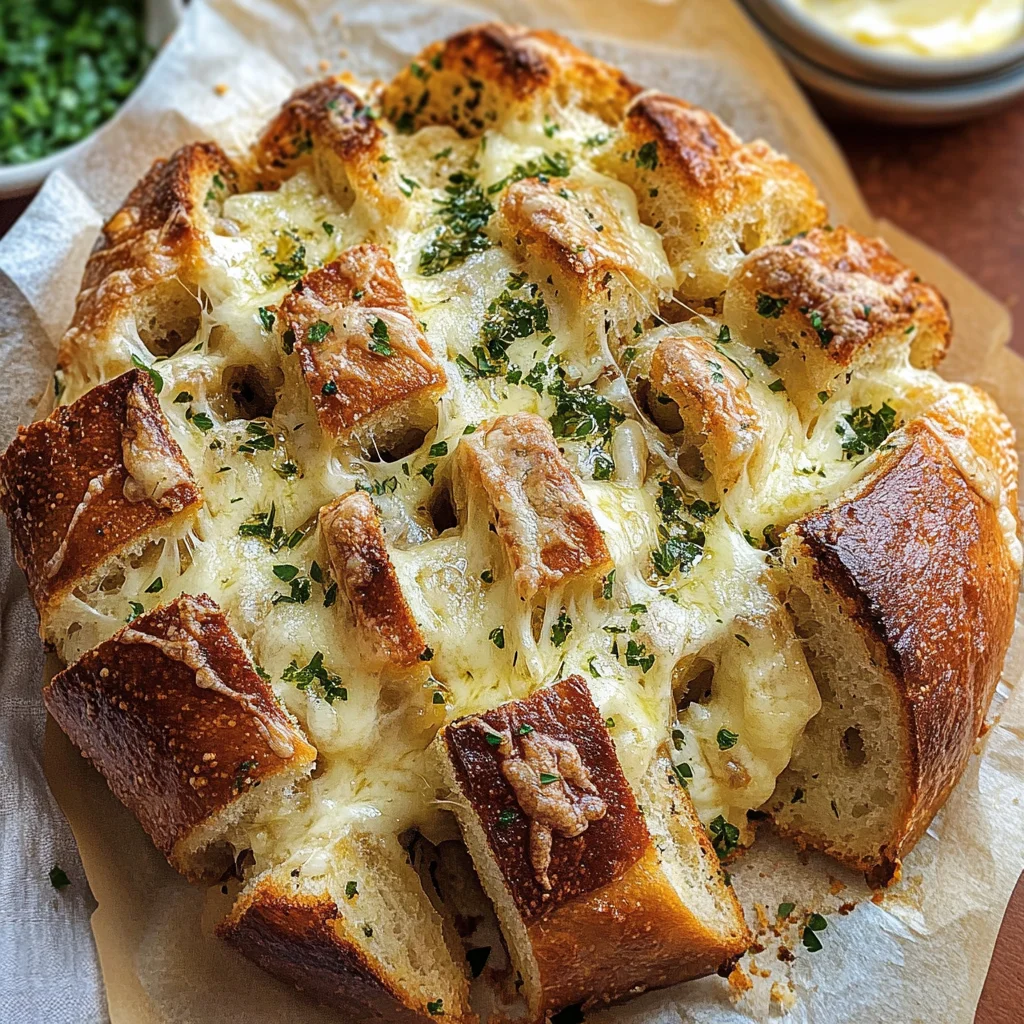
Pull Apart Garlic Bread Recipe
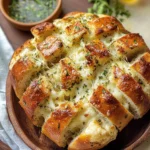
If you’re looking for a delicious, crowd-pleasing treat, this Pull Apart Garlic Bread Recipe is just the thing! Imagine pulling apart a warm, crusty loaf, each piece oozing with garlicky butter goodness. It’s perfect for busy weeknights when you want something quick and satisfying or as an impressive appetizer at family gatherings. Trust me, once you’ve had a taste of this bread, it will become a staple in your kitchen.
This recipe is special not only for its rich flavors but also for its fun, shareable nature. Everyone loves tearing off their own piece, making it a delightful addition to any meal. So let’s dive into this easy and oh-so-satisfying recipe!
Why You’ll Love This Recipe
- Easy to Make: With just a few simple steps, you can whip up this delicious bread in no time!
- Flavor Explosion: The combination of garlic and herbs creates an irresistible aroma and taste that everyone will love.
- Perfect for Sharing: The pull-apart design makes it easy to enjoy with friends and family.
- Versatile: Great as an appetizer or a side dish, it fits perfectly with many meals.
- Make-Ahead Friendly: Prep it in advance and bake it fresh when you’re ready to serve!
Ingredients You’ll Need
Gathering these simple, wholesome ingredients will be a breeze! Each one plays a role in creating that mouthwatering flavor we all crave. Here’s what you’ll need:
For the Bread
- 1 large round loaf of crusty bread (sourdough works great!)
For the Garlic Butter Mixture
- 1 cup (2 sticks) unsalted butter, softened
- 8 cloves of garlic (minced)
- 1/4 cup fresh parsley (finely chopped)
- 2 tablespoons fresh chives (finely chopped)
- 1/2 teaspoon salt
- 1/4 teaspoon black pepper
Optional Cheese
- 1 cup shredded mozzarella or parmesan cheese
Variations
This Pull Apart Garlic Bread Recipe is wonderfully flexible! Here are some ideas to customize it to your liking:
- Add Some Spice: Mix in red pepper flakes for a spicy kick.
- Herb Swap: Use different herbs like basil or oregano for a twist on flavor.
- Cheesy Delight: Try adding different types of cheese like cheddar for extra gooeyness.
- Stuff It Up: Add cooked spinach or sun-dried tomatoes between the cuts for more texture and flavor.
How to Make Pull Apart Garlic Bread Recipe
Step 1: Preheat Your Oven
Before anything else, preheat your oven to 350°F (175°C). This ensures that your bread bakes evenly and gets that lovely golden crust we all adore.
Step 2: Make the Garlic Butter Mixture
In a bowl, mix together your softened butter, minced garlic, chopped parsley, chives, salt, and pepper until everything is well combined. This mixture is the heart of your pull apart garlic bread recipe; it infuses every bite with rich flavor!
Step 3: Prepare the Bread
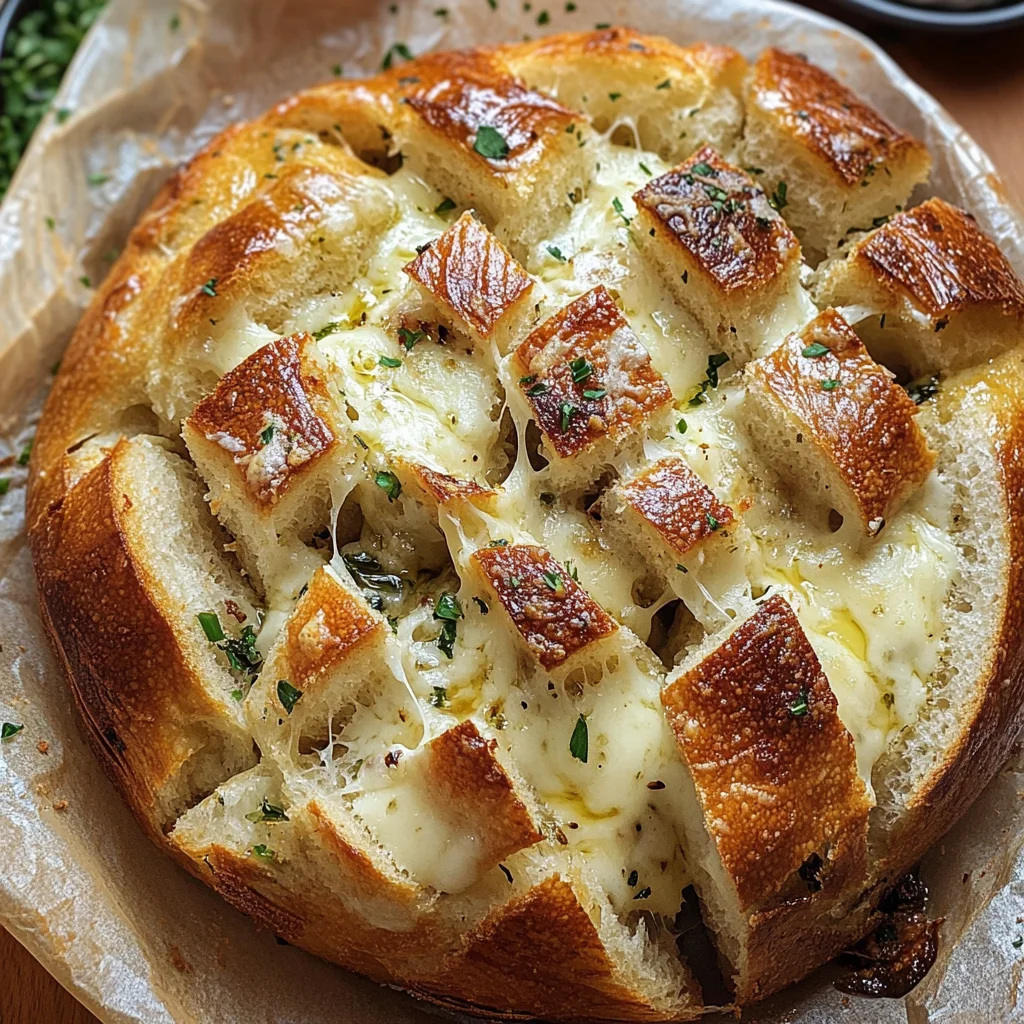
Take your loaf of bread and make diagonal cuts across the top about 1 inch apart. Be careful not to cut all the way through the bottom crust! Repeat by rotating the loaf 90 degrees and cutting again to create a lovely crosshatch pattern. This allows the garlic butter to seep into all those nooks and crannies.
Step 4: Spread the Garlic Butter
Using your fingers or a small spatula, gently spread that luscious garlic butter mixture deep between each cut. Don’t be shy—this is where all the flavor happens! If you’re using cheese, sprinkle it between the cuts too for an extra cheesy experience.
Step 5: Wrap and Bake
Wrap your entire loaf in aluminum foil but leave the top slightly open so it can crisp up nicely. Place it on a baking sheet and pop it into your preheated oven for about 15-20 minutes.
Step 6: Crisp Up the Top
After baking wrapped, unwrap the top of the foil carefully. Bake for an additional 5-10 minutes until you see that beautiful golden brown color forming on top. The smell wafting through your kitchen will be irresistible!
Step 7: Serve Warm
Once baked to perfection, remove from the oven and let cool for a few minutes before serving warm. Get ready for everyone to dig in!
Pro Tips for Making Pull Apart Garlic Bread Recipe
Getting the perfect pull apart garlic bread is all about the details, and these tips will help you impress your friends and family!
- Use Fresh Ingredients: Fresh garlic and herbs enhance the flavor significantly. Dried herbs may work in a pinch, but nothing compares to the vibrant taste of fresh!
- Don’t Skimp on Butter: The richness of butter is what makes this dish so delicious. Ensure you spread enough garlic butter in every crevice for maximum flavor.
- Experiment with Cheese: If you’re a cheese lover, feel free to mix it up! Try adding different cheeses like cheddar or fontina for a unique twist.
- Keep It Wrapped at First: Wrapping the bread in foil helps retain moisture while baking, ensuring the inside stays soft and buttery. Unwrapping it later allows for that perfect crispy top!
- Serve Immediately: This garlic bread is best enjoyed fresh out of the oven. Serve it warm for that delightful gooey texture that everyone loves!
How to Serve Pull Apart Garlic Bread Recipe
Serving your pull apart garlic bread can turn a simple dish into an impressive centerpiece. Here are some fun ideas to enhance your presentation!
Garnishes
- Fresh Parsley: A sprinkle of finely chopped parsley adds a pop of color and freshness.
- Chili Flakes: For those who enjoy a little heat, a dusting of chili flakes can bring a wonderful kick.
- Olive Oil Drizzle: A light drizzle of high-quality olive oil over the top adds richness and an extra layer of flavor.
Side Dishes
- Garden Salad: A crisp garden salad with mixed greens, cherry tomatoes, and a light vinaigrette complements the richness of the garlic bread beautifully.
- Roasted Vegetables: Seasonal roasted veggies like bell peppers, zucchini, and carrots add color and nutrition, balancing out the meal.
- Pasta Primavera: A light pasta dish tossed with seasonal vegetables in olive oil creates a delightful Italian-inspired feast when served alongside the bread.
- Creamy Tomato Soup: For a comforting pairing, serve this bread with a warm bowl of creamy tomato soup—a match made in heaven!
With these tips and serving suggestions, your pull apart garlic bread will not only taste amazing but also look stunning on your dining table! Enjoy sharing this delightful dish with loved ones.
Make Ahead and Storage
This pull apart garlic bread recipe is fantastic for meal prep! You can easily prepare it ahead of time for a gathering or to enjoy throughout the week. Here’s how to store it properly:
Storing Leftovers
- Allow the bread to cool completely before storing.
- Wrap any leftover bread in plastic wrap or aluminum foil.
- Store in an airtight container at room temperature for up to 2 days.
- For longer storage, place in the refrigerator, where it will last about a week.
Freezing
- After baking, let the garlic bread cool completely.
- Wrap the loaf tightly in plastic wrap, then in aluminum foil to prevent freezer burn.
- Label with the date and freeze for up to 3 months.
- To freeze individual pieces, slice the bread first and wrap each piece separately.
Reheating
- For best results, reheat in the oven. Preheat your oven to 350°F (175°C).
- Unwrap the garlic bread and place it on a baking sheet.
- Bake for about 10-15 minutes until warmed through and crispy on top.
- Alternatively, you can microwave slices for about 20-30 seconds, but they may not be as crispy.
FAQs
Here are some common questions you might have about this delicious dish!
Can I make this Pull Apart Garlic Bread Recipe without cheese?
Absolutely! The recipe is still packed with flavor from the garlic butter mixture alone. Feel free to leave out the cheese or substitute with a dairy-free option if desired.
What type of bread works best for Pull Apart Garlic Bread Recipe?
A large round loaf of crusty bread like sourdough is ideal for this recipe. It provides the perfect texture for pulling apart while holding onto that delicious garlic butter!
How do I store leftovers of my Pull Apart Garlic Bread Recipe?
Let any leftovers cool completely before wrapping them in plastic wrap or foil. They can be stored at room temperature for up to two days or refrigerated for about a week.
Can I prepare Pull Apart Garlic Bread Recipe ahead of time?
Yes! You can prepare it ahead by assembling everything and then wrapping it tightly before storing it in the fridge or freezer until you’re ready to bake it.
Final Thoughts
I hope you find joy in making this pull apart garlic bread recipe! It’s not just a dish; it’s a way to bring people together over warm, buttery goodness. Whether you’re serving it as an appetizer or alongside your favorite meal, it’s sure to be a hit. Enjoy every delightful bite and don’t hesitate to share your experience! Happy cooking!
Pull Apart Garlic Bread
Enjoy a delicious Pull Apart Garlic Bread Recipe that’s easy to make and perfect for sharing. Try this flavorful dish today!
- Prep Time: 15 minutes
- Cook Time: 30 minutes
- Total Time: 45 minutes
- Yield: Serves approximately 12 pieces 1x
- Category: Appetizer
- Method: Baking
- Cuisine: Italian
Ingredients
- 1 large round loaf of crusty bread (sourdough recommended)
- 1 cup (2 sticks) unsalted butter, softened
- 8 cloves garlic (minced)
- 1/4 cup fresh parsley (finely chopped)
- 2 tablespoons fresh chives (finely chopped)
- 1/2 teaspoon salt
- 1/4 teaspoon black pepper
- Optional: 1 cup shredded mozzarella or parmesan cheese
Instructions
- Preheat your oven to 350°F (175°C).
- Mix the softened butter, minced garlic, parsley, chives, salt, and pepper in a bowl until well combined.
- Cut the loaf diagonally into about one-inch pieces without cutting all the way through.
- Spread the garlic butter mixture between the cuts generously.
- Wrap the loaf in aluminum foil and place it on a baking sheet.
- Bake for 15-20 minutes wrapped, then unwrap and bake for an additional 5-10 minutes until golden brown.
- Serve warm and enjoy!
Nutrition
- Serving Size: 1 piece (approx. 50g)
- Calories: 180
- Sugar: 0g
- Sodium: 210mg
- Fat: 15g
- Saturated Fat: 9g
- Unsaturated Fat: 5g
- Trans Fat: 0g
- Carbohydrates: 11g
- Fiber: 0g
- Protein: 2g
- Cholesterol: 30mg

