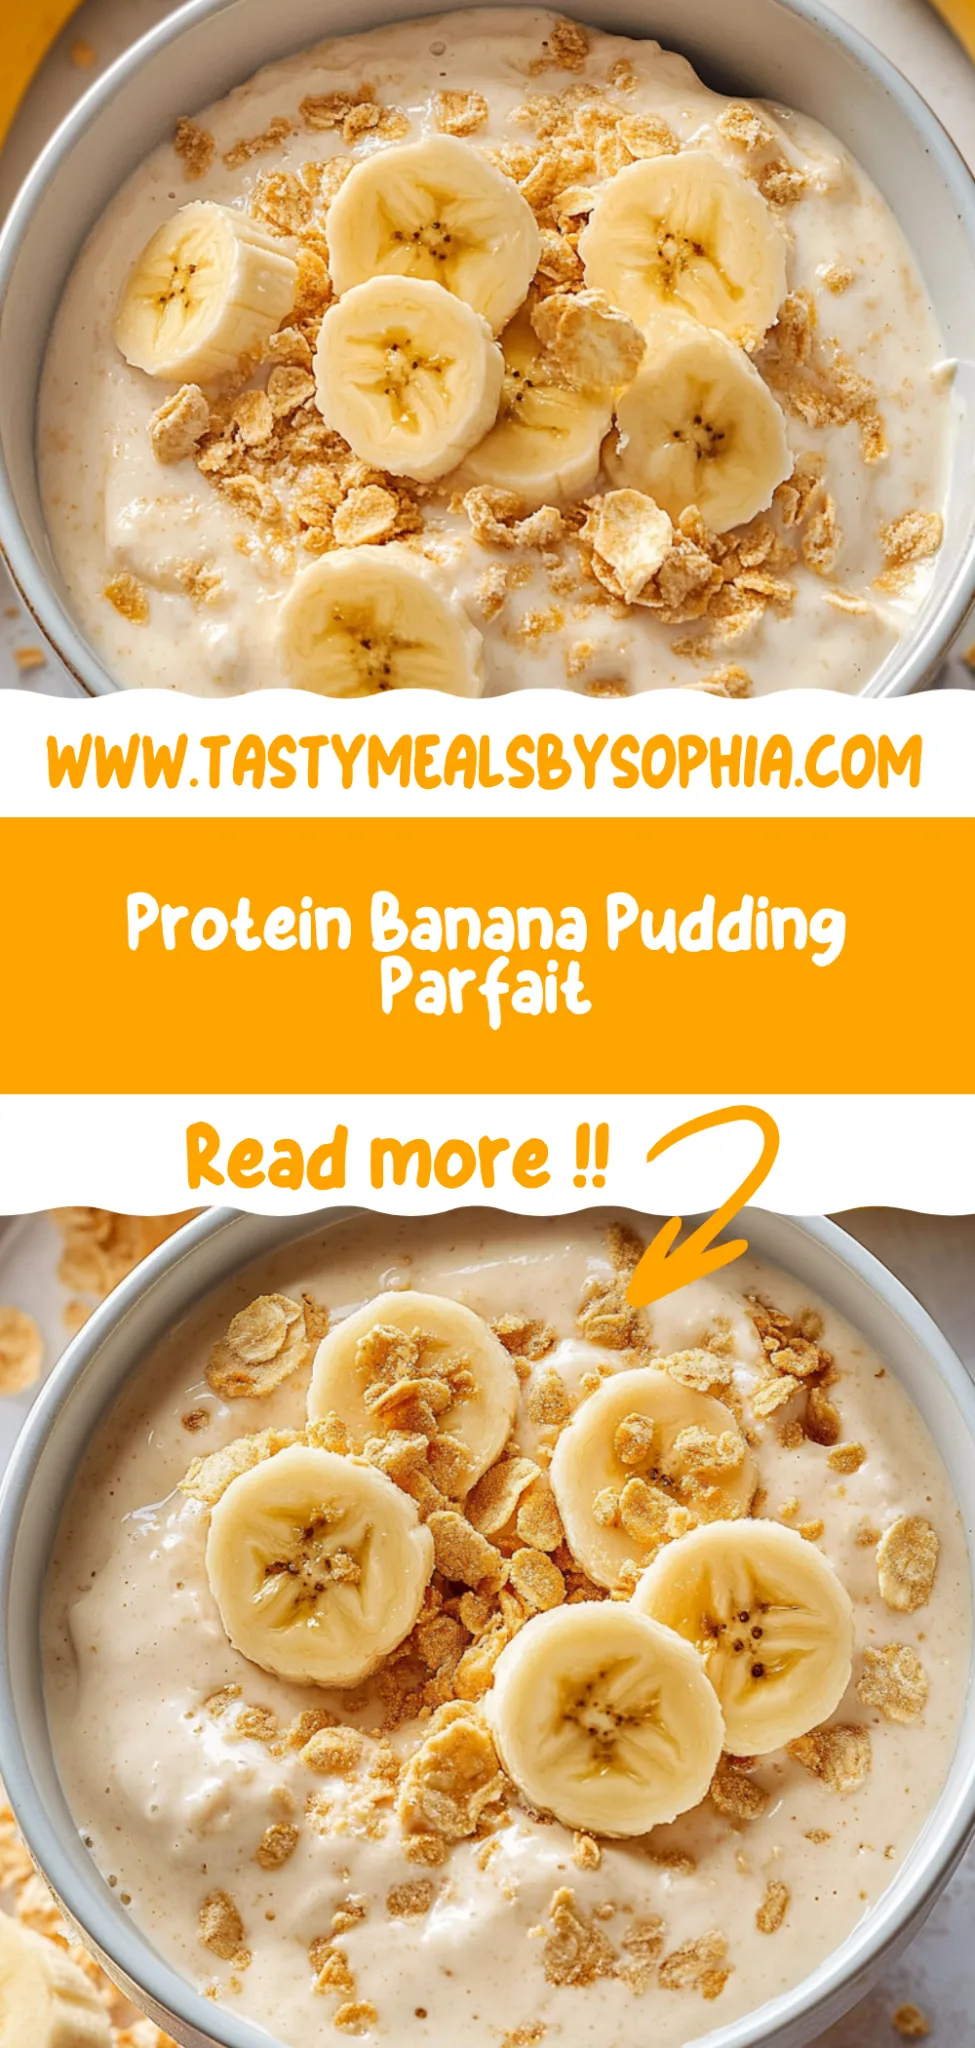
Protein Banana Pudding: Creamy and Guilt-Free Delight
I first stumbled upon the idea of Protein Banana Pudding while trying to satisfy a serious late-night craving for something sweet, creamy, and a little healthier than my usual go-to treats. I had just come back from a delightful café where they served an indulgent banana pudding that was both comforting and rich, but I couldn’t shake the feeling that it could be made even better at home—without the hefty price tag! Plus, let’s be real, finding something that’s both delicious and packed with protein is like finding a unicorn in the dessert world, and I was determined to whip up my own version that wouldn’t leave me feeling guilty.
After what felt like endless rounds of trial and error (seriously, I lost count after five), I finally nailed down the perfect balance of flavors and textures for this Protein Banana Pudding. At one point, I even made a batch that could have doubled as wallpaper paste—note to self: too much protein powder isn’t always a good thing! Each attempt brought me closer to that creamy dream I had envisioned, and I learned a lot about how bananas can transform from mushy sadness into pure bliss when mixed with just the right ingredients.
Let me tell you, all those trials were absolutely worth it! The final result is a silky-smooth banana pudding that’s not only creamy but also packed with protein goodness—perfect for satisfying your sweet tooth without the sugar crash. It’s got this luscious texture that just melts in your mouth, paired with a bright banana flavor that’ll have you going back for seconds (or thirds!). Trust me, once you try this Protein Banana Pudding, you’ll want it in your fridge at all times. So grab your ripe bananas and let’s get pudding-making!
These Protein Banana Pudding are…
…a game-changing dessert that satisfies your sweet tooth while fueling your body with protein!
1. They offer a deliciously sweet flavor that strikes the perfect balance between creamy and indulgent. The combination of vanilla protein powder and natural sweetness from honey or maple syrup creates an irresistible flavor profile that elevates the classic banana pudding experience to new heights.
2. Luscious texture – incredibly smooth and creamy, yet light enough to enjoy without feeling guilty. The unsweetened almond milk in the pudding base ensures a velvety consistency that melds beautifully with the fresh banana slices, creating a delightful mouthfeel that’s both satisfying and refreshing.
3. Elevated technique – utilizing a simple blend of high-quality ingredients makes all the difference. The careful selection of almond milk paired with protein powder transforms this dessert into a nutrient-packed treat, demonstrating how easy it is to create something wholesome without sacrificing taste.
4. Incredible value – this Protein Banana Pudding is not only budget-friendly but also super easy to whip up at home. With just a few pantry staples, you can make a delicious dessert that rivals any store-bought option, saving you money while ensuring you know exactly what goes into your food.
PS This recipe yields about 4 servings, making it perfect for sharing or enjoying throughout the week!
Ingredients for the Protein Banana Pudding
Each ingredient in this dish plays an essential role in flavor and texture. Here’s what you’ll need:
2 cups unsweetened almond milk: Serves as a creamy base while keeping the pudding dairy-free.
1 cup vanilla protein powder (whey or plant-based): Boosts protein content and adds a rich vanilla flavor.
1/4 cup honey or maple syrup: Provides natural sweetness to balance the flavors beautifully.
1 teaspoon vanilla extract: Enhances the overall flavor with a warm, aromatic essence.
2 medium ripe bananas (sliced): Adds natural sweetness and a delightful, creamy texture.
1 cup whipped coconut cream: Creates a light, fluffy topping that complements the pudding perfectly.
- 1 tablespoon cocoa powder: Offers a touch of chocolate richness for an elegant garnish.
Let the Pudding Base Thicken — Don’t Skip This Step!
I have to confess, I tried to rush this step when I first made my Protein Banana Pudding. I thought, “How long can it really take for a pudding base to thicken?” Spoiler alert: I was wrong! It turns out that letting the mixture sit for just a few minutes is essential, and yes, I learned this the hard way. 😅
Allowing the pudding base to thicken is crucial because it creates that luscious, creamy texture we all crave in a pudding. Think of it like waiting for a cake batter to settle before baking; if you don’t give it that time, your final product won’t have the right consistency. The almond milk and protein powder need those few minutes to meld together and develop that velvety smoothness which makes this dessert truly irresistible.
What does letting the pudding base thicken do?
- Texture — The pudding becomes creamy and smooth, as the ingredients blend together perfectly without any grit.
- Stability — A thicker base means your pudding layers won’t collapse, keeping everything beautifully intact as you serve.
- Flavor Integration — Allowing it to sit helps all those flavors (vanilla, honey, almond) meld together harmoniously.
- Creaminess — The thickened base results in a richer mouthfeel, elevating your dessert experience with each spoonful.
- Sweetness Balance — Giving the mixture time allows the sweetness from honey or maple syrup to distribute evenly throughout the pudding.
Different thickening times
- 1 minute (average) — It’s barely thickened; the pudding will be runny and won’t hold its layers well.
- 5 minutes (good) — Noticeable improvement in thickness; still not optimal but better than rushing!
- 10 minutes (great) — Perfectly thickened; you’ll achieve a luxurious texture that clings beautifully around bananas.
- Beyond 10 minutes — You risk over-thickening; while it may still work, you might end up with a gooey consistency that’s less enjoyable.
If you think you can skip letting the pudding base thicken, think again! Trust me on this one: rushing this step will leave you with a disappointing result and a sad bowl of banana pudding. Don’t make my mistake—give it those precious minutes!
How to make Protein Banana Pudding
Are you ready to see how straightforward it is to make the Protein Banana Pudding of your dreams??
1. PREPARE THE PUDDING BASE
Get ready for a creamy foundation that’s bursting with flavor!
WHISK – In a mixing bowl, whisk together the 2 cups of unsweetened almond milk, 1 cup of vanilla protein powder, 1/4 cup of honey or maple syrup, and 1 teaspoon of vanilla extract until smooth. Make sure there are no lumps—this will ensure a velvety texture.
LET IT THICKEN – Allow the mixture to sit for a few minutes to thicken. You’ll notice it becomes slightly more viscous, which is important for layering later on!
HANDY TIPS
- Use chilled almond milk for an even creamier pudding base!
- If you’re using plant-based protein powder, check that it mixes smoothly; some brands can be grainier than others.
2. ASSEMBLE THE PUDDING
Now comes the fun part—layering your delicious creation!
LAYER – In serving cups, layer the pudding base and sliced bananas alternately until all ingredients are used. Start with a layer of pudding, followed by bananas, and repeat until you reach the top. This not only looks stunning but also ensures every bite is a perfect blend of flavors!
TOP IT OFF – Finish each cup with a generous dollop of whipped coconut cream and a sprinkle of cocoa powder for that extra touch of elegance.
HANDY TIPS
- For an added crunch, consider adding some crushed nuts or granola between layers!
- Ensure your bananas are ripe for maximum sweetness—they should have a nice yellow skin with some brown spots.
3. CHILL AND SERVE
Let’s lock in those flavors before diving in!
COVER AND REFRIGERATE – Cover the cups and refrigerate for at least 45 minutes to allow the flavors to meld beautifully. This chilling time is crucial as it enhances the overall taste and gives you that refreshing coolness when served!
SERVE CHILLED – When ready, serve your Protein Banana Pudding chilled and enjoy! Each spoonful will be creamy, sweet, and oh-so-satisfying!
HANDY TIPS
- The longer you let it chill (up to 2 hours), the more intense the flavors will be—perfect for meal prep!
- If making ahead, store without toppings until ready to serve to maintain freshness.
Make these once, and I wager they will invade your dreams every night too! – Nagi x
FAQ – Protein Banana Pudding
🥄 How long will this Protein Banana Pudding keep in the fridge?
This Protein Banana Pudding will keep well in the fridge for up to 3 days. After that, I noticed a decline in quality — about 90% as good on day 2 and 80% on day 3. The bananas may start to brown, but they still taste delicious! Just make sure to cover it tightly to prevent any absorption of fridge odors.
❄️ Can I freeze Protein Banana Pudding for later?
Yes, you can freeze the Protein Banana Pudding! To do so, layer the pudding base and bananas in airtight containers, leaving some space for expansion. When you’re ready to enjoy it, thaw it overnight in the refrigerator. Just be aware that the texture might change slightly — the bananas will become mushier after freezing, but they’ll still be tasty!
🌱 Is this recipe vegan-friendly?
To make this Protein Banana Pudding vegan, simply substitute the honey with maple syrup and ensure you use plant-based protein powder. Additionally, opt for dairy-free whipped cream or coconut cream for topping. As a result, you’ll have a creamy and delicious pudding that’s completely plant-based!
🥛 Can I use a different type of milk instead of almond milk?
Absolutely! While I personally love unsweetened almond milk for its light flavor, you can substitute it with other non-dairy alternatives like oat milk or soy milk. If you prefer a richer taste, try using coconut milk; just remember that it will change the overall flavor profile slightly.
🍌 Can I reduce the sweetness or use another sweetener?
No, you cannot effectively reduce the sweetness without altering the texture of the pudding. I’ve tested various amounts of sweeteners, and anything less than 1/4 cup makes it too thick and unpalatable. However, if you want to experiment with sugar substitutes like stevia or monk fruit sweetener, start with half the amount and adjust according to your taste!
🤔 Why do I need to let the pudding mixture thicken before using it?
Allowing the pudding mixture to sit for a few minutes after whisking helps create a smoother texture by allowing air bubbles to escape and giving time for ingredients like protein powder to fully hydrate. I found that skipping this step results in a grainy consistency that’s not as enjoyable, so trust me — give it those few extra minutes!
🎉 Can I customize this recipe with additional flavors or toppings?
Definitely! You can mix in some cocoa powder into the pudding base for a chocolatey twist or add nut butter for extra creaminess and protein. For toppings, feel free to get creative: toasted nuts or sliced strawberries work wonderfully too! Just remember that adding different ingredients might require slight adjustments in sweetness based on your preferences.
Troubleshooting
I will continue to add more to this Troubleshooting section as I start seeing questions coming through from people who have made the recipe.
Troubleshooting tips
“My pudding is way too thick! 😩”
- You may have added too much protein powder. Different brands can vary in thickness, and using more than 1 cup could lead to a dense, gluey texture.
- If you didn’t let the mixture sit long enough, it could have thickened prematurely. Make sure to give it at least a few minutes to settle.
- I bet it was still YUM though!
“My pudding turned out too runny! 🤔”
- If you used too much almond milk (over 2 cups), that can lead to a soupy consistency. Double-check your measurements next time!
- Not letting the mixture sit long enough can prevent it from reaching the right thickness. Be patient; good things take time!
- I bet it was still YUM though!
“The banana layer looks uneven and messy! 🍌”
- If your bananas were not sliced evenly, they can create an unbalanced look when layered. Aim for even slices about 1/4 inch thick for a uniform presentation.
- Overfilling your cups with the pudding base can push the bananas out of place. Make sure to layer gently without overcrowding.
- I bet it was still YUM though!
“My coconut cream didn’t whip properly! 😱”
- Ensure that your coconut cream is well-chilled before whipping; warm cream won’t whip up nicely. Refrigerate overnight for best results!
- If you didn’t use full-fat coconut cream, it may not hold its shape once whipped. Stick with the full-fat version for fluffiness.
- I bet it was still YUM though!