Pioneer Woman Lemon Bars: An Amazing Ultimate Recipe
If you’re looking for a bright and tangy dessert that can bring a smile to anyone’s face, then you’ve come to the right place! These Pioneer Woman Lemon Bars: An Amazing Ultimate Recipe are a treasured favorite in my home. They strike the perfect balance between sweet and tart, making them an ideal treat for any occasion. Whether it’s a family gathering, a potluck with friends, or just a cozy evening at home, these lemon bars are sure to impress.
What makes this recipe even more special is how simple it is to whip up a batch. You don’t need to be an expert baker to succeed here—just follow along, and you’ll have delicious lemon bars that are hard to resist. Let’s dive into why you’re going to love this recipe!
Why You’ll Love This Recipe
- Easy to Make: With just a handful of ingredients and straightforward steps, you’ll be enjoying your lemon bars in no time.
- Family-Friendly: Kids and adults alike adore the bright citrus flavor—perfect for satisfying any sweet tooth.
- Make Ahead: These lemon bars store well in the fridge, making them great for meal prep or last-minute dessert needs.
- Versatile Treat: Serve them at parties, pack them in lunchboxes, or enjoy them as an afternoon snack with tea or coffee.
Ingredients You’ll Need
To create these delightful lemon bars, you’ll need some simple and wholesome ingredients that you likely already have at home. Here’s what you’ll gather:
- 1 cup unsalted butter, softened
- ½ cup granulated sugar
- 2 cups all-purpose flour
- ¼ teaspoon salt
- 4 large eggs
- 1 ½ cups granulated sugar
- ¼ cup all-purpose flour
- 1 cup freshly squeezed lemon juice (about 4-5 lemons)
- Zest of 2 lemons
- Powdered sugar, for dusting (optional)
Variations
One of the best things about these lemon bars is their flexibility. Feel free to experiment with different flavors and twists. Here are some fun ideas:
- Add Berries: Mix in fresh blueberries or raspberries for a fruity twist that pairs beautifully with the tartness of lemon.
- Swap the Citrus: Try lime juice or orange juice instead of lemon juice for a different citrusy delight.
- Herbal Infusion: Add fresh mint or basil leaves into your filling for an unexpected aromatic touch.
- Nutty Crunch: Incorporate finely chopped nuts like almonds or walnuts into the crust for added texture.
How to Make Pioneer Woman Lemon Bars: An Amazing Ultimate Recipe
Step 1: Preheat Your Oven
Start by preheating your oven to 350°F (175°C). This step is crucial because it ensures that your lemon bars bake evenly. While the oven heats up, grease a 9×13-inch baking pan with butter or cooking spray so your delicious creation won’t stick later!
Step 2: Make the Crust
In a large mixing bowl, cream together the softened butter and granulated sugar until it becomes light and fluffy. This process adds air into your mixture, creating a tender crust. Gradually add in the flour and salt; mix until everything is combined. The texture should resemble coarse crumbs—this will form the base of your tasty bars.
Step 3: Press the Crust
Next, press the crust mixture evenly into the bottom of your prepared pan. Use your hands or the back of a measuring cup to create an even layer. Pressing firmly helps ensure that it holds together when baked.
Step 4: Bake the Crust
Now it’s time for some baking magic! Place your crust in the preheated oven and bake for about 15-20 minutes until it turns lightly golden. This initial baking gives your crust that perfect crispness before adding the lemony goodness.
Step 5: Prepare the Filling
While your crust cools slightly, grab another bowl and beat those four eggs until they’re frothy—this will help create a light filling. Then add granulated sugar, flour, freshly squeezed lemon juice, and zest. Whisk everything together until smooth; this mixture is what makes these bars so wonderfully zesty!
Step 6: Combine Filling with Crust
Pour that luscious lemon filling over your pre-baked crust while spreading it evenly. The combination of flavors here is simply divine!
Step 7: Bake Again
Return your pan to the oven for an additional 20-25 minutes until the filling is set and slightly firm. This step allows those magical flavors to meld together beautifully.
Step 8: Cool Completely
Once baked, remove from the oven and let those lemon bars cool at room temperature for at least 1-2 hours—or until fully set—before cutting them up. Patience pays off here; letting them cool helps achieve perfect squares.
Step 9: Cut and Serve
Finally! Once cooled completely, feel free to dust with powdered sugar if desired before cutting into squares to serve. Get ready to share—and watch everyone rave about these Pioneer Woman Lemon Bars!
Follow these simple steps, and you’ll create an incredible batch of Pioneer Woman Lemon Bars that both you and your guests will adore!
Pro Tips for Making Pioneer Woman Lemon Bars: An Amazing Ultimate Recipe
Making the perfect lemon bars is all about the little details, and these tips will help you achieve a deliciously tangy and sweet treat!
- Use Fresh Lemons: Freshly squeezed lemon juice and zest enhance the flavor significantly compared to bottled alternatives, giving your bars a vibrant taste.
- Don’t Overmix the Crust: Mixing just until combined helps achieve a tender crust rather than a tough one. Remember, less is often more when it comes to baking!
- Cool Completely Before Cutting: Allowing your lemon bars to cool completely ensures they set properly, making them easier to cut into beautiful squares without falling apart.
- Dust with Powdered Sugar Just Before Serving: This keeps the sugar from melting into the bars and maintains that beautiful presentation for your guests.
- Experiment with Citrus Zests: While lemon is classic, try adding a bit of lime or orange zest to the filling for an exciting twist on flavor that will surprise and delight!
How to Serve Pioneer Woman Lemon Bars: An Amazing Ultimate Recipe
Serving these delightful lemon bars can be as fun as making them! Here are some creative ways to present your scrumptious dessert.
Garnishes
- Fresh Berries: A handful of fresh strawberries or blueberries adds color and a burst of flavor that pairs perfectly with the tartness of the lemon bars.
- Mint Leaves: A few sprigs of mint not only add a pop of color but also bring a refreshing aroma that complements the citrusy goodness of your bars.
Side Dishes
- Vanilla Ice Cream: The creaminess of vanilla ice cream contrasts wonderfully with the tangy bite of lemon bars, making for an indulgent dessert experience.
- Whipped Coconut Cream: This dairy-free option is light and fluffy, providing a delightful contrast to the dense texture of the lemon bars while adding a hint of coconut flavor.
- Fruit Salad: A fresh fruit salad featuring seasonal fruits offers a light and refreshing side that balances out the sweetness of your dessert.
- Tea or Lemonade: Pairing your lemon bars with a warm cup of tea or refreshing lemonade enhances the overall citrus theme and makes for a perfect afternoon treat.
Enjoy serving up these Pioneer Woman Lemon Bars at your next gathering; they’re sure to be a hit!
Make Ahead and Storage
Pioneer Woman Lemon Bars are not only delicious but also fantastic for meal prep! You can make them ahead of time and enjoy their bright, zesty flavor for days.
Storing Leftovers
- Store lemon bars in an airtight container at room temperature for up to 3 days.
- For longer freshness, refrigerate them. They will last about a week in the fridge.
- If you notice any condensation, place a paper towel in the container to absorb moisture.
Freezing
- To freeze lemon bars, allow them to cool completely after baking.
- Cut them into squares and wrap each piece individually in plastic wrap or aluminum foil.
- Place the wrapped bars in a freezer-safe container or bag. They can be frozen for up to 3 months.
Reheating
- Thaw frozen lemon bars in the refrigerator overnight before serving.
- For a warm treat, microwave individual squares for about 10-15 seconds until just warmed through. Enjoy!
FAQs
Here are some common questions about making Pioneer Woman Lemon Bars.
Can I make Pioneer Woman Lemon Bars ahead of time?
Absolutely! These lemon bars are perfect for making ahead. Just store them in an airtight container after they have cooled completely, and they will stay fresh for several days.
How do I know when my Pioneer Woman Lemon Bars are done baking?
Your lemon bars are done when the filling is set and slightly firm to the touch. The edges may appear just a bit golden brown, but don’t let them overbake!
Can I use bottled lemon juice for Pioneer Woman Lemon Bars?
While freshly squeezed lemon juice provides the best flavor, bottled lemon juice can be used as a substitute in a pinch. However, keep in mind that it may alter the taste slightly.
What if I don’t have powdered sugar for dusting?
If you don’t have powdered sugar on hand, you can skip it or create your own by blending granulated sugar until it’s fine and powdery.
Final Thoughts
I hope you feel inspired to make these delightful Pioneer Woman Lemon Bars! Their sweet-tart flavor is sure to brighten your day, whether you’re enjoying them as an afternoon treat or sharing with friends at a gathering. Remember, cooking is all about joy and creativity—have fun with it! I can’t wait for you to try this recipe; I’m confident you’ll love it just as much as I do!
Pioneer Woman Lemon Bars: An Amazing Ultimate Recipe

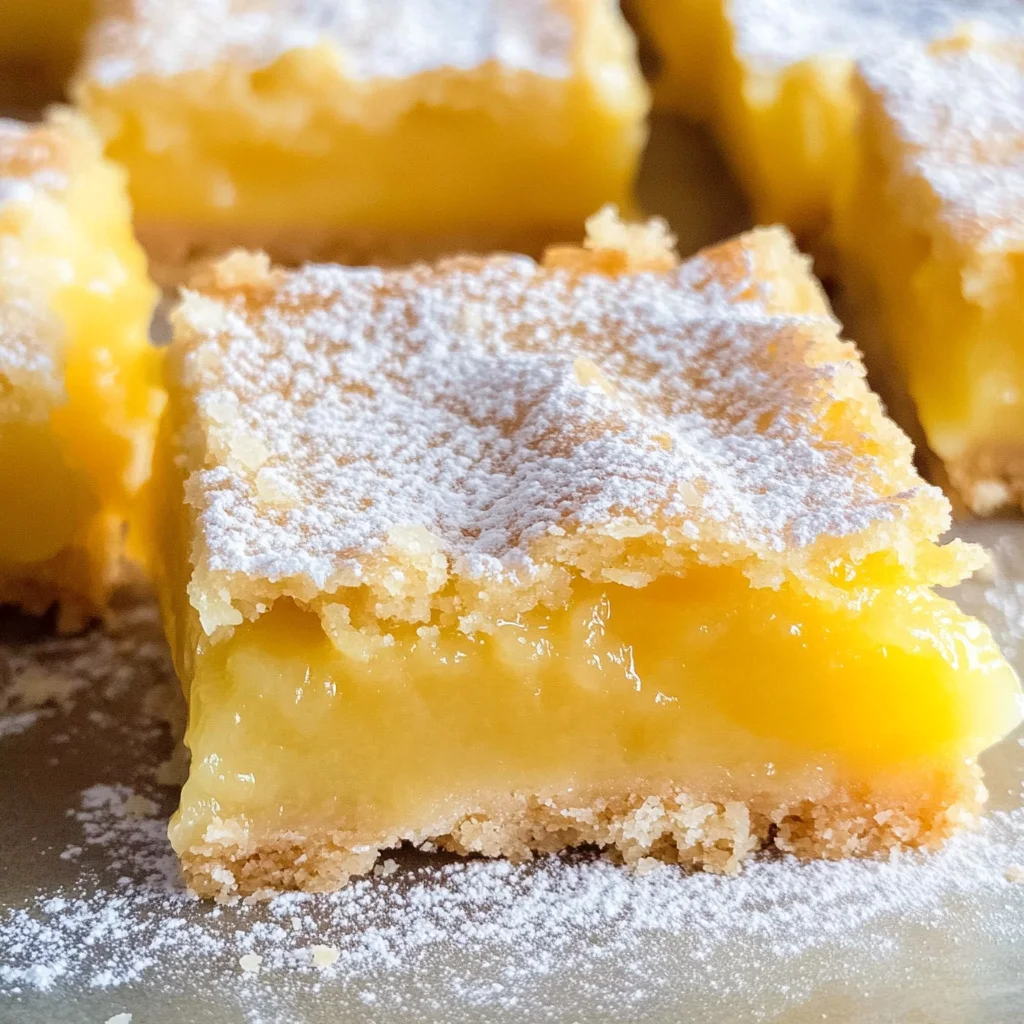
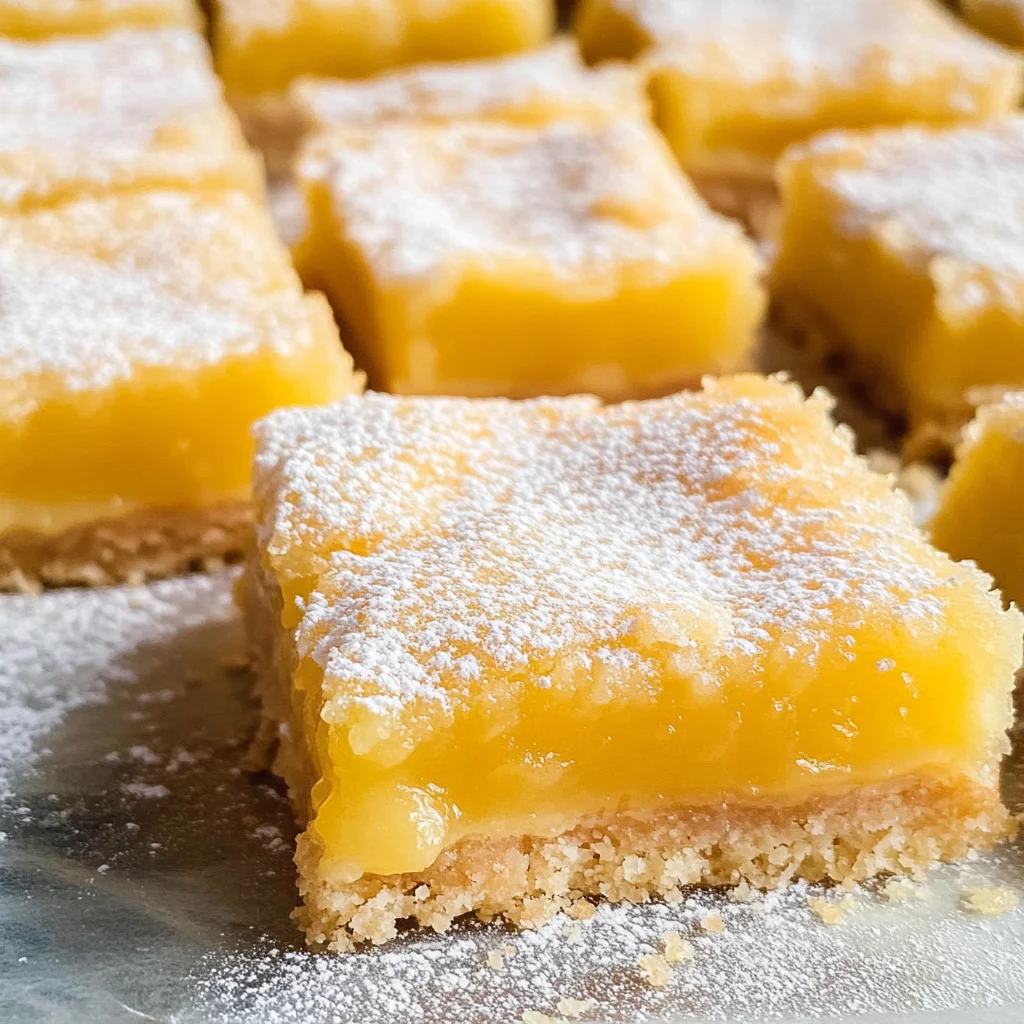
Indulge in the bright and refreshing taste of Pioneer Woman Lemon Bars: An Amazing Ultimate Recipe. These delightful treats perfectly balance sweet and tangy flavors, making them a favorite for any occasion—from family gatherings to cozy nights at home. With a buttery crust topped with a zesty lemon filling, these bars are easy to make and sure to impress everyone who tries them. Whether you enjoy them as an afternoon snack or serve them at your next potluck, they will bring smiles all around. Follow this simple recipe to create a batch of lemon bars that are hard to resist!
- Prep Time: 15 minutes
- Cook Time: 45 minutes
- Total Time: 1 hour
- Yield: Approximately 12 servings 1x
- Category: Dessert
- Method: Baking
- Cuisine: American
Ingredients
- 1 cup unsalted butter, softened
- 1 ½ cups granulated sugar
- 2 cups all-purpose flour (divided)
- ¼ teaspoon salt
- 4 large eggs
- 1 cup freshly squeezed lemon juice (about 4–5 lemons)
- Zest of 2 lemons
- Powdered sugar for dusting (optional)
Instructions
- Preheat your oven to 350°F (175°C) and grease a 9×13-inch baking pan.
- In a bowl, cream together the softened butter and granulated sugar until light and fluffy. Gradually mix in 2 cups flour and salt until crumbly.
- Press the mixture into the bottom of the prepared pan evenly and bake for 15-20 minutes until golden.
- In another bowl, beat the eggs until frothy. Whisk in granulated sugar, remaining flour, lemon juice, and zest until smooth.
- Pour the lemon filling over the baked crust and return to the oven for an additional 20-25 minutes until set.
- Let cool completely before cutting into squares. Dust with powdered sugar if desired.
Nutrition
- Serving Size: 1 serving
- Calories: 170
- Sugar: 14g
- Sodium: 60mg
- Fat: 8g
- Saturated Fat: 5g
- Unsaturated Fat: 3g
- Trans Fat: 0g
- Carbohydrates: 23g
- Fiber: <1g
- Protein: 2g
- Cholesterol: 50mg