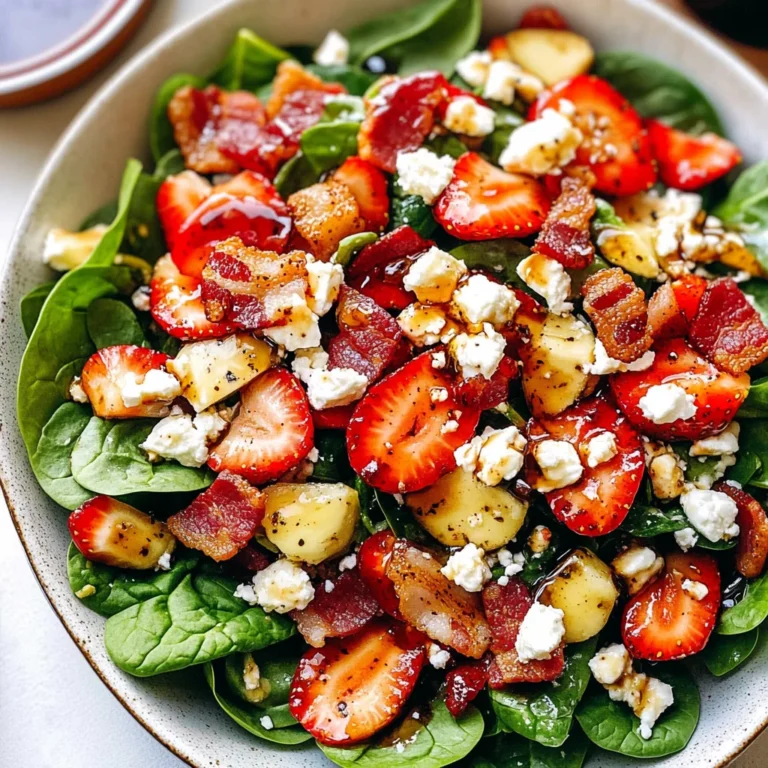
Pear Blue Cheese Salad: A Sweet and Savory Delight
I first stumbled upon the idea for this Pear Blue Cheese Salad at a quaint little café tucked away in a corner of my neighborhood. They served it as a starter, and I was instantly hooked by the delightful combination of sweet, juicy pears with the bold tang of blue cheese. It became my go-to dish whenever I wanted something light yet satisfying, but let’s be real—I knew I could recreate it at home without sacrificing my wallet or the cozy vibes of that café. Plus, who can resist a salad that feels like a fancy restaurant treat but is so easy to whip up?
After several kitchen experiments—okay, more like a mini-culinary saga—I finally nailed this recipe down after what felt like an eternity and approximately five variations. At one point, I think I confused blue cheese with feta (don’t ask), and let’s just say that was a salad catastrophe! Each attempt was fueled by my mission to achieve the perfect balance: the sweetness of the pears, the creaminess of the cheese, and enough crunch from the walnuts to keep things interesting. You could say I’ve perfected it through sheer stubbornness and an unyielding love for delicious food.
And oh boy, was it worth every trial and error! The final result is a stunning Pear Blue Cheese Salad that bursts with flavor—a refreshing mix that’s both sweet and savory, with creamy bites of blue cheese and satisfying crunch from toasted walnuts. It’s not just beautiful; it’s also versatile enough to serve as a light meal or an impressive side dish at your next gathering. Trust me; once you try it, you’ll want to make it again and again! So grab those ripe pears and let’s create some magic together!
These Pear Blue Cheese Salad are…
….the perfect harmony of flavors and textures that will elevate your salad game to new heights!
1. They offer a deliciously balanced flavor profile with the sweet juiciness of ripe pears paired against the bold tang of blue cheese. This unique combination creates an explosion of taste that excites your palate, making every bite a delightful experience.
2. Exceptional texture – each forkful delivers a satisfying crunch from the toasted walnuts, perfectly complementing the tender mixed greens and creamy blue cheese. This contrast not only enhances the eating experience but keeps each bite interesting and dynamic.
3. A simple yet effective technique is using fresh, quality ingredients like extra virgin olive oil and balsamic vinegar for the dressing. This elevates the overall flavor without overpowering the salad’s natural sweetness and creaminess, ensuring that every element shines through beautifully.
4. Great value – by making this Pear Blue Cheese Salad at home, you can enjoy gourmet restaurant flavors at a fraction of the cost. The ingredients are easily accessible and can be used in multiple recipes, making it a practical choice for both everyday meals and special occasions.
PS This salad serves about 4 people as a side or 2 as a light meal, perfect for sharing or enjoying all on your own!
Ingredients for the Pear Blue Cheese Salad
Each ingredient in this dish plays an essential role in flavor and texture. Here’s what you’ll need:
4 cups mixed greens (such as arugula and spinach): Provides a fresh, peppery base that balances the richness of the cheese.
2 medium pears (sliced): Contributes natural sweetness and juicy texture to complement the savory elements.
1 cup blue cheese (crumbled): Adds a bold, tangy flavor that elevates the salad’s overall profile.
1/2 cup walnuts (toasted and chopped): Offers a delightful crunch and nutty undertone that enhances each bite.
1/4 cup olive oil (extra virgin): Serves as a smooth dressing base that enriches the salad with healthy fats.
2 tablespoons balsamic vinegar: Introduces a sweet acidity that brightens and balances the flavors.
1 teaspoon honey: Adds a hint of sweetness that harmonizes with the tangy blue cheese.
1/2 teaspoon salt (to taste): Enhances all the flavors, ensuring they shine through beautifully.
- 1/4 teaspoon black pepper (freshly ground): Provides a subtle heat that rounds out the flavor profile of the salad.
You Must Toast the Walnuts. No Shortcuts!
I’ll be honest—I thought I could skip toasting the walnuts for this Pear Blue Cheese Salad and still have it taste just as good. I mean, they’re already nuts, right? But after a few sad attempts, I came to the painful realization that you really can’t cheat this step. Trust me; your salad deserves better!
Toasting the walnuts is essential because it brings out their rich, nutty flavor and gives them a delightful crunch. Just like how a little heat enhances spices in cooking, toasting transforms these little guys into something extraordinary. It’s the difference between an okay salad and one that makes you want to sing! The warmth from toasting also helps marry the flavors together, making every bite of pear, blue cheese, and greens sing in harmony.
What does toasting the walnuts do?
- Flavour — Toasting intensifies the natural nuttiness of the walnuts, which adds a deeper layer of flavor that complements the sweet pears and tangy blue cheese beautifully.
- Texture — The process gives the walnuts a satisfying crunch, enhancing the overall mouthfeel of the salad and providing contrast against the tender mixed greens.
- Aroma — Toasted walnuts release a warm, inviting aroma that elevates your salad experience long before you take your first bite.
- Colour — The golden-brown hue from toasting not only looks appealing but signals enhanced flavor; it visually elevates your dish from simple to stunning.
- Shelf Life — Toasted walnuts stay fresher longer due to reduced moisture content, so if you have leftovers (if!), they’ll maintain their quality for days.
Different toasting times
- 1 minute (good) — Nuts will be warmed through with slight color change but minimal flavor enhancement; you might want more.
- 3 minutes (better) — Noticeably toasted with enhanced flavor; however, some may still be underdone—keep an eye on them!
- 5 minutes (great) — Perfectly toasted walnuts with rich flavor and crispy texture—this is where magic happens!
- Beyond 6 minutes (risk of burning) — Too much time can lead to burnt nuts that overpower your salad with bitterness.
Don’t even think about skipping this step! Under-toasted walnuts can result in a bland salad that lacks depth and excitement. It’s tempting when you’re in a hurry, but trust me—your Pear Blue Cheese Salad deserves those perfectly toasted nuts for maximum flavor and enjoyment!
How to make Pear Blue Cheese Salad
Are you ready to see how straightforward it is to make the Pear Blue Cheese Salad of your dreams??
1. PREPARE THE SALAD
Let’s start by building a fresh and vibrant foundation for your salad!
1. COMBINE – In a large salad bowl, combine the mixed greens and sliced pears. The mixed greens offer a peppery bite from arugula alongside the tender spinach, while the sweet pears add a delightful contrast.
2. TOP – Add the crumbled blue cheese and toasted walnuts on top. The blue cheese will provide that rich, tangy flavor, and the walnuts will introduce a satisfying crunch.
HANDY TIPS
- Choose ripe but firm pears for a perfect balance of sweetness and texture.
- If you prefer a milder blue cheese flavor, opt for gorgonzola instead!
- For an extra crunch, try using spiced walnuts or pecans.
2. MAKE THE DRESSING
Now for the dressing that brings everything together beautifully!
3. WHISK – In a small bowl, whisk together the olive oil, balsamic vinegar, honey, salt, and black pepper until well combined. This dressing should be slightly thickened and emulsified — it will coat your salad perfectly! ❓ Why does this matter? Because an emulsion allows all those flavors to blend harmoniously without separating.
HANDY TIPS
- For added depth of flavor, use aged balsamic vinegar; it’s sweeter and thicker!
- Adjust the honey based on how sweet your pears are; you may need more or less.
3. COMBINE AND SERVE
The moment of truth — let’s bring this salad to life!
4. DRIZZLE – Drizzle the dressing over the salad and toss gently to combine. Be careful not to bruise the greens or break up the pears too much; you want them to stay beautiful!
5. SERVE – Serve immediately and enjoy! Freshness is key here — nothing beats enjoying this salad right after preparation.
HANDY TIPS
- For meal prep, keep the dressing separate until ready to serve so your greens stay crisp.
- This salad pairs wonderfully with grilled chicken or shrimp if you want to make it heartier!
Make this refreshing Pear Blue Cheese Salad once, and I guarantee it will become a staple on your table! – Nagi x
FAQ – Pear Blue Cheese Salad
🥗 How long will this salad keep in the fridge?
This salad is best enjoyed fresh, but if you need to store leftovers, I recommend keeping the components separate until you’re ready to eat. If properly stored in an airtight container, the mixed greens can last up to 2 days, but they will start to wilt. The blue cheese and walnuts can maintain their quality for about 3-5 days. Just be aware that the salad may lose about 70% of its vibrant freshness by day two!
⏳ Can I prepare this salad ahead of time?
You can definitely prep some components ahead of time! I suggest slicing the pears and preparing the dressing a few hours in advance, but wait to toss everything together until just before serving. This keeps the greens crisp and prevents them from becoming soggy. If you make it too early, you’ll find that the flavors start to meld, but not necessarily in a good way—think mushy greens!
❄️ Can I freeze this salad?
Freezing this salad is not recommended. The texture of mixed greens, pears, and especially blue cheese changes dramatically when frozen and thawed — you’ll end up with a mushy mess! If you’re looking for a make-ahead option, consider prepping just the dressing and nuts ahead of time; they freeze well! Just thaw them in the fridge overnight before use.
🌾 Is there a gluten-free version of this salad?
Yes! This Pear Blue Cheese Salad is naturally gluten-free as none of the ingredients contain gluten. Just ensure that any additional toppings or dressings you may want to add are also labeled gluten-free. For example, certain brands of balsamic vinegar might have additives that contain gluten—always check those labels!
🧀 Can I substitute the blue cheese with something else?
Absolutely! If blue cheese isn’t your thing (or you’re serving someone who doesn’t like it), you can substitute it with feta cheese for a tangy flavor or goat cheese for a creamier texture. Both options will still provide a delicious contrast to the sweetness of the pears. Just remember that each substitution will slightly alter the taste profile—experiment and see what you prefer!
🤔 Why do we whisk together the dressing separately?
Whisking your dressing in a separate bowl allows for better emulsification, meaning your oil and vinegar blend smoothly rather than separating. This step helps ensure every bite of your salad has that delightful balance of flavors rather than drenching everything in oil or vinegar alone. Trust me, I’ve tested tossing everything directly in the salad bowl many times, and it just doesn’t achieve that same perfect coating!
🔄 Can I customize this salad with other ingredients?
Absolutely! One of my favorite ways to customize is by adding seasonal fruits like apples or dried cranberries for extra sweetness. You could also throw in some grilled chicken or chickpeas for protein if you’re looking to make it more filling. Just keep an eye on flavor balance—too many sweet elements might overshadow those lovely tangy notes from the blue cheese!
Troubleshooting
I will continue to add more to this Troubleshooting section as I start seeing questions coming through from people who have made the recipe.
Troubleshooting tips
“My salad is too soggy! 😩”
- You might have added too much dressing. If you drizzled on all the dressing at once, it can overwhelm the greens and make everything soggy. Try adding a little at a time until you get your desired coating.
- The mixed greens may have retained moisture if they weren’t thoroughly dried after washing. Always give them a good spin in a salad spinner or pat them dry with a clean kitchen towel before combining with other ingredients.
I bet it still tasted fresh and delicious even if it was a bit soggy!
“Why are my pears brown and mushy? 😱”
- If your pears were overripe when you used them, they’re likely to brown quickly and become mushy. Choose pears that are slightly firm for better texture in your salad.
- Not tossing the sliced pears in a little lemon juice can cause browning due to oxidation. Next time, a quick toss in lemon juice will help keep them looking fresh!
Even if they turned brown, I bet they still added sweetness to your salad!
“My blue cheese is clumping together! 😬”
- This could be because the cheese was too cold when added to the salad. If you use refrigerated blue cheese, let it sit at room temperature for about 15 minutes before using so it crumbles more easily.
- If you didn’t break up the blue cheese adequately while adding it to the salad, it can stick together in clumps instead of being evenly distributed. Crumble it well before sprinkling on top!
No worries though; those clumps still pack great flavor!
“The walnuts are too crunchy for me! 🤷♀️”
- You might have toasted the walnuts for too long or at too high of a temperature, making them overly crunchy. Keep an eye on them while toasting, as nuts can go from perfectly toasted to burnt very quickly!
- If you’re not sure about your walnut-toasting technique, try using raw walnuts instead – they’ll provide crunch without being overly hard.
Even if they were crunchy, I’m sure they added a delightful texture to your salad!
Pear Blue Cheese Salad
Ingredients
Method
- In a large salad bowl, combine the mixed greens and sliced pears.
- Add the crumbled blue cheese and toasted walnuts on top.
- In a small bowl, whisk together the olive oil, balsamic vinegar, honey, salt, and black pepper until well combined.
- Drizzle the dressing over the salad and toss gently to combine.
- Serve immediately and enjoy!