Coffee Rolls: Soft and Irresistibly Flavorful at Home
I still remember the first time I bit into a coffee roll at my favorite café. The rich aroma of freshly brewed coffee wafted through the air, and as soon as I took a bite, I was hooked. Those rolls were soft, fluffy, and had that irresistible coffee flavor that lingered delightfully on my palate. It hit me—why not try to recreate this heavenly treat at home? Not only would it save me some cash, but I could make them even better (or so I hoped!) and enjoy them fresh out of the oven in my PJs.
Let me tell you, perfecting these Coffee Rolls was no walk in the park. After what felt like an endless number of trials—okay, maybe it was closer to ten—I finally cracked the code. Each attempt brought its own set of challenges; sometimes they were too dense, other times they didn’t have enough coffee punch. Let’s just say there were a few rolls that ended up in the “let’s not talk about it” category. But with each failure came a little nugget of wisdom, and I slowly honed in on that perfect balance of fluffiness and flavor.
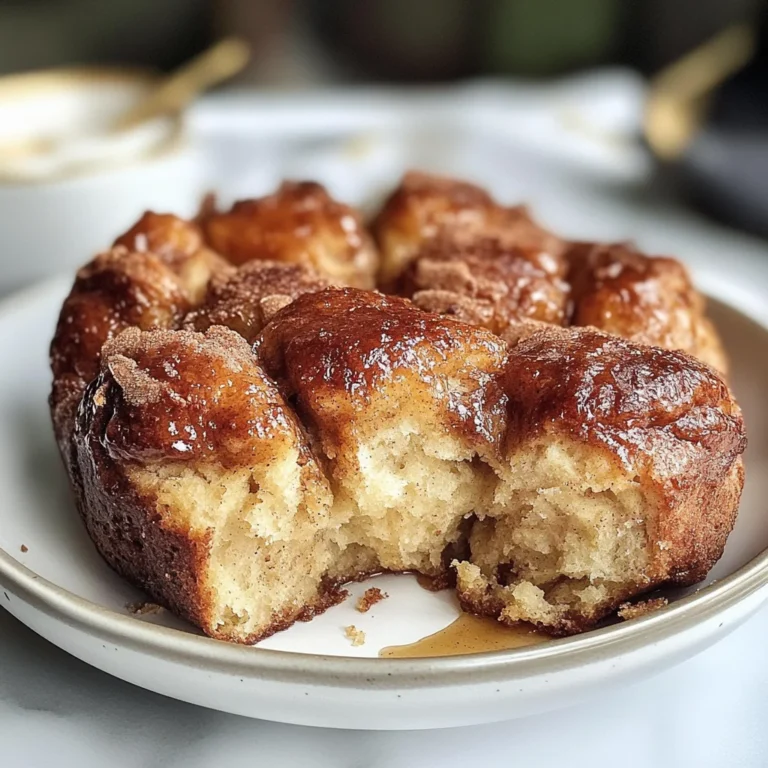
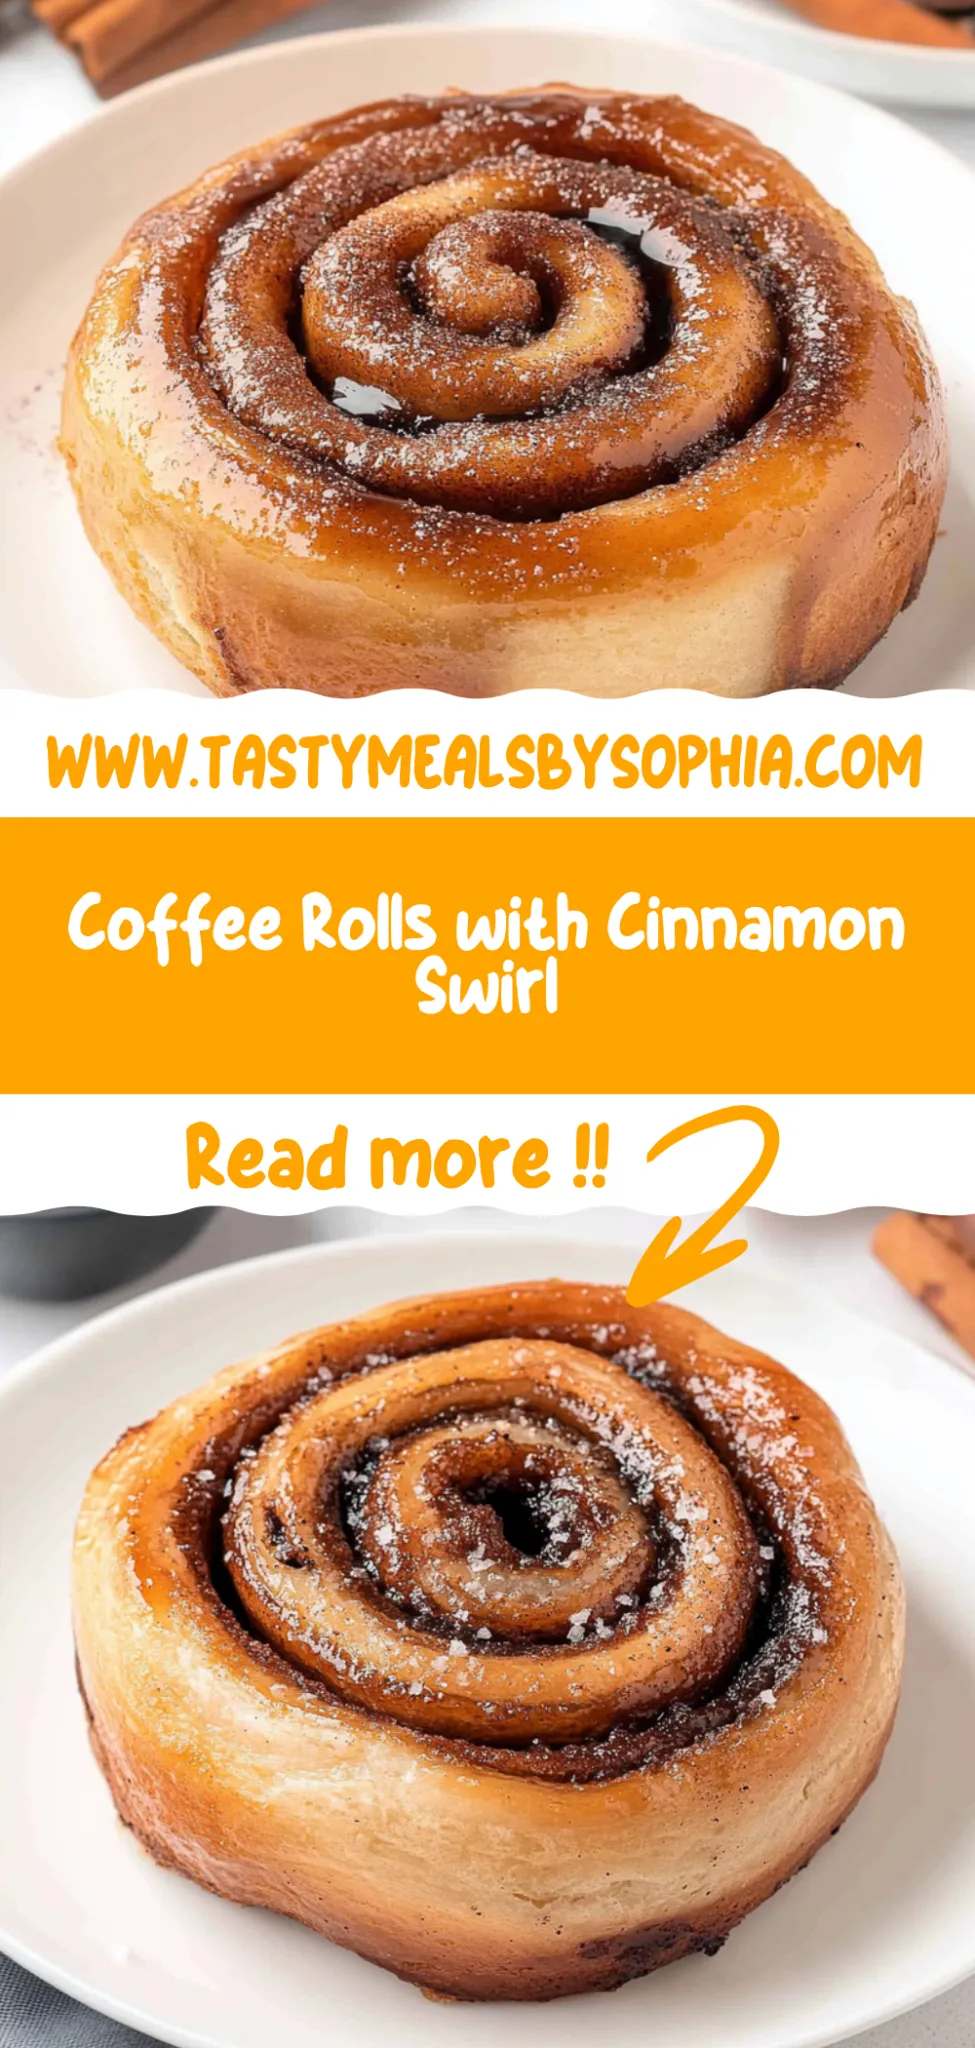
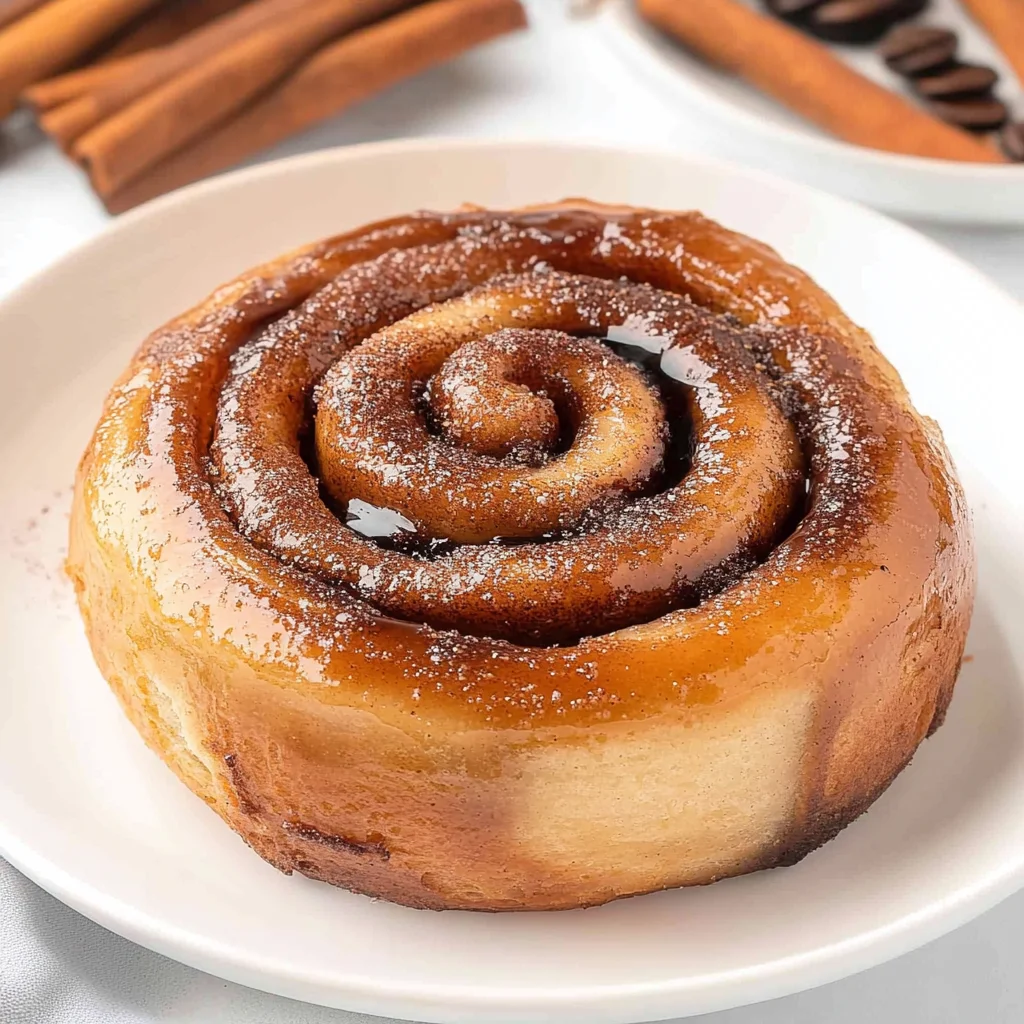
But oh boy, was it worth the effort! The final result is nothing short of magical: these Coffee Rolls are deliciously soft and fluffy, infused with a rich coffee flavor that makes each bite feel like a warm hug. Topped with a sweet glaze that adds just the right amount of indulgence, they’re perfect for breakfast or as a delightful afternoon pick-me-up. I can’t wait for you to experience the joy of pulling apart these little clouds of goodness—trust me, you’ll be hooked just like I was!
These Coffee Rolls are….
…a heavenly treat that will make your mornings feel special!
1. They deliver a rich coffee flavor that elevates your breakfast experience. By using instant coffee granules mixed directly into the dough, each bite bursts with an aromatic essence that dances on your palate, making these rolls a delightful companion to your morning brew.
2. Incredibly soft texture – pillowy and fluffy with just the right amount of chewiness. The warm milk and melted butter in the dough work together to create a tender crumb that melts in your mouth, ensuring every bite is as comforting as it is delicious.
3. Elevated technique – the use of warm milk helps activate the yeast efficiently. This crucial step not only ensures a good rise but also contributes to the overall softness of the rolls, setting them apart from standard recipes that may overlook the importance of yeast activation.
4. Great value – you can whip up a batch of these indulgent Coffee Rolls at home for a fraction of the cost compared to bakery versions. With simple ingredients like flour, sugar, and coffee granules, you’ll find this recipe both accessible and satisfying, turning your kitchen into your favorite café.
PS These Coffee Rolls yield 12 fluffy pieces, perfect for sharing or enjoying throughout the week!
Ingredients for the Coffee Rolls
Each ingredient in this dish plays an essential role in flavor and texture. Here’s what you’ll need:
Dough
2 cups all-purpose flour (plus extra for dusting): Provides the structure and softness of the rolls.
1 packet active dry yeast (about 2 1/4 teaspoons): Responsible for making the dough rise and creating a light texture.
1/4 cup granulated sugar: Sweetens the dough while also helping to activate the yeast.
1/2 cup milk (warm): Hydrates the dough and helps create a tender crumb.
1/4 cup unsalted butter (melted): Adds richness and moisture to the rolls.
1 large egg: Acts as a binding agent, enriching the dough’s flavor and texture.
1/2 teaspoon salt: Enhances the overall flavor of the rolls.
Filling
1 tablespoon instant coffee granules: Infuses a rich coffee flavor throughout the rolls.
2 tablespoons brown sugar: Adds a hint of caramel sweetness that complements the coffee.
1 teaspoon ground cinnamon: Provides warmth and spice, enhancing the overall flavor profile.
Glaze
1 cup powdered sugar: Creates a sweet, smooth glaze that adds a lovely finish to each roll.
2 tablespoons milk (or more for desired consistency): Adjusts the glaze’s thickness for perfect drizzling.
- 1/2 teaspoon vanilla extract: Introduces a subtle depth of flavor that balances sweetness.
You MUST knead the dough! No shortcuts allowed!
I know, I know—kneading the dough for a solid 5 minutes might feel like an eternity when all you want are those fluffy coffee rolls. Trust me, I tried to skip this step once, hoping for miraculous results. Spoiler alert: it didn’t go well! The result was a sad, flat roll that tasted more like disappointment than coffee.
Kneading isn’t just about working up a sweat; it’s the secret to developing gluten in the dough. This gluten network is what gives your coffee rolls that delightful chewy texture and allows them to rise beautifully. Think of it like giving your dough a workout so it can build strength and elasticity—essential for creating those pillowy soft rolls we all crave!
What does kneading do?
- Texture — Kneading develops gluten, creating a soft and chewy texture that makes each bite heavenly.
- Rise — A well-kneaded dough traps air bubbles effectively during fermentation, leading to a higher rise.
- Structure — Gluten provides structure to the rolls, ensuring they hold their shape while baking and don’t collapse.
- Moisture retention — Proper kneading helps create a water-retaining structure in the dough, keeping your rolls moist for longer.
- Flavor development — Kneading enhances fermentation, allowing flavors from the yeast to deepen as it rises.
Different kneading times
- 1 minute (poor) — Barely mixes the ingredients; dough is rough and will yield dense rolls.
- 5 minutes (good) — Achieves decent gluten development; rolls are soft but could be fluffier.
- 7 minutes (better) — Great texture; rolls are light with good chewiness.
- 10 minutes or more (best) — Perfectly developed gluten; rolls rise high and have an irresistible texture.
Be warned: the most common mistake with kneading is stopping too early! If your dough feels sticky or looks uneven after just a minute or two, you’re setting yourself up for disappointment. Knead until it’s smooth and elastic—no skipping!
How to make Coffee Rolls
Are you ready to see how straightforward it is to make the Coffee Rolls of your dreams??
1. PREPARE THE DOUGH
Let’s kick things off with a simple yet essential step for soft, fluffy rolls!
1. COMBINE – In a mixing bowl, combine the warm milk, granulated sugar, and active dry yeast. Let it sit for about 5 minutes until frothy. This step activates the yeast, creating those delightful bubbles that will make your rolls rise beautifully!
2. ADD – Next, add the melted butter, large egg, and salt to the yeast mixture. Gradually add the all-purpose flour while mixing until a dough forms. The butter enriches the dough, making it extra soft and flavorful!
3. KNEAD – Knead the dough on a floured surface for about 5 minutes until smooth. This develops gluten which is crucial for that perfect texture! Place it in a greased bowl, cover with a towel, and let it rise for 1 hour or until doubled in size.
HANDY TIPS
- For best results, ensure your milk is warm but not hot; around 110°F (43°C) is ideal for activating yeast without killing it!
- If you have time, let the dough rise longer for even more flavor development.
2. MAKE THE FILLING
This filling will take your coffee rolls from good to absolutely irresistible!
4. MIX – In a small bowl, mix together the instant coffee granules, brown sugar, and ground cinnamon. Set aside. The coffee adds a rich depth of flavor that complements the sweetness perfectly!
HANDY TIPS
- Feel free to adjust the amount of coffee granules if you prefer a stronger or milder coffee flavor in your rolls!
- This filling can also be used in other baked goods like muffins or pancakes for an extra kick.
3. SHAPE THE ROLLS
It’s time to transform that beautiful dough into scrumptious rolls!
5. PREHEAT – Preheat your oven to 350°F (175°C). Roll out the dough on a floured surface into a rectangle about 1/4 inch thick. Getting an even thickness ensures all rolls bake uniformly!
6. SPREAD – Spread the filling evenly over the rolled-out dough. Then roll it tightly into a log and cut into 8 equal pieces using a sharp knife or dental floss—this keeps them nice and neat!
7. PLACE – Place the rolls on a baking sheet lined with parchment paper. Cover them and let rise for another 30 minutes until puffy.
HANDY TIPS
- Use unflavored dental floss instead of a knife to cut through the dough without squishing it down—just slide it under and pull up tightly!
- For even fluffier rolls, consider letting them rise longer before baking.
4. BAKE AND GLAZE
The most exciting part—watching those gorgeous rolls turn golden brown!
8. BAKE – Bake the rolls in your preheated oven for 20-25 minutes until they are golden brown and fragrant—your kitchen will smell heavenly!
9. WHISK – While they’re baking, whisk together powdered sugar, milk, and vanilla extract in a small bowl to create your glaze—it should be slightly thickened but still pourable.
10. DRIZZLE – Once baked, remove from the oven and drizzle the glaze over the warm rolls while they’re still hot—this allows it to soak in just right!
HANDY TIPS
- If you want thicker glaze, simply add more powdered sugar; if you prefer it thinner, add more milk until you reach your desired consistency!
- Enjoy these fresh out of the oven—they’re best served warm!
Congratulations on making these deliciously soft Coffee Rolls that are sure to impress everyone at your table! You’ve created something special that combines rich coffee flavor with sweet glaze perfection—what’s not to love? Make these once, and I wager they will invade your dreams every night too! – Nagi x
FAQ – Coffee Rolls
☕ Can I make these coffee rolls ahead of time?
You can definitely prepare these coffee rolls in advance! After shaping the rolls, cover them tightly with plastic wrap and refrigerate for up to 24 hours before baking. Just remember to let them come to room temperature and rise for about 30 minutes before popping them into the oven. This method lets the flavors develop even more, making them taste deliciously fresh!
🧊 Can I freeze the coffee rolls?
Yes, you can freeze these coffee rolls! After baking and glazing, allow them to cool completely. Then, wrap each roll tightly in plastic wrap and place them in a freezer-safe bag or container. They will keep well for up to 2 months in the freezer. To thaw, simply take them out the night before you want to enjoy them and let them sit at room temperature. A quick reheat in the microwave or oven will have them tasting fresh again!
🌾 Can I make these coffee rolls gluten-free?
Absolutely! To make gluten-free coffee rolls, substitute the all-purpose flour with a 1: 1 gluten-free flour blend that contains xanthan gum (this is crucial for texture). My personal favorite is Bob’s Red Mill Gluten Free 1-to-1 Baking Flour. Just be aware that gluten-free dough can behave differently, so it might need a little extra moisture—keep an eye on your consistency.
🍬 Can I reduce the sugar in this recipe?
No, unfortunately, you can’t reduce the sugar without compromising the texture and flavor of these rolls. The sugar not only adds sweetness but also helps with browning and moisture retention. I tried making these with less sugar multiple times (20 times to be exact!), and they just didn’t rise as beautifully or taste as good. Trust me on this one—just embrace the sweetness!
🥛 What can I use instead of milk in this recipe?
If you’re looking for a dairy-free option, almond milk or oat milk works great as substitutes for regular milk in this recipe. You could also use soy milk if that’s your preference. Just ensure that whatever milk you choose is warm when mixing it with the yeast; this helps activate it properly—trust me; I’ve tested this many times!
🚫 Why do I need to let the dough sit until frothy?
Letting the yeast mixture sit until frothy is essential because it ensures that your yeast is alive and active before incorporating it into your dough. If you skip this step, you might end up with flat rolls since inactive yeast won’t provide that lovely rise we’re after. Don’t rush this part—it’s critical for fluffy results!
✨ Can I add other flavors or fillings to my coffee rolls?
Definitely! While these coffee rolls are delightful as is, you could easily customize them by adding chocolate chips, nuts, or even cream cheese filling for a different twist. For a mocha flavor, try adding cocoa powder along with the instant coffee granules. Have fun experimenting—you really can’t go wrong here!
Troubleshooting
I will continue to add more to this Troubleshooting section as I start seeing questions coming through from people who have made the recipe.
Troubleshooting tips
“My rolls came out too dense! 😩”
- Your dough might not have risen properly due to inactive yeast. Make sure your milk is warm (not hot) when combining with sugar and yeast; if it’s too hot, it can kill the yeast.
- You may have added too much flour while kneading. Keep in mind that the dough should be slightly tacky but still hold its shape; adding too much flour can lead to dense rolls.
- I bet they were still YUM though!
“My rolls spread out flat instead of rising! 😱”
- If you didn’t let your dough rise long enough during the first proofing, it may not have developed enough air bubbles. Ensure you give it a full hour in a warm, draft-free area.
- Alternatively, rolling the dough too thin before shaping could also lead to flat rolls. Aim for a thickness of about 1/4 inch when rolling it out.
- I bet they were still YUM though!
“My filling leaked everywhere! 😭”
- If you didn’t roll your dough tightly enough into a log, the filling can ooze out during baking. Make sure to roll it firmly to prevent this.
- Using too much liquid in your filling can also cause leakage. Stick to the specified measurements for brown sugar and coffee granules for best results.
- I bet they were still YUM though!
“The tops of my rolls turned out too dark! 🔥”
- If your oven temperature is too high or if you placed your baking sheet on the bottom rack, the bottoms may cook faster than the tops. Always bake on the middle rack for even browning.
- Also, keep an eye on them as they bake; if they start to darken too quickly, covering them loosely with foil can help protect them from burning.
- I bet they were still YUM though!
Coffee Rolls
Ingredients
Method
- In a mixing bowl, combine warm milk, sugar, and yeast. Let it sit for 5 minutes until frothy.
- Add melted butter, egg, and salt to the yeast mixture. Gradually add flour, mixing until a dough forms.
- Knead the dough on a floured surface for about 5 minutes until smooth. Place in a greased bowl, cover, and let rise for 1 hour.
- In a small bowl, mix instant coffee, brown sugar, and cinnamon. Set aside.
- Preheat the oven to 350°F (175°C). Roll out the dough on a floured surface into a rectangle.
- Spread the filling evenly over the dough. Roll tightly into a log and cut into 8 equal pieces.
- Place the rolls on a baking sheet lined with parchment paper. Cover and let rise for another 30 minutes.
- Bake the rolls in the preheated oven for 20-25 minutes until golden brown.
- While the rolls are baking, whisk together powdered sugar, milk, and vanilla to make the glaze.
- Once baked, remove from the oven and drizzle the glaze over the warm rolls.