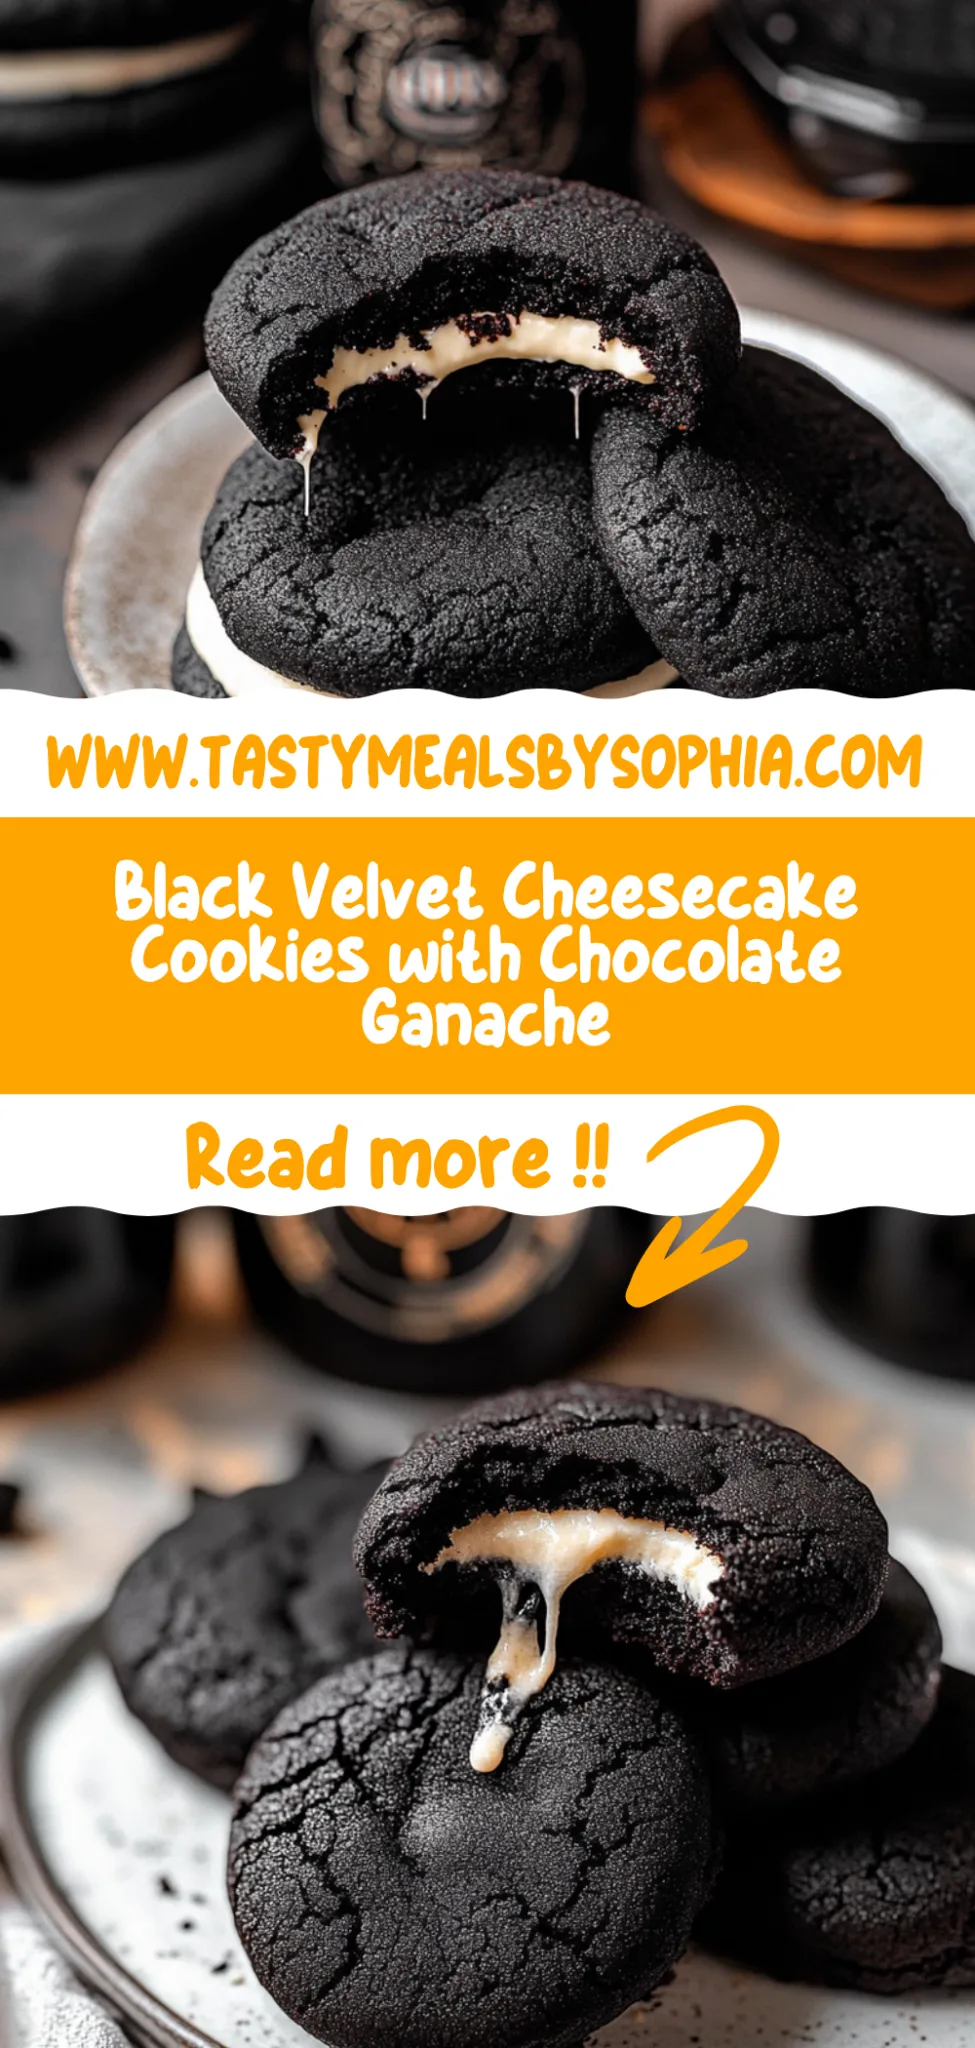
Black Velvet Cheesecake Cookies: Decadent and Chewy Delight
I first stumbled upon the idea of Black Velvet Cheesecake Cookies during a late-night dessert craving. I was at a charming little café, savoring their decadent chocolate cheesecake when inspiration struck — why not combine the lusciousness of cheesecake with the soft, chewy texture of cookies? The original dessert was so rich and indulgent, and I couldn’t shake off the idea of recreating it at home. After all, who doesn’t love a treat that’s both cost-effective and customizable? Plus, I figured I could make them even better than the café version!
What followed was a whirlwind of trial and error that had me questioning my baking skills more times than I’d like to admit. Five batches later, I finally cracked the code! Each attempt brought me closer to that perfect balance of rich chocolate and creamy cheesecake filling; however, there were a few questionable cookie disasters along the way — let’s just say I learned that “too much chocolate” is not a thing unless you’re trying to bake cookies! My mission was clear: to achieve that melt-in-your-mouth texture while still keeping the flavors vibrant and delicious.
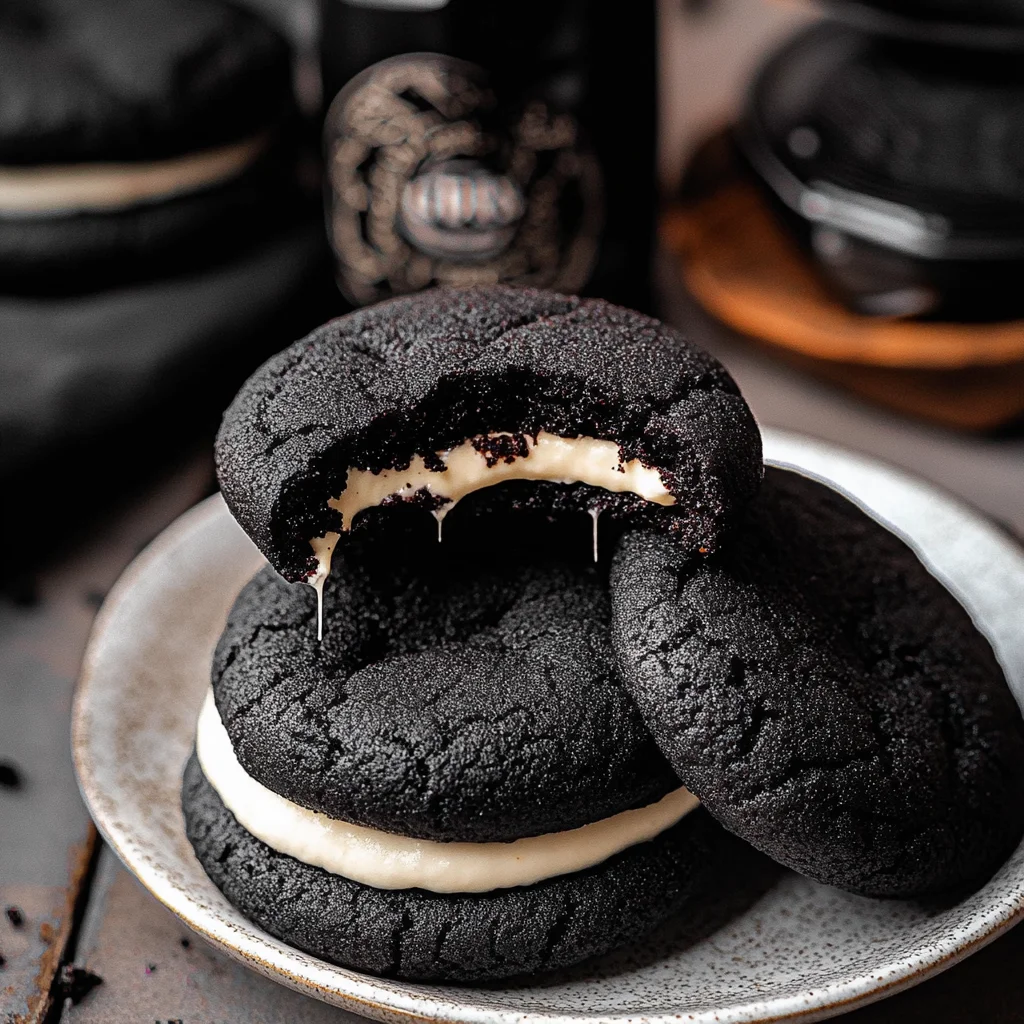
And oh boy, let me tell you, all those trials were worth it! The final result of these Black Velvet Cheesecake Cookies is nothing short of heavenly — they’re decadently soft with a luscious cream cheese center that oozes out with every bite. The contrast between the rich chocolate cookie exterior and the creamy cheesecake filling is simply irresistible, making them perfect for any dessert lover. Trust me when I say these cookies will disappear faster than you can say “I need another one!” So grab your apron and get ready to indulge in this delightful treat — you won’t regret it!
These Black Velvet Cheesecake Cookies are…
….the ultimate indulgence for chocolate and cheesecake lovers alike!
1. They deliver a decadent chocolate flavor that is simply irresistible, thanks to the generous amount of unsweetened cocoa powder. This rich cocoa base not only brings depth to the cookies but creates a luxurious experience that will leave your taste buds dancing with delight.
2. Incredible texture – these cookies have a slightly crisp outer edge while remaining soft and chewy on the inside. The combination of butter and eggs in the dough ensures they maintain that perfect balance between crunch and gooeyness, making every bite an enjoyable experience.
3. Elevated technique – incorporating both granulated and brown sugars into the cookie base enhances the flavor complexity and moisture content. By using brown sugar, I found that it adds a touch of caramel-like richness, which perfectly complements the chocolatey goodness, taking these cookies to another level.
4. They offer fantastic value – not only are they easy to make at home, but you also get a gourmet treat without breaking the bank. With standard pantry ingredients like flour, sugar, and cocoa, you can whip up a batch that rivals any bakery’s version at a fraction of the cost!
PS These cookies yield about 12-15 large cookies, perfect for sharing or enjoying as a decadent treat all week long!
Ingredients for the Black Velvet Cheesecake Cookies
Each ingredient in this dish plays an essential role in flavor and texture. Here’s what you’ll need:
1 cup unsalted butter (softened): Provides richness and creates a tender cookie base.
1 cup granulated sugar: Sweetens the cookies and helps achieve a light texture.
1 cup brown sugar (packed): Adds moisture and depth of flavor with a hint of caramel.
2 large eggs: Binds the ingredients together while adding moisture and richness.
1 teaspoon vanilla extract: Enhances the overall flavor profile with warmth and sweetness.
2 cups all-purpose flour: The base structure that gives the cookies their shape and chew.
1 cup unsweetened cocoa powder: Delivers intense chocolate flavor that defines the cookie.
1 teaspoon baking soda: Acts as a leavening agent to help the cookies rise slightly.
- 1/2 teaspoon salt: Balances the sweetness and enhances all the flavors.
You Must Cream the Butter and Sugar Until Fluffy. No Skimping!
I’ll be honest with you: I tried to take a shortcut on this step, thinking it wouldn’t make much of a difference. Spoiler alert: I was wrong! The cookies turned out dense and flat instead of the pillowy delights I was hoping for. So, trust me when I say that creaming the butter and sugars until light and fluffy is non-negotiable!
Why is this step so crucial? When you cream butter with sugar, you’re incorporating air into the mixture, which helps create a tender, light texture in the final cookie. Think of it like blowing up a balloon; without that air, it’s just a sad piece of rubber. In our case, that’s a sad little cookie! The softened butter and sugars meld together to form a dreamy base that enhances both flavor and texture—so don’t skip it!
What Does Creaming Butter and Sugar Do?
- Improves Texture: The incorporation of air creates a lighter, fluffier cookie base that melts in your mouth.
- Enhances Flavor: This process helps dissolve the sugars evenly, resulting in a more balanced sweetness throughout.
- Boosts Rise: The trapped air expands during baking, allowing the cookies to puff up beautifully instead of spreading flat.
- Creates Moisture: A well-creamed mixture holds moisture better, leading to chewier centers instead of dry cookies.
- Promotes Even Baking: A unified cookie dough bakes more consistently, ensuring every bite is as delightful as the last.
Different Creaming Times
- 1 minute (okay) — The mixture is slightly combined but still grainy; cookies will be denser and taste more like dough than dessert.
- 3 minutes (good) — Some air is incorporated; you’ll notice an improvement in texture but could still use more lift.
- 5 minutes (great) — Light and fluffy texture achieved; these cookies will rise nicely with a tender bite.
- ⭐️ 7 minutes or more ⭐️ — Ultimate fluffiness! Cookies are airy with beautifully distinct layers between chocolate richness and creamy cheesecake.
Don’t underestimate the power of creaming! It’s easy to rush through this step thinking it won’t matter—but trust me, your Black Velvet Cheesecake Cookies will suffer if you do. Over-mixing can lead to tough cookies while under-mixing results in dense ones. Aim for that perfect lightness!
How to make Black Velvet Cheesecake Cookies
Are you ready to see how straightforward it is to make the Black Velvet Cheesecake Cookies of your dreams??
1. PREPARE THE COOKIE DOUGH
Let’s get that rich, chocolatey cookie base ready to go!
1. Preheat – Preheat the oven to 350°F (175°C) and line a baking sheet with parchment paper. This ensures your cookies bake evenly without sticking, making clean-up a breeze!
2. Cream – In a mixing bowl, cream together the softened butter, granulated sugar, and brown sugar until light and fluffy. This step incorporates air into the mixture, which is crucial for a chewy texture!
3. Add Eggs – Add the eggs one at a time, mixing well after each addition, then stir in the vanilla extract. Incorporating eggs gradually helps achieve a smooth batter without any lumps.
4. Mix Dry Ingredients – In another bowl, whisk together the flour, cocoa powder, baking soda, and salt. Whisking ensures even distribution of all dry ingredients for uniform flavor throughout your cookies!
5. Combine – Gradually add the dry ingredients to the wet ingredients, mixing until just combined. Overmixing can lead to tough cookies—so stop when you see no dry flour!
HANDY TIPS
- 💡 TIP: For an even richer chocolate flavor, try using dark cocoa powder instead of regular cocoa powder!
- 💡 TIP: Make sure your butter is softened but not melted; this will give you that perfect creamy consistency.
2. PREPARE THE CHEESECAKE FILLING
Time to whip up that dreamy cheesecake filling!
6. Beat Cream Cheese – In a separate bowl, beat the softened cream cheese and granulated sugar until smooth. This step is key for ensuring there are no lumps in your filling!
7. Mix Ingredients – Add the egg and vanilla extract, mixing until well combined and creamy. The egg helps bind everything together and gives the cheesecake its lovely texture!
HANDY TIPS
- 💡 TIP: Use full-fat cream cheese for an ultra-creamy filling—low-fat varieties can make it watery.
- 💡 TIP: Make sure your cream cheese is at room temperature; this makes it easier to blend smoothly!
3. ASSEMBLE AND BAKE
Let’s bring these delicious cookies together and get them baking!
8. Scoop Dough – Using a cookie scoop, drop a tablespoon of cookie dough onto the prepared baking sheet. This ensures all your cookies are uniform in size for even baking!
9. Indent – Make a small indentation in the center of each cookie and fill it with a teaspoon of the cheesecake filling. This step creates a delightful surprise in every bite!
10. Cover – Top with a little more cookie dough to cover the filling completely. Ensure there are no gaps so that the cheesecake stays sealed inside as they bake!
11. Bake – Bake in the preheated oven for 10-12 minutes, or until the edges are set but still soft in the center—this gives you that perfect chewy texture!
12. Cool – Allow to cool on the baking sheet for a few minutes before transferring to a wire rack to cool completely. This step helps them firm up so they don’t fall apart!
HANDY TIPS
- ⚠️ Cooling — Be careful not to overbake; you want them soft in the middle when they come out!
- 💡 TIP: If you prefer larger cookies, use two tablespoons of dough instead—just increase baking time slightly.
Make these once, and I wager they will invade your dreams every night too! – Nagi x
FAQ – Black Velvet Cheesecake Cookies
How long will these cookies keep?
These Black Velvet Cheesecake Cookies can be stored in an airtight container at room temperature for about 3 days. After that, they will still be safe to eat, but the texture and flavor may begin to decline. By day 3, I’d say they’re about 97% as good as when you first baked them! For optimal freshness, you can refrigerate them for up to a week. If you choose to freeze them, they’ll maintain their quality for about 2-3 months.
❄️ Do I really have to chill? YES YOU DO.
Unfortunately, there’s no shortcut here — chilling is essential for the cookie dough. Allowing it to rest helps solidify the butter and makes the dough easier to handle. This step also prevents the cookies from spreading too much during baking, ensuring that they maintain their shape and chewy texture. I usually recommend chilling for at least 30 minutes; however, if you have time, an hour is even better!
🥶 Can I freeze these cookies?
Absolutely! Freezing is a great way to ensure you always have these delicious cookies on hand. To freeze, assemble the cookies up to the point before baking (with the cheesecake filling included), then place them on a baking sheet lined with parchment paper and pop them in the freezer until firm. Once frozen, transfer them to a zip-top bag or airtight container for up to 3 months. When you’re ready to bake, there’s no need to thaw — just add an extra minute or two to your baking time!
🌾 Can these be made gluten free?
Yes, you can make these cookies gluten-free by substituting the all-purpose flour with a high-quality gluten-free flour blend that includes xanthan gum (if it’s not already included). I’ve tested this recipe using Bob’s Red Mill Gluten Free 1-to-1 Baking Flour with great success! Just be sure not to skip out on measuring accurately — gluten-free flours can vary in density.
Can I reduce the sugar or substitute with sweeteners?
Nope, you cannot reduce the sugar in this recipe without affecting both flavor and texture. The sugars play a crucial role not just in sweetness but also in creating that perfectly chewy texture we all love in cookies. I tried reducing sugar levels by about 25% during testing and ended up with flat and overly cakey results — yikes! If you’re looking for alternatives though, consider using coconut sugar instead of brown sugar for a more caramel-like flavor.
Why do I need to cream the butter and sugars together?
Creaming the softened butter with granulated and brown sugars is vital because it incorporates air into the mixture, leading to a lighter texture in your cookies. This process also helps dissolve the sugars more effectively so they integrate well with other ingredients. I typically cream them together for about 3-5 minutes until light and fluffy — trust me, it’s worth it for that perfect chewiness!
💡 What if I want to add chocolate chips or nuts?
Feel free to customize these cookies! If you want chocolate chips or nuts (like walnuts or pecans), fold them into the cookie dough after you’ve combined wet and dry ingredients. Just keep in mind that adding too many mix-ins can affect how well they hold their shape while baking. Stick with about half a cup of chocolate chips or nuts for optimal results — because who doesn’t love a little extra crunch or chocolatey goodness?
Troubleshooting
I will continue to add more to this Troubleshooting section as I start seeing questions coming through from people who have made the recipe.
Troubleshooting tips
“My cookies were not as thick as yours! 😩”
- If your cookies turned out thin, it could be that you didn’t use enough flour. Make sure you’re measuring accurately and spooning the flour into the measuring cup without packing it down.
- Another reason might be that the butter was too warm when you mixed it with the sugars. Softened butter should be just that—soft, not melted!
I bet they were still YUM though!
“My cookies came out too dry! 😢”
- Dry cookies often result from overmixing once you add the flour. Be gentle and mix until just combined; overworking the dough can lead to a tougher texture.
- Additionally, if you accidentally added too much cocoa powder or didn’t measure your ingredients correctly, that could dry them out too.
I bet they were still YUM though!
“The surface of my cookies split and had massive crevices 😭”
- This could happen if your oven temperature is too high, causing rapid baking. Always preheat your oven to 350°F (175°C) and consider using an oven thermometer for accuracy.
- Also, ensure that your dough isn’t too cold before baking; letting it sit at room temperature for a few minutes can help prevent cracking.
I bet they were still YUM though!
“My cheesecake filling leaked out during baking! 😱”
- If your cookie dough layer wasn’t thick enough on top of the filling, it may have caused leakage. Make sure to scoop an adequate amount of dough for both the base and top layers.
- Additionally, if you didn’t create a deep enough indentation or used too much filling, this can also lead to spills.
I bet they were still YUM though!
Black Velvet Cheesecake Cookies
Ingredients
Method
- Preheat the oven to 350°F (175°C) and line a baking sheet with parchment paper.
- In a mixing bowl, cream together the softened butter, granulated sugar, and brown sugar until light and fluffy.
- Add the eggs one at a time, mixing well after each addition, then stir in the vanilla extract.
- In another bowl, whisk together the flour, cocoa powder, baking soda, and salt.
- Gradually add the dry ingredients to the wet ingredients, mixing until just combined.
- In a separate bowl, beat the softened cream cheese and granulated sugar until smooth.
- Add the egg and vanilla extract, mixing until well combined and creamy.
- Using a cookie scoop, drop a tablespoon of cookie dough onto the prepared baking sheet.
- Make a small indentation in the center of each cookie and fill it with a teaspoon of the cheesecake filling.
- Top with a little more cookie dough to cover the filling.
- Bake in the preheated oven for 10-12 minutes, or until the edges are set.
- Allow to cool on the baking sheet for a few minutes before transferring to a wire rack to cool completely.