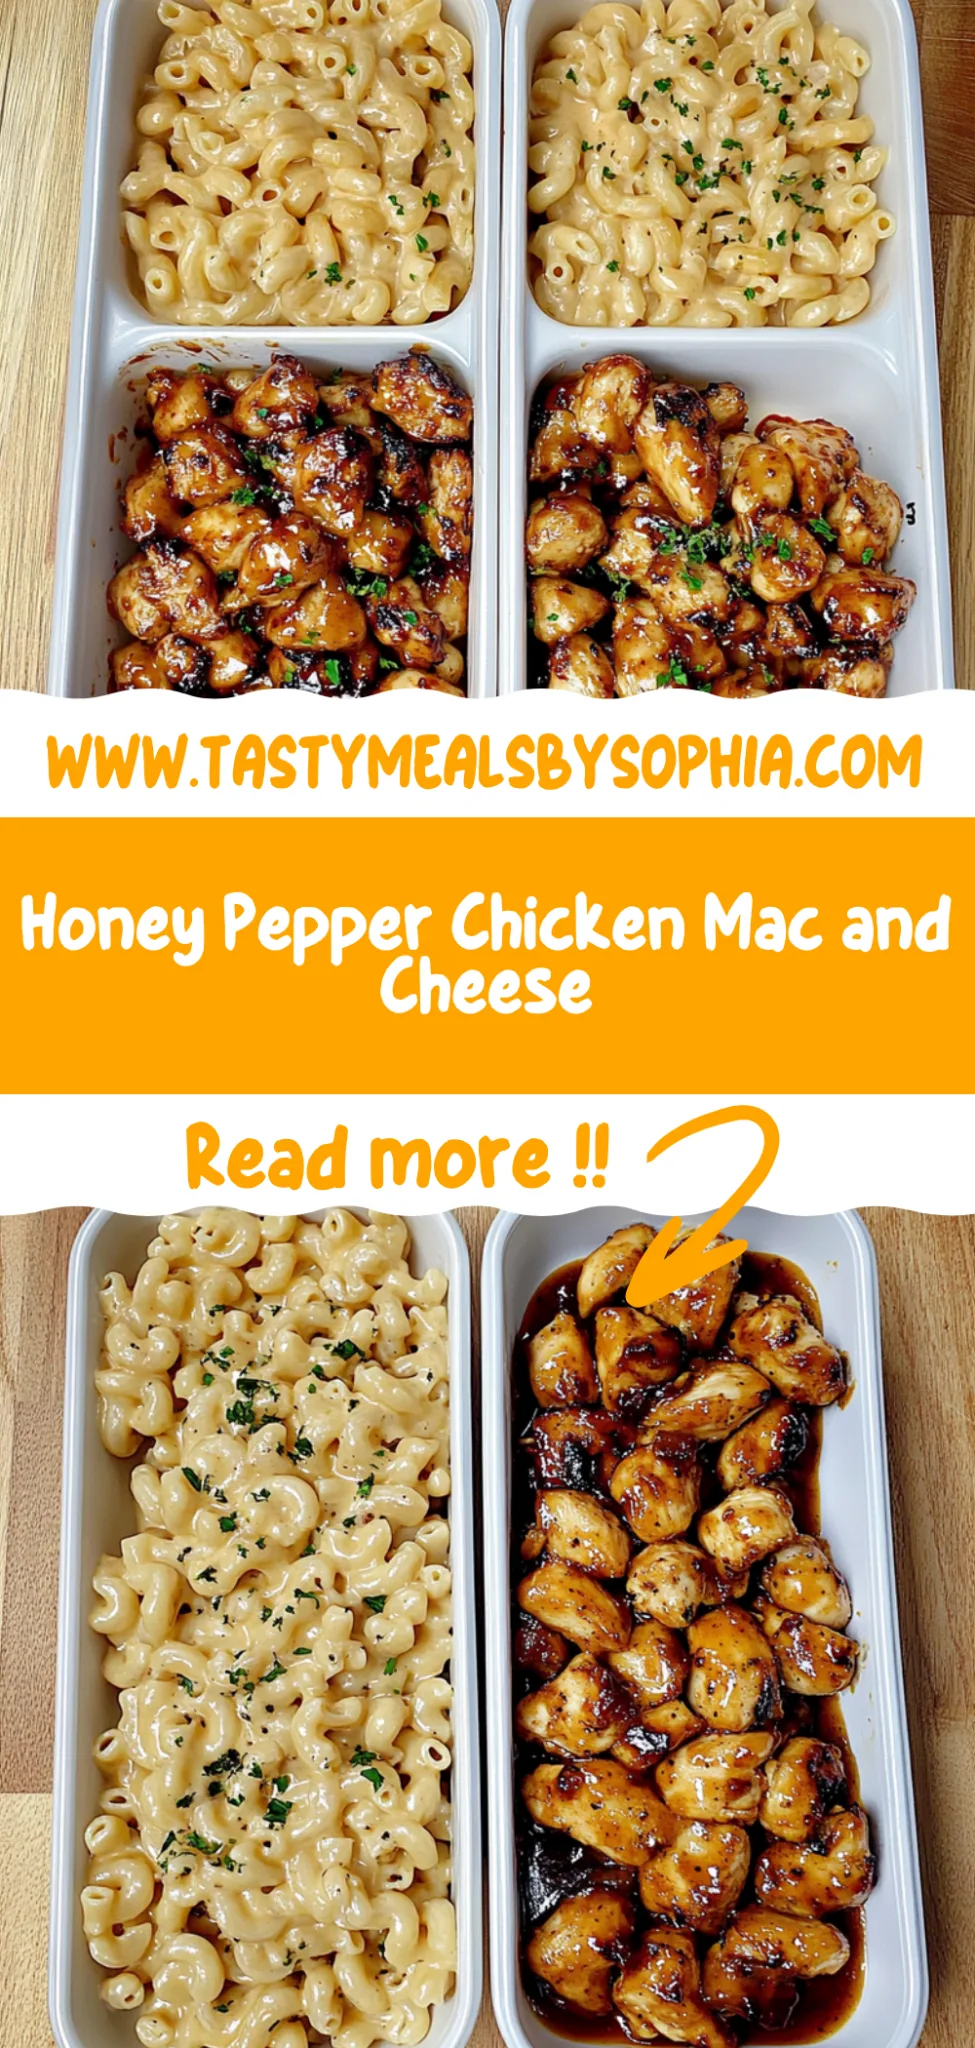
Honey Pepper Chicken Mac and Cheese: Comforting and Bold
I first stumbled upon the idea of Honey Pepper Chicken Mac and Cheese during a late-night takeout run when I was craving something comforting yet exciting. The moment I took a bite of that creamy, cheesy goodness with the sweet glaze and a spicy kick, I knew I had to recreate it at home. Not only was it a bit pricier than my usual dinner budget, but I also wanted to put my own spin on it—because let’s be honest, nothing beats that homemade touch!
After a few too many kitchen disasters (I’m talking about cheese sauce that turned into glue), I finally landed on the perfect balance of flavors after three attempts. Each round was a lesson in patience and perseverance, as I tried to achieve that creamy texture while ensuring the honey didn’t overpower the dish. There were moments when I thought maybe mac and cheese wasn’t meant to have chicken or honey, but my stubbornness prevailed.
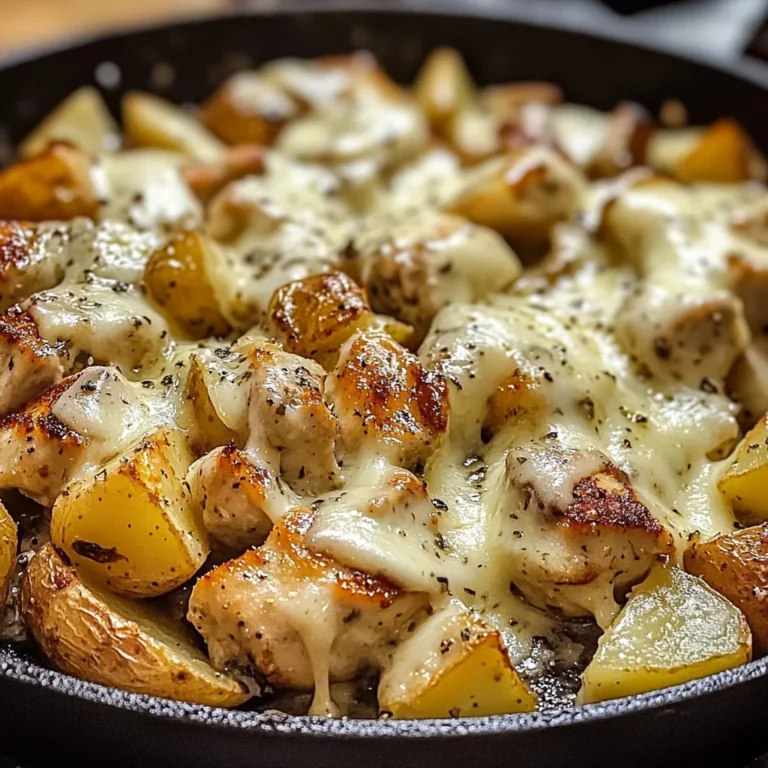
And boy, am I glad it did! The final result is nothing short of heavenly—a creamy and flavorful mac and cheese dish featuring tender chicken, a sweet honey glaze, and just enough pepper for that delightful kick. It’s rich yet balanced, with an incredible texture that’ll have you going back for seconds (or thirds!). Trust me, this Honey Pepper Chicken Mac and Cheese is worth every bit of effort—I can’t wait for you to dig in!
These Honey Pepper Chicken Mac and Cheese are… the ultimate comfort food experience that will elevate your weeknight dinners!
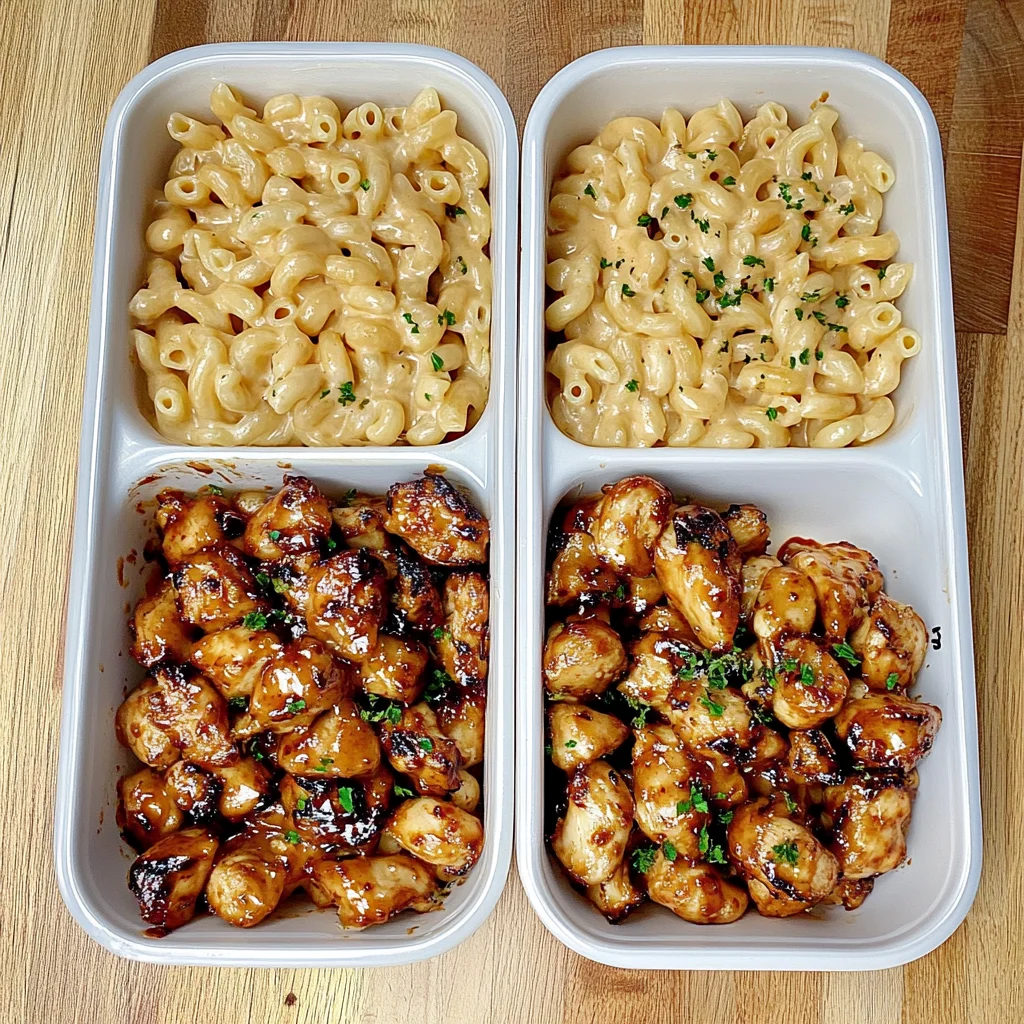
1. They deliver a sweet and savory flavor explosion that’s truly unforgettable, thanks to the combination of honey and freshly ground black pepper. The honey adds an unexpected sweetness that beautifully balances the richness of the cheese sauce, while the pepper provides a delightful kick, making every bite an adventure for your taste buds.
2. Indulgently creamy texture – this mac and cheese is all about that luscious mouthfeel. The blend of cheddar and mozzarella cheeses creates a velvety cheese sauce that clings to each piece of pasta, ensuring that every forkful is packed with cheesy goodness and a satisfying creaminess that feels like a warm hug.
3. A key technique I love is making a roux with butter and flour before adding the milk. This classic method thickens the sauce perfectly and prevents any lumps, resulting in a smooth consistency that’s far superior to store-bought versions. Plus, it’s easy to master, making this dish approachable for anyone looking to impress at home.
4. Cost-effective comfort – this recipe uses simple ingredients like cooked chicken, elbow macaroni, and basic pantry staples, making it not only delicious but also budget-friendly. You can easily feed a crowd without breaking the bank, while enjoying flavors that rival any restaurant mac and cheese.
PS This recipe makes enough for 4 hearty servings – perfect for meal prep or feeding the family!
Ingredients for the Honey Pepper Chicken Mac and Cheese
Each ingredient in this dish plays an essential role in flavor and texture. Here’s what you’ll need:
8 oz elbow macaroni (or any pasta of choice): Forms the hearty base that holds everything together.
2 cups cooked chicken (diced or shredded): Adds protein and a savory depth to the dish.
1 tbsp olive oil (for cooking chicken): Helps to keep the chicken moist and adds richness.
1 tsp black pepper (freshly ground): Provides a subtle kick that elevates the overall flavor.
4 tbsp butter (unsalted): Creates a rich foundation for the creamy cheese sauce.
1/4 cup all-purpose flour: Acts as a thickening agent, giving the sauce its desirable consistency.
2 cups milk (whole milk preferred): Delivers creaminess and enhances the sauce’s smooth texture.
2 cups cheddar cheese (shredded): Brings sharpness and a robust flavor that defines mac and cheese.
1 cup mozzarella cheese (shredded): Adds a stretchy, gooey texture that makes each bite delightful.
1 tbsp honey (for sweetness): Balances the flavors with a touch of sweetness that complements the pepper.
1 tsp garlic powder: Infuses a warm, aromatic flavor into the cheesy sauce.
1 tsp onion powder: Enhances savory notes, rounding out the overall taste profile.
You must cook the pasta al dente. Trust me!
I tried to skip this step—I really did! I thought, “What’s the big deal? It’s just pasta.” But after testing batch after batch, I found that cooking the macaroni al dente is non-negotiable for achieving the perfect texture in this Honey Pepper Chicken Mac and Cheese. If you want a creamy, delicious dish rather than a mushy mess, listen to my hard-earned advice!
Cooking the pasta al dente means it will retain just enough bite and structure to hold up against the rich cheese sauce and tender chicken. Think of it like a sturdy building: without a solid foundation, everything crumbles! Overcooked pasta turns into a gooey disaster that can’t stand up to the creamy goodness of cheddar and mozzarella or complement the sweet honey glaze and pepper kick.
What does cooking the pasta al dente do?
- Texture — Al dente pasta has a slight firmness that provides a satisfying chew, preventing your mac and cheese from turning into an unappetizing mush.
- Structure — Properly cooked pasta maintains its shape even after baking, ensuring each bite is filled with delicious cheese sauce rather than clumps of soggy noodles.
- Flavor absorption — Keeping the pasta firm allows it to better absorb flavors from the cheese sauce and seasonings, enhancing every bite of your dish.
- Creaminess balance — When combined with a creamy cheese sauce, al dente pasta creates a delightful contrast that keeps you coming back for more.
- Baking resilience — Al dente macaroni holds up well during baking, avoiding that dreaded loss of texture while forming a beautiful golden crust on top.
Different cooking times
- 👩🍳 5 minutes (good) — Pasta is slightly undercooked but still works; however, it may be too firm once baked.
- ⭐️ 7 minutes⭐️ (ideal) — The sweet spot! The macaroni is perfectly al dente and ready to soak up all that cheesy goodness.
- 🍝 10 minutes (okay) — Pasta starts to soften; it’s acceptable but lacks that delightful chewiness.
- 🚫 12+ minutes (bad) — Overcooked disaster! The pasta becomes mushy and loses its structure, ruining your Honey Pepper Chicken Mac and Cheese experience.
Don’t make the mistake of overcooking your pasta! It can be tempting to leave it in longer for fear of being too chewy, but trust me—al dente is the way to go. No one wants their mac and cheese swimming in a sea of mush when they could be savoring each delicious bite!
How to make Honey Pepper Chicken Mac and Cheese
Are you ready to see how straightforward it is to make the Honey Pepper Chicken Mac and Cheese of your dreams??
1. COOK THE PASTA
First things first, let’s get that pasta cooking!
1. BOIL WATER – In a large pot, bring salted water to a boil and cook the elbow macaroni according to package instructions until al dente. This usually takes about 8-10 minutes but check your package for specifics! Drain the pasta once cooked and set aside.
2. SAUTÉ CHICKEN – In the same pot, heat olive oil over medium heat. Add the cooked chicken and season with freshly ground black pepper. Sauté for 3-4 minutes until the chicken is heated through and fragrant.
HANDY TIPS
- Pasta Choice: While elbow macaroni is traditional, feel free to use any pasta shape you love – penne or shells work wonderfully too!
- Chicken Prep: If you have leftover rotisserie chicken, this recipe is a perfect way to use it up!
2. MAKE THE CHEESE SAUCE
Now, let’s whip up that creamy cheese sauce that will take this dish over the top!
3. MELT BUTTER – In a skillet, melt the butter over medium heat. Keep an eye on it; you want it to melt without browning.
4. WHISK IN FLOUR – Once melted, whisk in the flour and cook for 1-2 minutes until golden. This creates a roux that will thicken our sauce!
5. ADD MILK – Gradually whisk in the milk, stirring constantly until the mixture thickens, which should take about 5-7 minutes. You’ll know it’s ready when it coats the back of a spoon nicely!
6. STIR IN CHEESE AND SEASONINGS – Remove from heat and stir in the cheddar cheese, mozzarella cheese, honey, garlic powder, and onion powder until smooth and creamy.
HANDY TIPS
- Cheese Choices: For extra flavor, consider adding a touch of grated Parmesan or a sprinkle of smoked gouda!
- Texture Check: If your sauce seems too thick, just add a splash more milk to loosen it up.
3. COMBINE AND BAKE
It’s time for the final assembly before we bake this deliciousness!
7. MIX TOGETHER – Add the cooked macaroni and sautéed chicken to the cheese sauce, stirring gently to combine evenly so every bite is cheesy goodness.
8. TRANSFER TO DISH – Transfer this glorious mixture into a greased baking dish, spreading it out evenly.
9. TOP WITH BREAD CRUMBS – In a small bowl, mix the bread crumbs with melted butter and sprinkle this crunchy topping over the mac and cheese.
10. BAKE – Bake in a preheated oven at 350°F (175°C) for 15-20 minutes until bubbly and golden on top! The breadcrumbs should be crispy and delightful.
HANDY TIPS
- Crispy Top Lovers Unite!: If you like an extra crunchy topping, pop it under the broiler for an additional minute or two – just watch closely so it doesn’t burn!
- Make Ahead Option: You can prepare everything up to baking earlier in the day; just cover it tightly and pop it into the fridge until you’re ready to bake.
Enjoying this Honey Pepper Chicken Mac and Cheese means you’ve created something truly special with minimal fuss! With just 45 minutes from start to finish, you’ll have a hearty dish that everyone will love! Make this once, and I wager they will invade your dreams every night too! – Nagi x
FAQ – Honey Pepper Chicken Mac and Cheese
🥡 How long will leftovers keep in the fridge?
Leftovers of this Honey Pepper Chicken Mac and Cheese can be stored in an airtight container for up to 3-4 days. I’ve found that the flavor actually improves a bit after a day! However, they’ll be about 90% as good on day 3 and drop to around 80% by day 4, so it’s best to enjoy them sooner rather than later. Just reheat in the microwave or oven until warmed through, and you’ll be good to go!
⏲️ Can I skip cooking the chicken before adding it?
No, you really shouldn’t skip this step! Sautéing the cooked chicken with black pepper not only heats it through but also infuses it with flavor that permeates the whole dish. Plus, it gives you that lovely texture from the brief cooking time. Trust me, I tested this recipe multiple times, and skipping this step left the chicken tasting bland.
❄️ Can I freeze this mac and cheese once it’s baked?
Definitely! You can freeze Honey Pepper Chicken Mac and Cheese either before or after baking. If freezing before baking, just cover the dish tightly with plastic wrap or foil and store for up to 2 months. When you’re ready to bake it, thaw overnight in the fridge and then bake as instructed. If freezing after baking, cool completely first, then freeze in individual portions for convenience. Reheat directly from frozen in the oven at 350°F (175°C) for about 30-40 minutes or until heated through.
🌾 Can I make this mac and cheese gluten-free?
Absolutely! To make this dish gluten-free, simply substitute regular elbow macaroni with gluten-free pasta. Make sure your all-purpose flour is also gluten-free; there are plenty of great blends available now that work similarly to regular flour. The rest of the ingredients should be fine as-is; just check labels for any hidden gluten!
🧀 What can I use instead of cheddar cheese?
If you want to switch things up from cheddar cheese, you have several options! Here are some tasty alternatives:
- Monterey Jack: It melts beautifully and has a milder flavor.
- Gouda: Adds a rich smokiness.
- Fontina: For a creamy, nutty twist.
Keep in mind that each cheese will slightly alter the flavor profile of your mac and cheese—choose according to your preference!
🤔 Why do I need to whisk constantly when adding milk?
Whisking constantly while adding milk is crucial because it prevents lumps from forming in your cheese sauce. If you don’t whisk enough or add too quickly, those pesky lumps can ruin your creamy texture! I learned that through trial and error (more than once). So keep that whisk moving—it’s worth it for a silky sauce!
🍗 Can I add more vegetables or other proteins?
Of course! This recipe is quite versatile. Feel free to add in sautéed vegetables like spinach, broccoli, or bell peppers for extra nutrition and color. You could also swap out chicken for cooked sausage or shrimp if you’re feeling adventurous! Just remember to adjust cooking times accordingly based on what you add—cooking is all about making it your own!
Troubleshooting
I will continue to add more to this Troubleshooting section as I start seeing questions coming through from people who have made the recipe.
Troubleshooting tips
“My mac and cheese turned out too watery! 😱”
- You may have added too much milk while making the cheese sauce; it’s important to gradually whisk it in to achieve the right consistency.
- Not letting the cheese sauce thicken enough before combining it with the pasta and chicken can also lead to a watery dish. Make sure to stir for the full 5-7 minutes until it coats the back of a spoon.
- I bet it was still YUM though!
“My mac and cheese is way too thick! 😩”
- If you didn’t measure your flour precisely, you might have ended up with too much, making the cheese sauce thicker than intended. Stick to the 1/4 cup measurement for best results.
- Cooking the roux (butter and flour) for too long can also create a dense texture; remember, just 1-2 minutes until golden is perfect!
- I bet it was still YUM though!
“My chicken got all dried out! 😢”
- Overcooking your chicken during the sautéing step can lead to dryness. Aim for just 3-4 minutes of heating until warmed through, not longer.
- Using leftover chicken that’s been refrigerated for too long without moisture can also cause dryness. Freshly cooked or well-stored chicken works best!
- I bet it was still YUM though!
“The top of my mac and cheese didn’t brown nicely! 🔥”
- If your oven temperature is too low, it may not achieve that lovely golden crust on top. Ensure your oven is preheated to 350°F (175°C) before baking.
- Skipping the breadcrumb topping or not mixing them with enough melted butter might prevent browning; ensure you evenly coat those crumbs for extra crunch!
- I bet it was still YUM though!
Honey Pepper Chicken Mac and Cheese
Ingredients
Method
- In a large pot, bring salted water to a boil and cook the elbow macaroni according to package instructions until al dente. Drain and set aside.
- In the same pot, heat olive oil over medium heat and add the cooked chicken. Season with black pepper and sauté for 3-4 minutes until heated through.
- In a skillet, melt the butter over medium heat. Whisk in the flour and cook for 1-2 minutes until golden.
- Gradually whisk in the milk, stirring constantly until the mixture thickens, about 5-7 minutes.
- Remove from heat and stir in the cheddar cheese, mozzarella cheese, honey, garlic powder, and onion powder until smooth.
- Add the cooked macaroni and chicken to the cheese sauce, stirring to combine evenly.
- Transfer the mixture to a greased baking dish.
- In a small bowl, mix the bread crumbs with melted butter and sprinkle over the top of the mac and cheese.
- Bake in a preheated oven at 350°F (175°C) for 15-20 minutes until bubbly and golden on top.