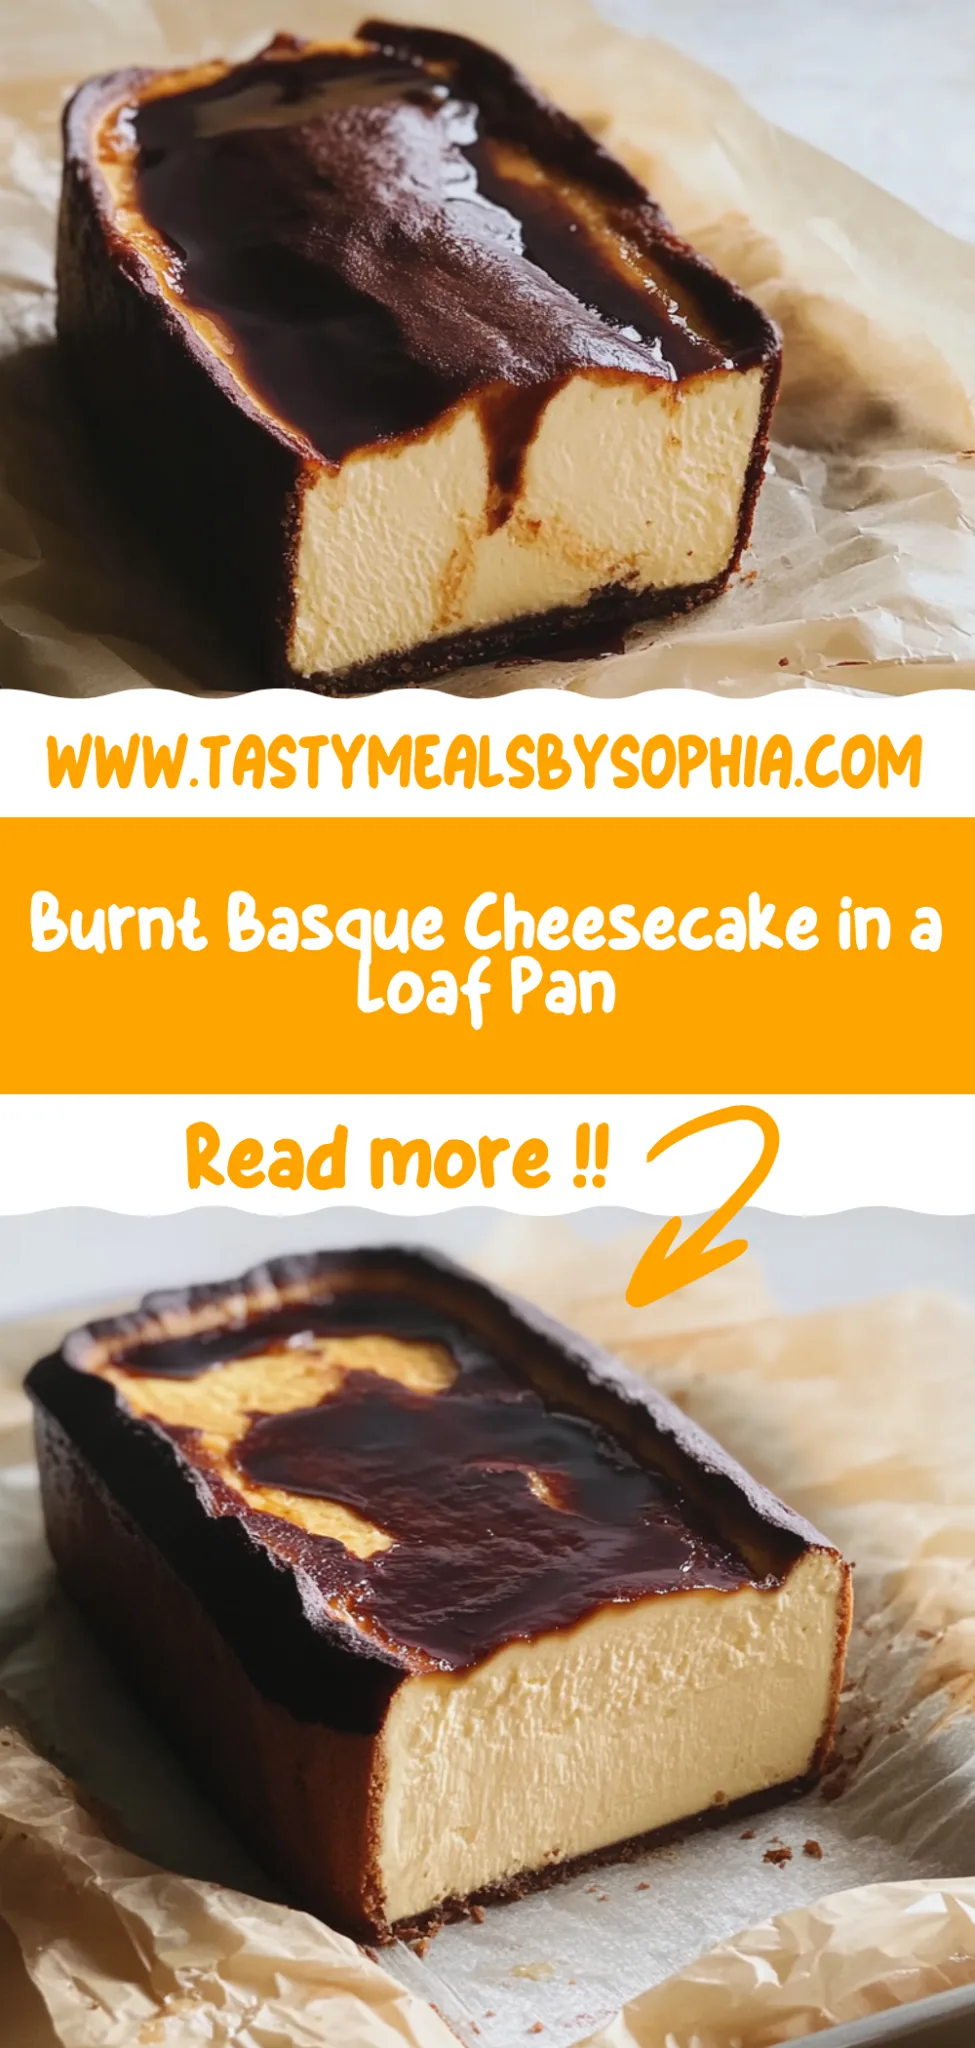
Burnt Basque Cheesecake in a Loaf Pan: Creamy Delight
I first fell in love with the idea of a Burnt Basque Cheesecake when I stumbled upon it at a charming little café during a trip to Spain. The moment I took that first bite, with its caramelized top giving way to a rich and creamy interior, I was hooked. It was unlike any cheesecake I had ever tasted, and the best part? It looked like a work of art! I couldn’t shake the craving once I got home and decided that it was time to take on the challenge of recreating this masterpiece in my own kitchen—especially since eating out can really add up!
Let me tell you, perfecting my version of Burnt Basque Cheesecake in a Loaf Pan wasn’t exactly a walk in the park. After about five attempts (yes, five!), each one more disastrous than the last—think burnt edges and undercooked centers—I finally began to understand what made this dessert so special. With each iteration, I tweaked the ingredient ratios, experimented with baking times, and tried to nail that elusive balance between creaminess and that perfectly charred top. I might have felt like a mad scientist at times, but every misstep taught me something new.
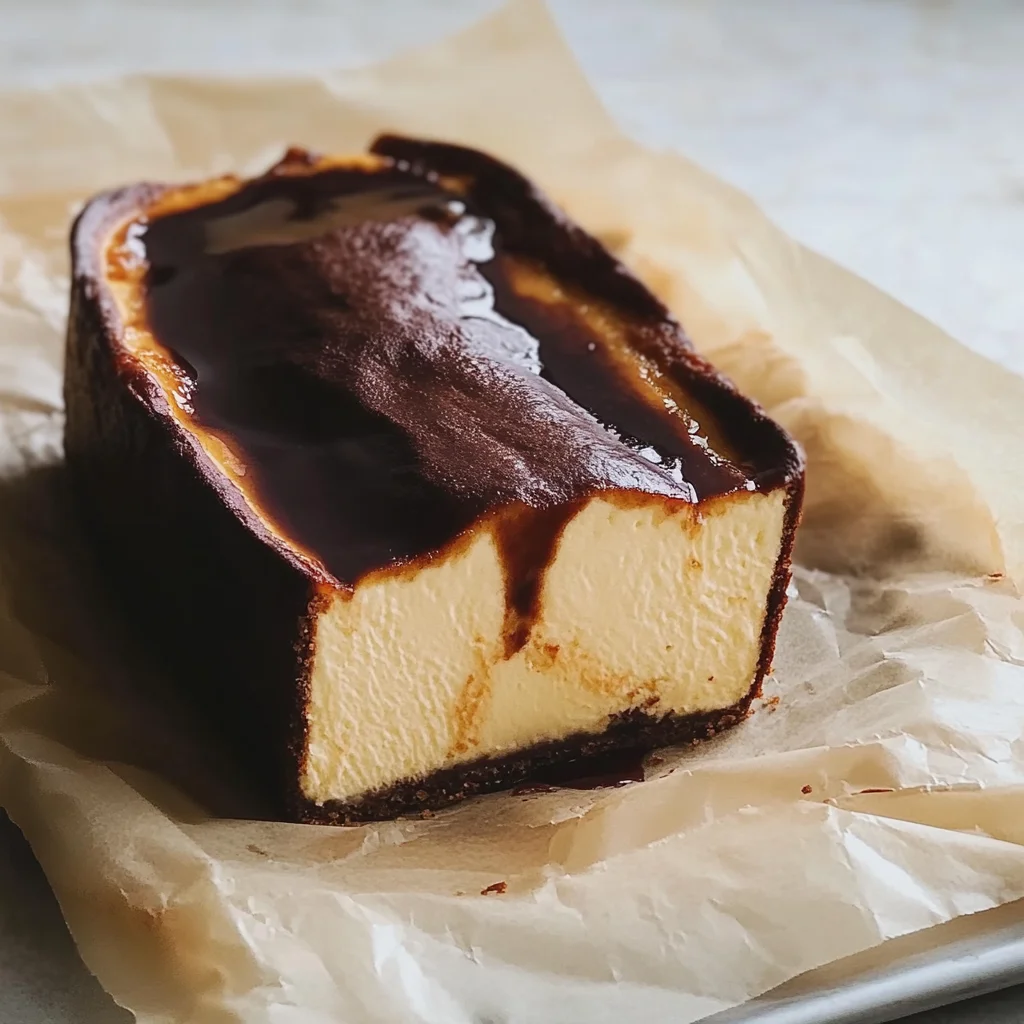
But oh boy, was it worth it! The final result is an absolute showstopper: a beautifully burnt top that gives way to an incredibly velvety texture beneath. This Burnt Basque Cheesecake in a Loaf Pan not only looks stunning but also boasts an irresistible flavor profile that’s both sweet and slightly savory—a true testament to its Spanish roots! Its unique presentation makes it perfect for gatherings or just as an indulgent treat for yourself. So grab your loaf pan and let’s dive into this delicious adventure together—you won’t regret it!
These Burnt Basque Cheesecake in a Loaf Pan are…
….the ultimate indulgence for cheesecake lovers looking for something truly special!
1. They deliver an intense, caramelized flavor that comes from the beautifully burnt top. This unique finish not only adds a stunning visual but also enhances the overall taste profile, with the sugar caramelizing during baking to create a delightful contrast against the creamy filling made from 400 grams of softened cream cheese and 200 grams of granulated sugar.
2. Luxuriously creamy texture – the inside is smooth and velvety, making each bite melt in your mouth. This is achieved by incorporating 200 ml of heavy cream into the batter, resulting in a rich creaminess that elevates this cheesecake far beyond ordinary desserts.
3. They showcase a simple yet effective technique that sets them apart from traditional cheesecakes. By baking in a loaf pan, I found that the increased surface area allows for a more pronounced burnt layer while keeping the center perfectly gooey, thanks to the careful balance of 3 large eggs and optional flour for structure.
4. Incredibly accessible – you can whip up this masterpiece without breaking the bank or spending hours in a fancy bakery. With ingredients like cream cheese, sugar, and vanilla extract readily available at most grocery stores, this Burnt Basque Cheesecake in a Loaf Pan offers gourmet taste without the gourmet price tag.
PS This cheesecake is baked in a loaf pan, giving it an elegant shape that’s perfect for slicing and serving at gatherings or enjoying as an indulgent treat at home!
Ingredients for the Burnt Basque Cheesecake in a Loaf Pan
Each ingredient in this dish plays an essential role in flavor and texture. Here’s what you’ll need:
400 grams cream cheese (softened): Provides the creamy base that makes this cheesecake rich and luscious.
200 grams granulated sugar: Sweetens the batter, balancing the tanginess of the cream cheese.
3 large eggs: Acts as a binder, creating a smooth texture and helping the cheesecake set perfectly.
200 ml heavy cream: Adds richness and contributes to the velvety mouthfeel of the cheesecake.
1 teaspoon vanilla extract: Enhances the overall flavor with a warm, aromatic note.
1 tablespoon all-purpose flour (optional for structure): Helps stabilize the batter for a firmer texture, if desired.
You Must Line the Loaf Pan with Parchment. Trust Me!
I’ll admit, I tried to skip this step. After all, it’s just a small detail, right? Well, let me tell you, I was wrong! I ended up wrestling my beautiful cheesecake out of the pan and left with a tragic mess. So learn from my blunder — lining your loaf pan with parchment paper is non-negotiable if you want to achieve a flawless presentation.
Why is this step so crucial? Think of it like preparing for a big performance — the better the setup, the more spectacular the show! By lining your loaf pan properly, you not only make removal a breeze but also ensure that the edges of your cheesecake bake evenly. This means no sticking or tearing, allowing that rich and creamy texture infused with vanilla and heavy cream to shine through beautifully.
What does lining the loaf pan do?
- Easy removal — The parchment paper creates a non-stick surface that allows your cheesecake to glide right out without any sticky drama.
- Even baking — A well-lined pan ensures consistent heat distribution, giving your cheesecake that signature burnt top while keeping the creamy center perfectly set.
- Less mess — No need for scrubbing away stubborn bits stuck to the pan; simply lift out your cheesecake and toss the parchment!
- Beautiful presentation — With clean edges and no cracks from sticking, your cheesecake will look as impressive as it tastes when served.
- Prevents sogginess — Parchment helps absorb excess moisture during baking, ensuring your cheesecake retains its rich and creamy texture rather than becoming waterlogged.
Different lining techniques
- Basic parchment lining (⭐️) — Just enough for decent removal but might leave some bits behind; good for an average result.
- Complete coverage (⭐⭐⭐) — Ensure all sides are covered well; enhances even baking and easier removal.
- Double layer (⭐⭐⭐⭐⭐) — For those who really want to be cautious; prevents any potential sticking issues and guarantees pristine edges.
If you think you can skip lining that loaf pan or skimp on coverage, you’re setting yourself up for disaster. Trust me when I say that pulling a half-mangled cheesecake from a pan is not worth it. Take the time to line it properly!
How to make Burnt Basque Cheesecake in a Loaf Pan
Are you ready to see how straightforward it is to make the Burnt Basque Cheesecake in a Loaf Pan of your dreams??
1. PREPARE THE LOAF PAN
Let’s get that oven ready and set up your loaf pan for success!
1. Preheat – Preheat the oven to 200°C (400°F). This high temperature is key to achieving that signature burnt top while keeping the inside creamy.
2. Line – Line a loaf pan with parchment paper, leaving some overhang for easy removal later. Make sure the parchment paper covers the sides of the pan well to prevent sticking.
HANDY TIPS
- Use a heavy-duty parchment paper if possible; it can withstand high temperatures without burning.
- If you don’t have a loaf pan, this recipe also works well in an 8-inch round cake tin!
2. MAKE THE CHEESECAKE BATTER
Time to whip up that glorious, creamy cheesecake batter!
3. Beat – In a mixing bowl, beat the softened cream cheese and granulated sugar with an electric mixer until smooth and creamy. This step ensures there are no lumps, giving you that silky texture.
4. Add Eggs – Add the eggs one at a time, mixing well after each addition. This method helps incorporate air into the batter, making your cheesecake light and fluffy.
5. Pour Cream – Pour in the heavy cream and vanilla extract, mixing until fully combined. The heavy cream adds richness and enhances that luxurious mouthfeel.
6. Sift Flour – If using, sift in the flour and mix until just incorporated. This optional step gives your cheesecake a bit more structure without making it dense.
HANDY TIPS
- For best results, ensure your cream cheese is at room temperature; this helps avoid lumps!
- Don’t overmix after adding flour; just combine until you don’t see any dry spots!
3. BAKE THE CHEESECAKE
Now comes the exciting part—baking!
7. Pour – Pour the cheesecake batter into the prepared loaf pan, smoothing the top with a spatula for an even bake.
8. Bake – Bake in the preheated oven for about 50 minutes, or until the top is deeply browned and the center is slightly jiggly. This jiggly texture indicates that it will firm up as it cools.
9. Cool – Remove from the oven and let cool in the pan for about 30 minutes. Cooling slightly helps prevent cracks on your beautiful surface.
HANDY TIPS
- Keep an eye on it during baking—oven temperatures can vary! You want that deep brown color but not burnt edges.
- If you prefer a lighter top, reduce baking time by a few minutes!
4. COOL AND SERVE
The final steps are here—let’s get ready to indulge!
10. Lift Out – Once cooled, lift the cheesecake out of the loaf pan using the parchment paper overhang. This makes removal easy without damaging your cheesecake!
11. Chill – Transfer to a serving plate and refrigerate for at least 2 hours before slicing. Chilling allows those flavors to meld beautifully together.
12. Serve – Serve chilled and enjoy that creamy texture paired with its signature burnt flavor!
HANDY TIPS
- Consider garnishing with fresh berries or whipped cream for an extra touch!
- Leftovers? They keep well in the fridge for up to four days—if they last that long!
What an absolutely delightful treat you’ve created! You’ve mastered this rich and creamy Burnt Basque Cheesecake in a Loaf Pan that’s sure to impress anyone lucky enough to try it! I can’t wait for you to share this showstopper with friends and family! – Nagi x
FAQ – Burnt Basque Cheesecake in a Loaf Pan
How long will this cheesecake keep?
The Burnt Basque Cheesecake will keep well in the refrigerator for up to 5 days. After day 1, the texture remains creamy and delicious, though I’d say it’s about 97% as good on day 3 and 90% on day 5. Just ensure you store it covered to prevent it from absorbing any fridge odors. If you notice any drying out after a few days, a light drizzle of heavy cream can help rejuvenate its texture!
❄️ Do I really have to chill? YES YOU DO.
Yes, chilling is essential! After baking, it’s crucial to let the cheesecake cool in the pan for about 30 minutes, then refrigerate it for at least 2 hours before slicing. This allows the flavors to meld beautifully and sets the creamy texture. Trust me, skipping this step would make for a less-than-ideal experience; it’s like trying to eat pudding that hasn’t set—just not right!
Can I freeze this cheesecake?
Absolutely! You can freeze the Burnt Basque Cheesecake if you want to make it ahead. Once fully cooled, wrap it tightly in plastic wrap and then in aluminum foil to prevent freezer burn. It can be frozen for up to 3 months! When you’re ready to enjoy it, just transfer it to the fridge overnight to thaw slowly. Do note that while freezing doesn’t significantly alter the flavor, the texture might change slightly—less creamy than fresh but still delicious.
🌾 Can this cheesecake be made gluten-free?
Yes! To make this cheesecake gluten-free, simply omit the all-purpose flour from the batter or substitute it with a gluten-free flour blend. The cake will still hold its delightful creamy structure without it; however, I’ve found that using a tablespoon of flour helps with stability during baking, so if you are looking for a firmer slice, consider adding cornstarch instead of flour.
Can I reduce the sugar or substitute with sweeteners?
No, you cannot reduce the sugar without affecting the overall structure of the cheesecake. I tested reducing sugar multiple times (yes, really!) and found that even slight reductions lead to an unbalanced flavor and texture. If you’re looking for low-calorie alternatives, I suggest using a granulated erythritol sweetener instead of granulated sugar at a 1: 1 ratio—this works well without compromising too much on taste.
Why do we bake at such high heat?
Baking at 200°C (400°F) is crucial for achieving that signature burnt top while ensuring the inside remains beautifully creamy. This high heat caramelizes the sugars in the batter quickly and helps develop those rich flavors without overcooking the center of your cheesecake. Don’t be alarmed by how dark it gets on top; that’s where all that lovely flavor comes from! Just keep an eye on it—if it’s getting too dark too quickly, you might want to tent it with foil.
What can I add for flavor variations?
You can customize your Burnt Basque Cheesecake easily! Consider adding:
- Zest from 1 lemon or orange for a citrusy twist.
- A splash of your favorite liqueur like Grand Marnier or Amaretto.
- Swirl in some fruit puree (like raspberry or passionfruit) before baking for added flair.
Just remember not to overload on wet ingredients; otherwise, you’ll throw off the batter’s consistency! Happy experimenting!
Troubleshooting
I will continue to add more to this Troubleshooting section as I start seeing questions coming through from people who have made the recipe.
Troubleshooting tips
“My cheesecake came out too thin! 😱”
- You may not have used enough cream cheese; the recipe calls for 400 grams, and using less can lead to a thinner batter that won’t set properly.
- If you didn’t beat the cream cheese and sugar together long enough, it might not have aerated adequately, resulting in a denser texture.
I bet it was still YUM though!
“The top of my cheesecake turned out too dark! 🔥”
- Baking at a higher temperature than specified can cause the top to brown excessively before the inside has set properly. Make sure your oven is accurately calibrated to 200°C (400°F).
- If you left it in for longer than 50 minutes, the top could burn while waiting for the center to firm up.
I bet it was still YUM though!
“My cheesecake cracked on the surface! 😭”
- Mixing your eggs in too vigorously can incorporate too much air into the batter, which causes cracking as it bakes. Mix gently after each egg addition.
- Not allowing the cheesecake to cool gradually in the pan can also lead to cracks; sudden temperature changes are tough on baked goods!
I bet it was still YUM though!
“It feels too wet in the center! 🤔”
- If you didn’t bake it long enough, especially if your oven runs cooler than indicated, the center may remain undercooked and jiggle too much. Aim for that perfect slight jiggle!
- Not letting it cool sufficiently before refrigerating could also lead to excess moisture accumulating in the pan.
I bet it was still YUM though!
Burnt Basque Cheesecake in a Loaf Pan
Ingredients
Method
- Preheat the oven to 200°C (400°F). Line a loaf pan with parchment paper, leaving some overhang for easy removal later.
- Ensure the parchment paper covers the sides of the pan well.
- In a mixing bowl, beat the softened cream cheese and granulated sugar with an electric mixer until smooth and creamy.
- Add the eggs one at a time, mixing well after each addition.
- Pour in the heavy cream and vanilla extract, mixing until fully combined.
- If using, sift in the flour and mix until just incorporated.
- Pour the cheesecake batter into the prepared loaf pan, smoothing the top with a spatula.
- Bake in the preheated oven for about 50 minutes, or until the top is deeply browned and the center is slightly jiggly.
- Remove from the oven and let cool in the pan for about 30 minutes.
- Once cooled, lift the cheesecake out of the loaf pan using the parchment paper overhang.
- Transfer to a serving plate and refrigerate for at least 2 hours before slicing.
- Serve chilled and enjoy the creamy texture and burnt flavor!